|
Pre-recording Lectures Using Stream2
Last modified on 07 September 2023 01:29 PM
|
|
|
Please note: The Stream2 Video integration will be deprecated during the annual eClass upgrade June 24th 2023. Instructors should use the YuJa Enterprise video platform as an alternative. This article outlines how instructors can use the Stream2 media suite to record and instantly embed their lectures inside their eClass courses. Please note: at this time, recordings can not be made using Safari - Chrome and Firefox are the recommended browsers. Also, if you want to upload and embed an already made video file to eClass, please see this article: Uploading and Embedding Media Using Stream2 1. Go to any text editor in your course (editor contexts are found in forum posts, page activities, labels, content section headings, quiz questions, etc.) and click on the Stream2 icon. The Stream2 media tool icon is at the far right of the top row in the editor:
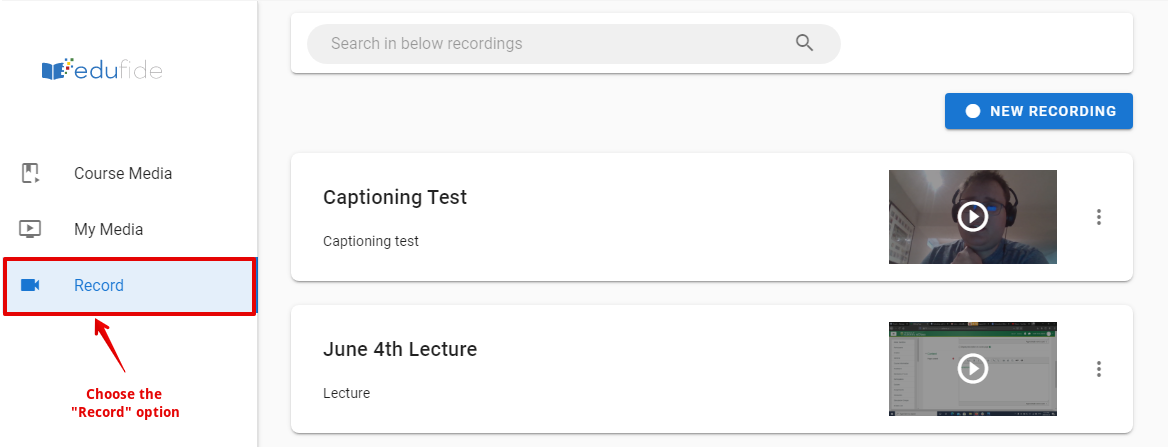
2. Stream2 will open in a new window. When you are ready to create a recording, click on the Record section on the left-hand side.
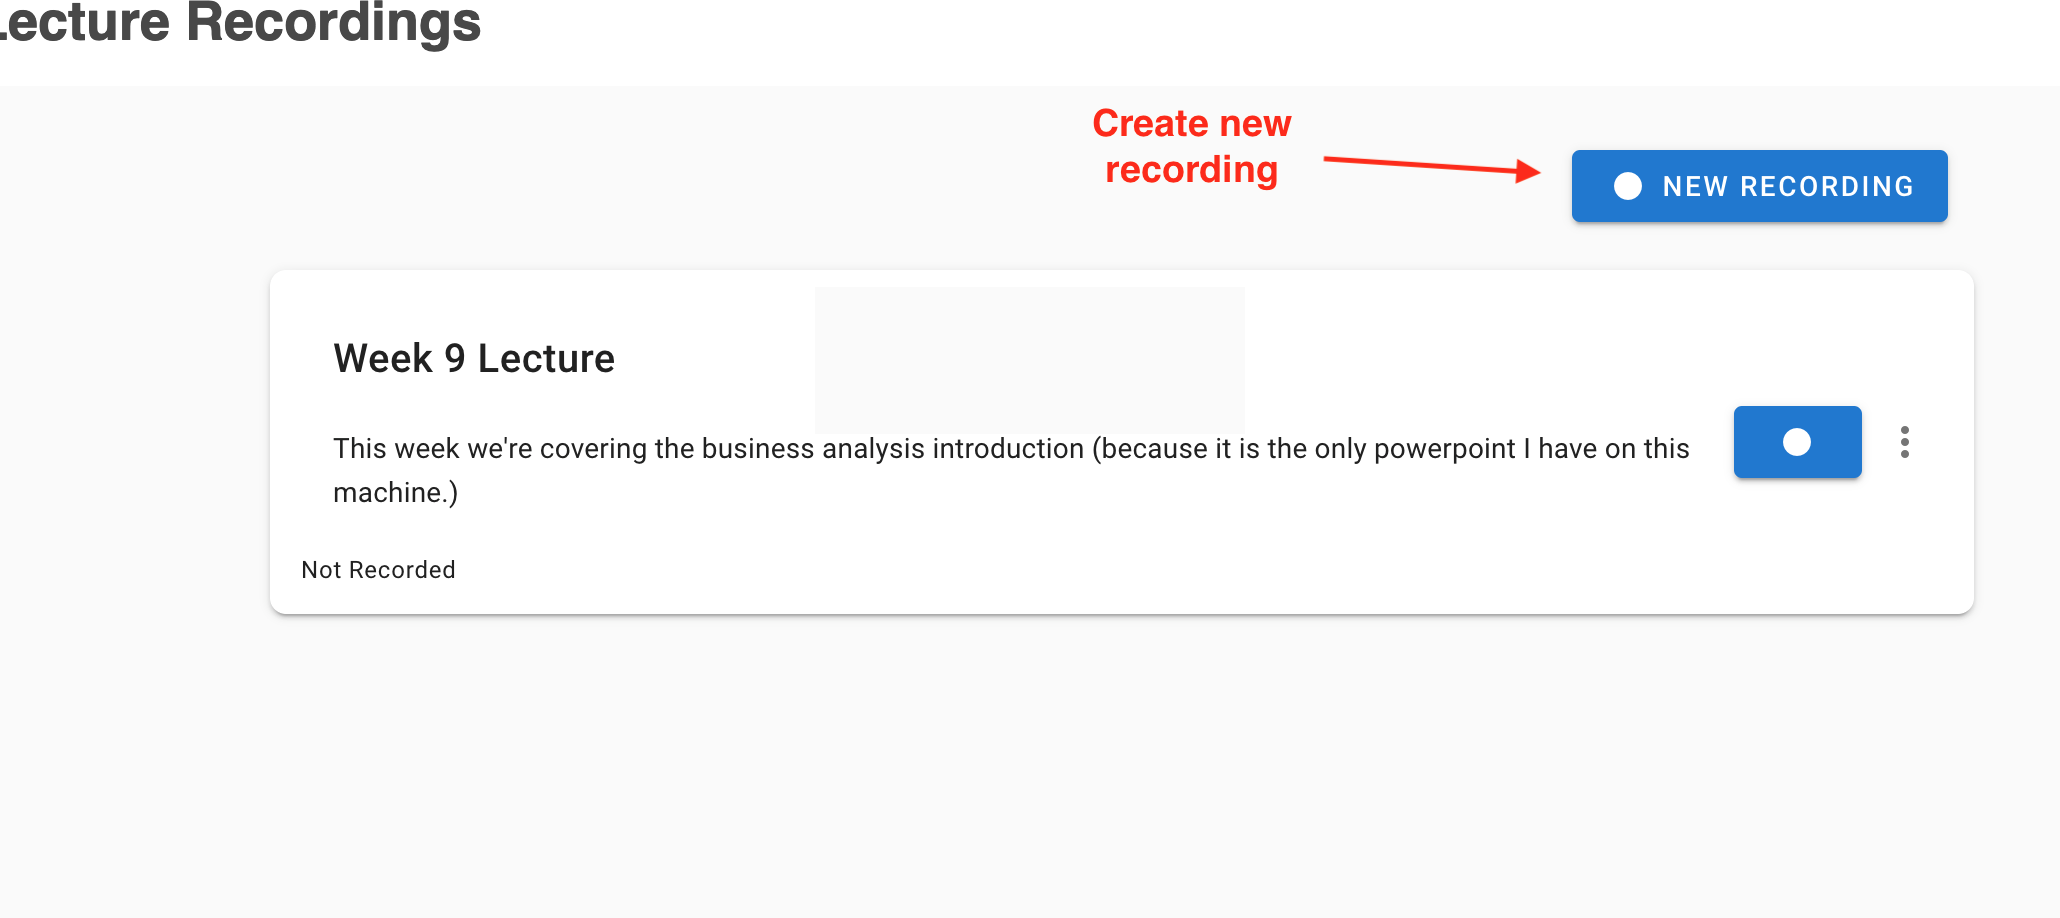
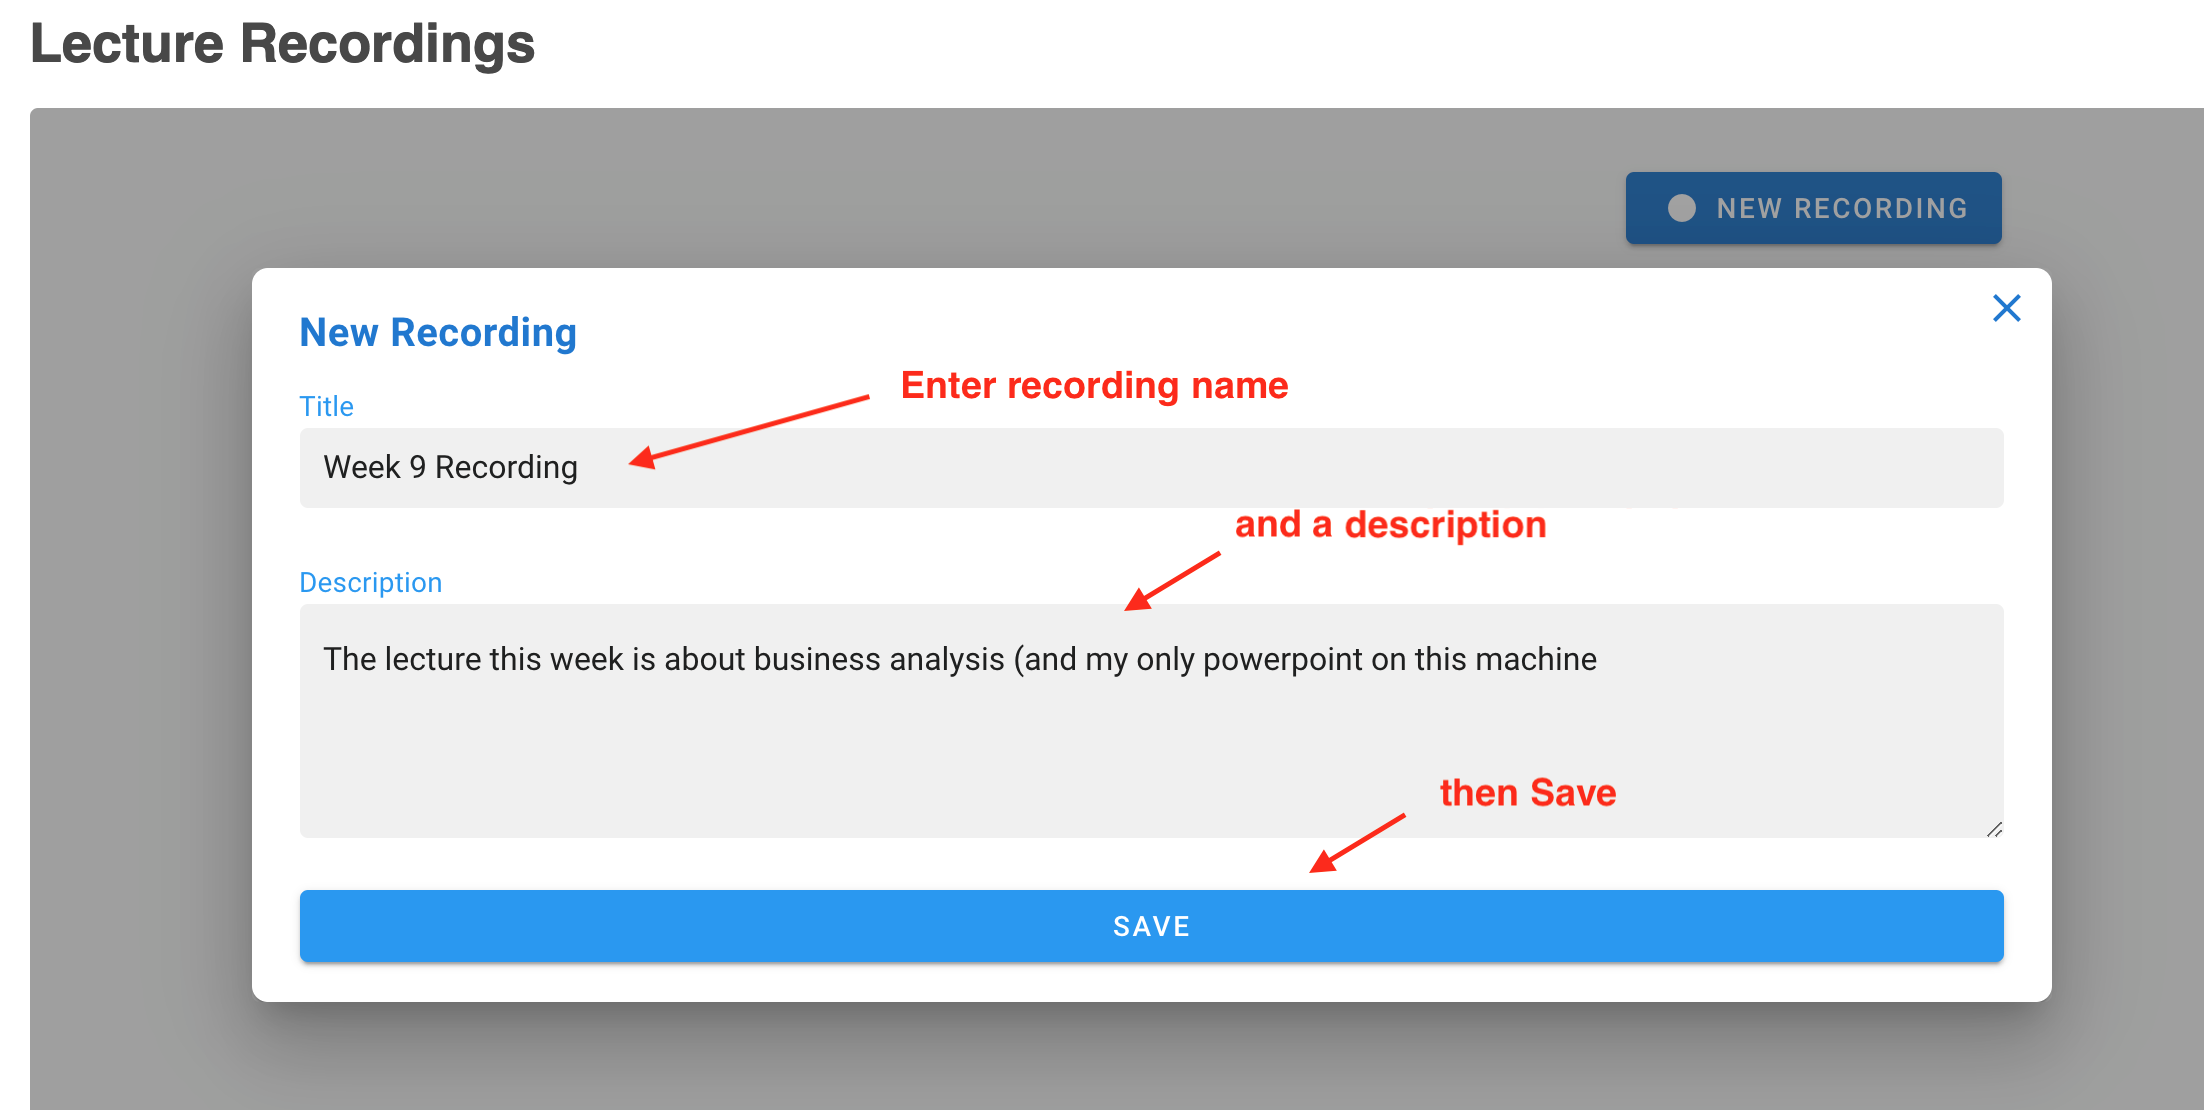
- If this is your first access, you will only see the New recording button. Click there to create a recording. This will launch a dialog to enter a name and a description for your recording. Enter and click Save.
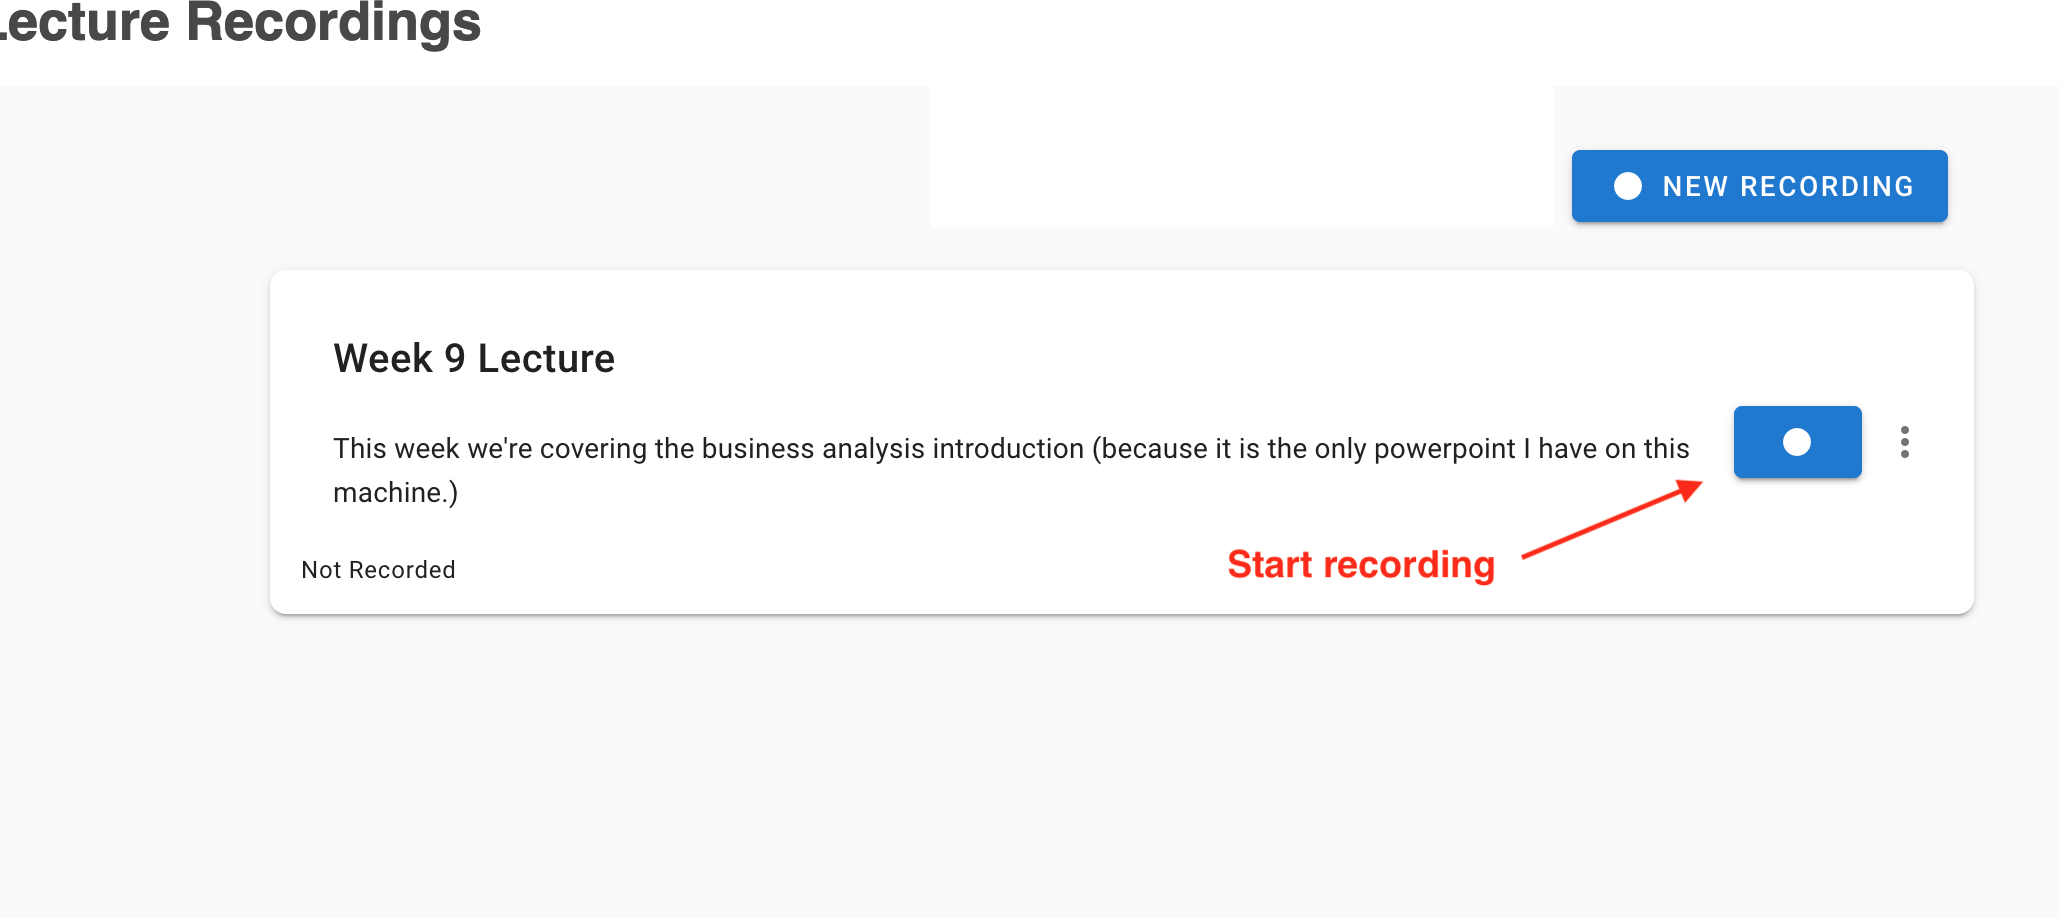
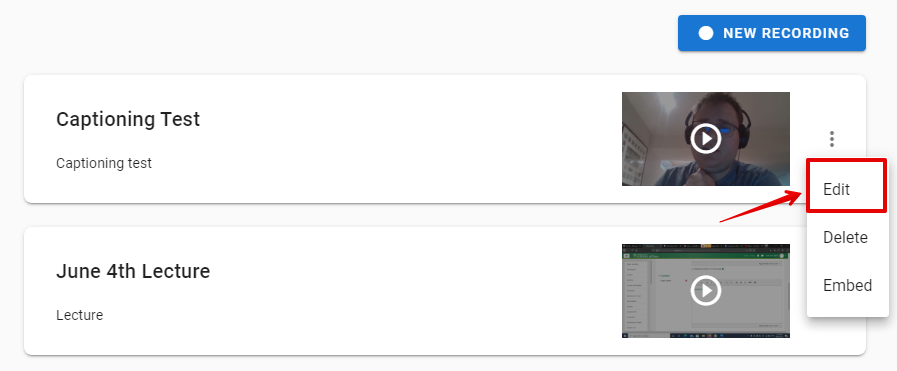
3. Capture your lecture using video or screen recording: - Click the record button for any 'Not recorded' items when you are ready to begin.
- To edit the title or description of an existing recording, click the 3 dots icon to the right of the Record button or the video preview. This can also be used to delete recordings.
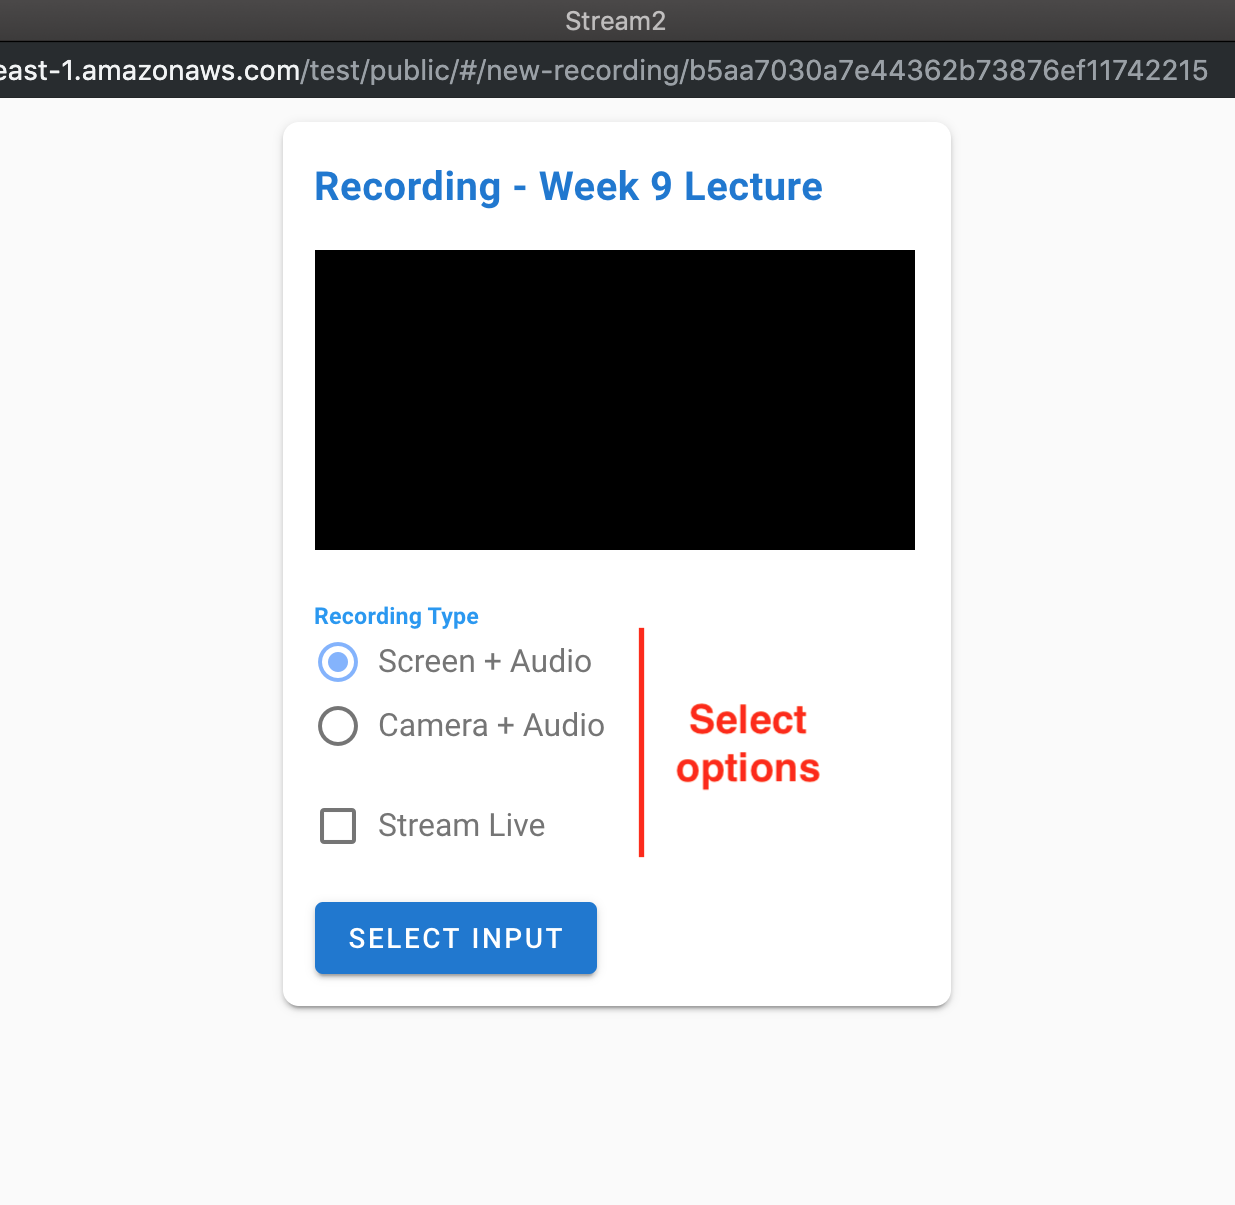
- This will launch the recording controller window where you can select the input: either screen recording with audio or webcam with audio. You also have the option to stream your recording live as you are making it. The recommended practice is to use Stream2 to screen record lectures for students to view later. (Please see the known issues for more details about live streaming.) Click Select Input once selected.
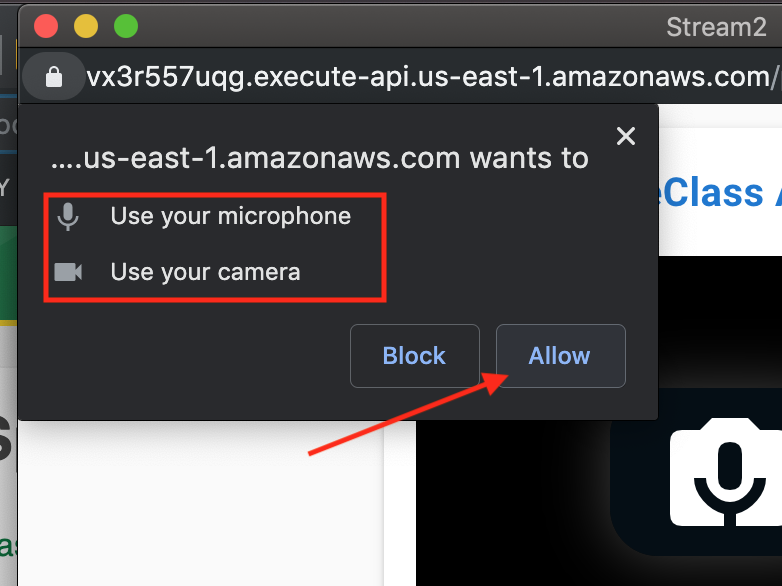
- If you select, video your webcam will be enabled. The first time you record, you will need to give permission for Stream2 to access your microphone and camera.
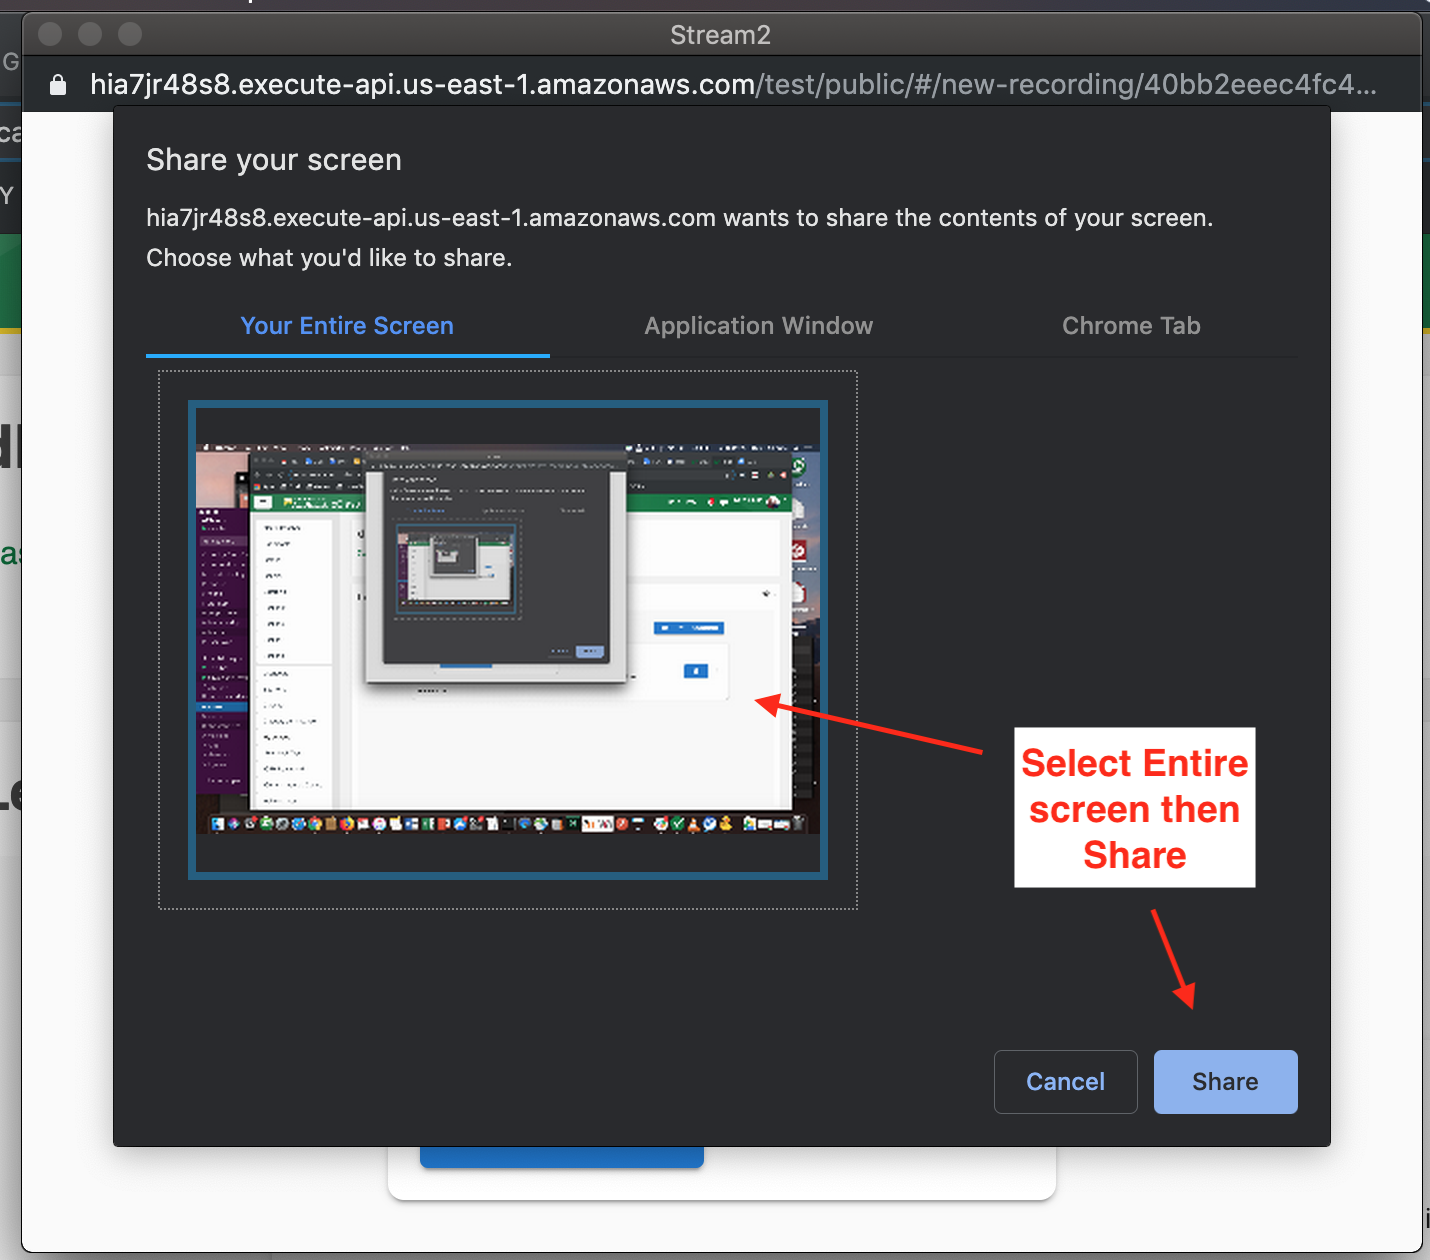
- If you select screen recording, you will see a dialogue to select a region or application. Because of a known issue, it is recommended that you always record your entire desktop at this time.
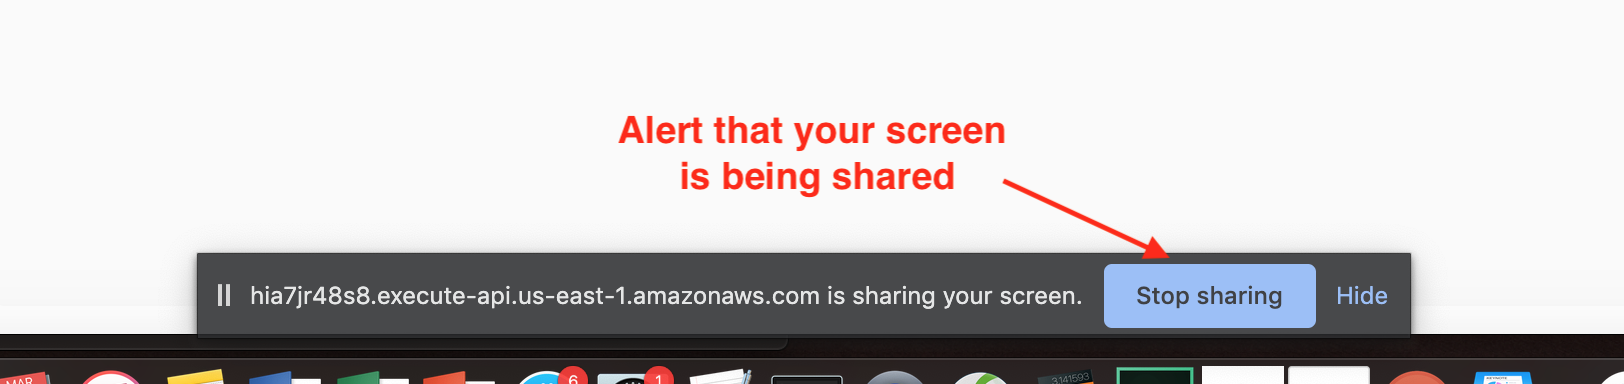
- Once you have selected your input type it will begin sharing that with Stream2 - you will see a preview in the recording controller window and an alert at the bottom of the screen notifying you that your screen is being shared:
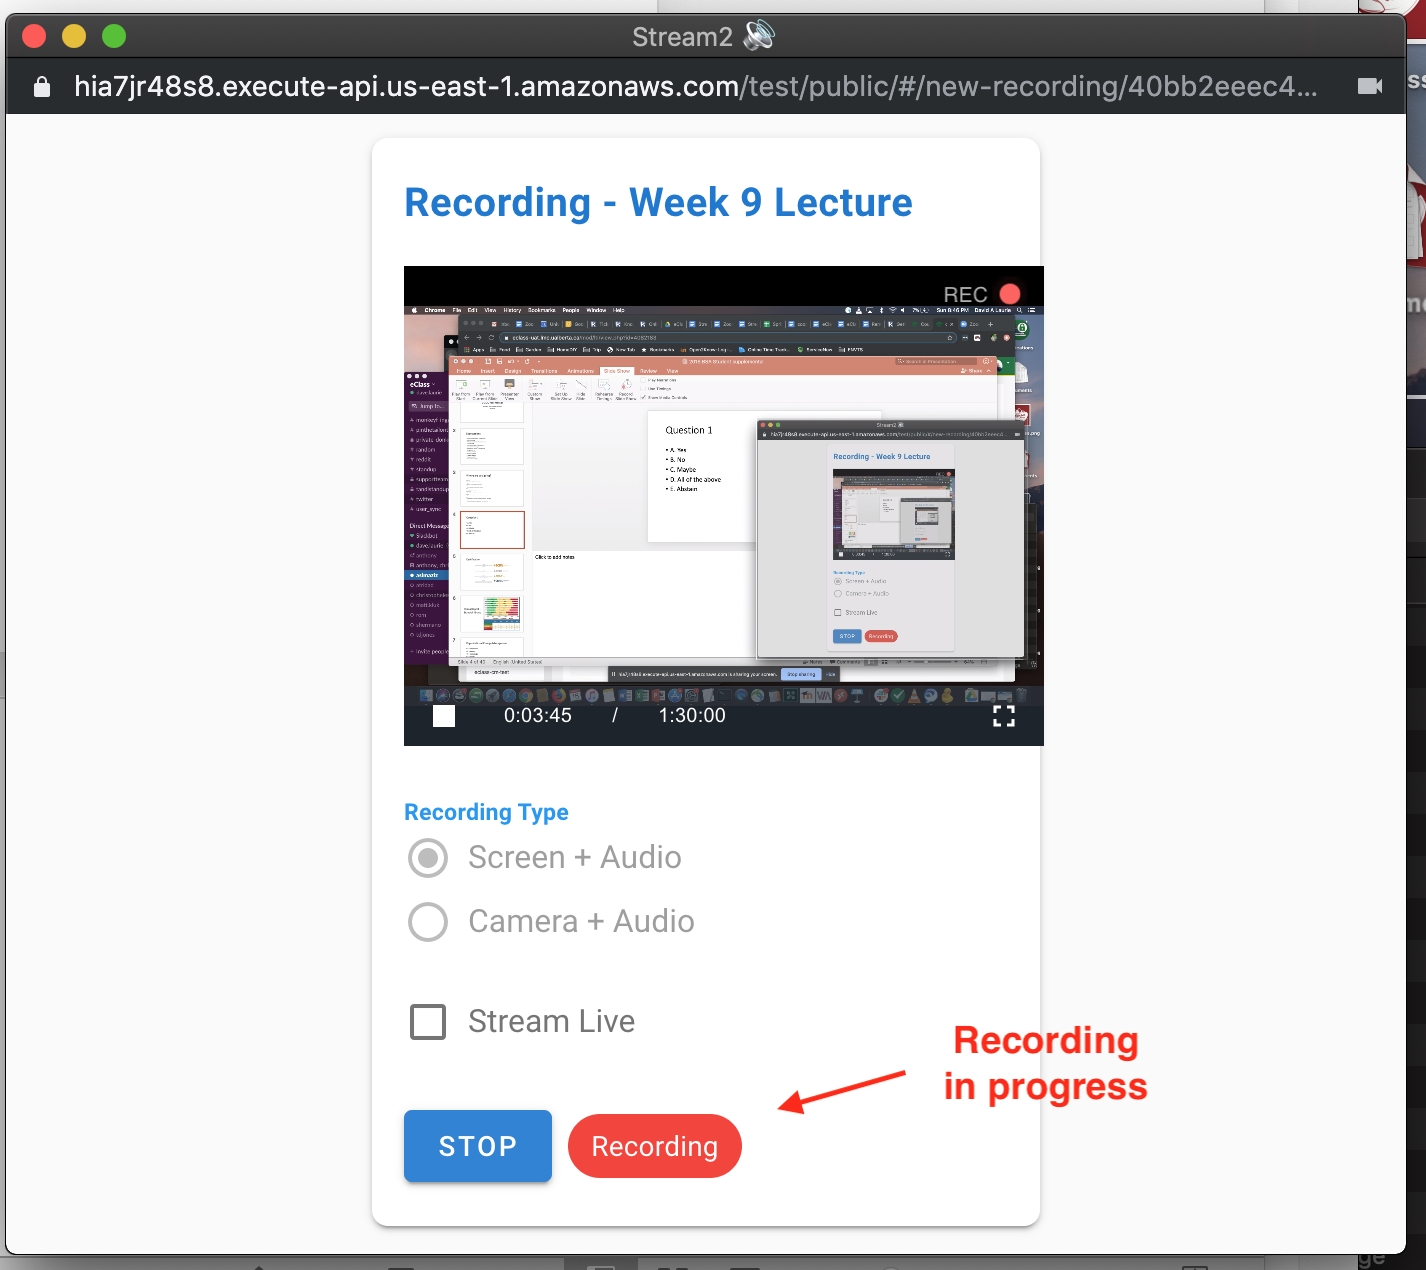
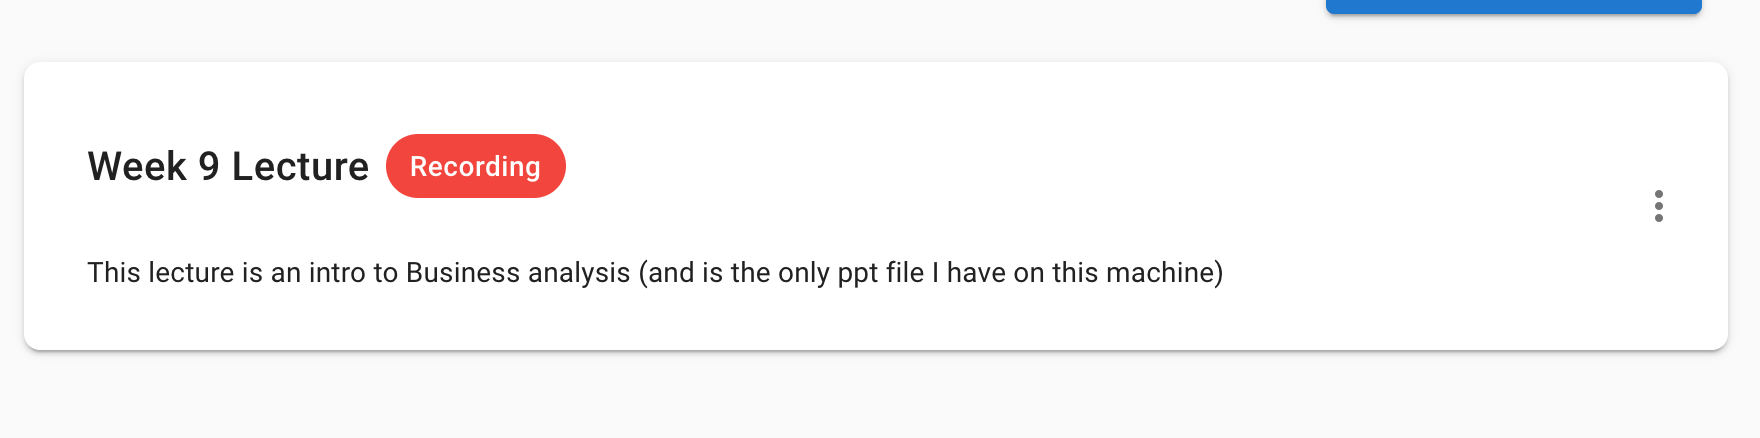
- You can now begin recording when you are ready by clicking Record. This will be reflected on the recording controller window (which may now be minimized or moved but must not be closed during recording) and on the Stream2 recording list in eClass.
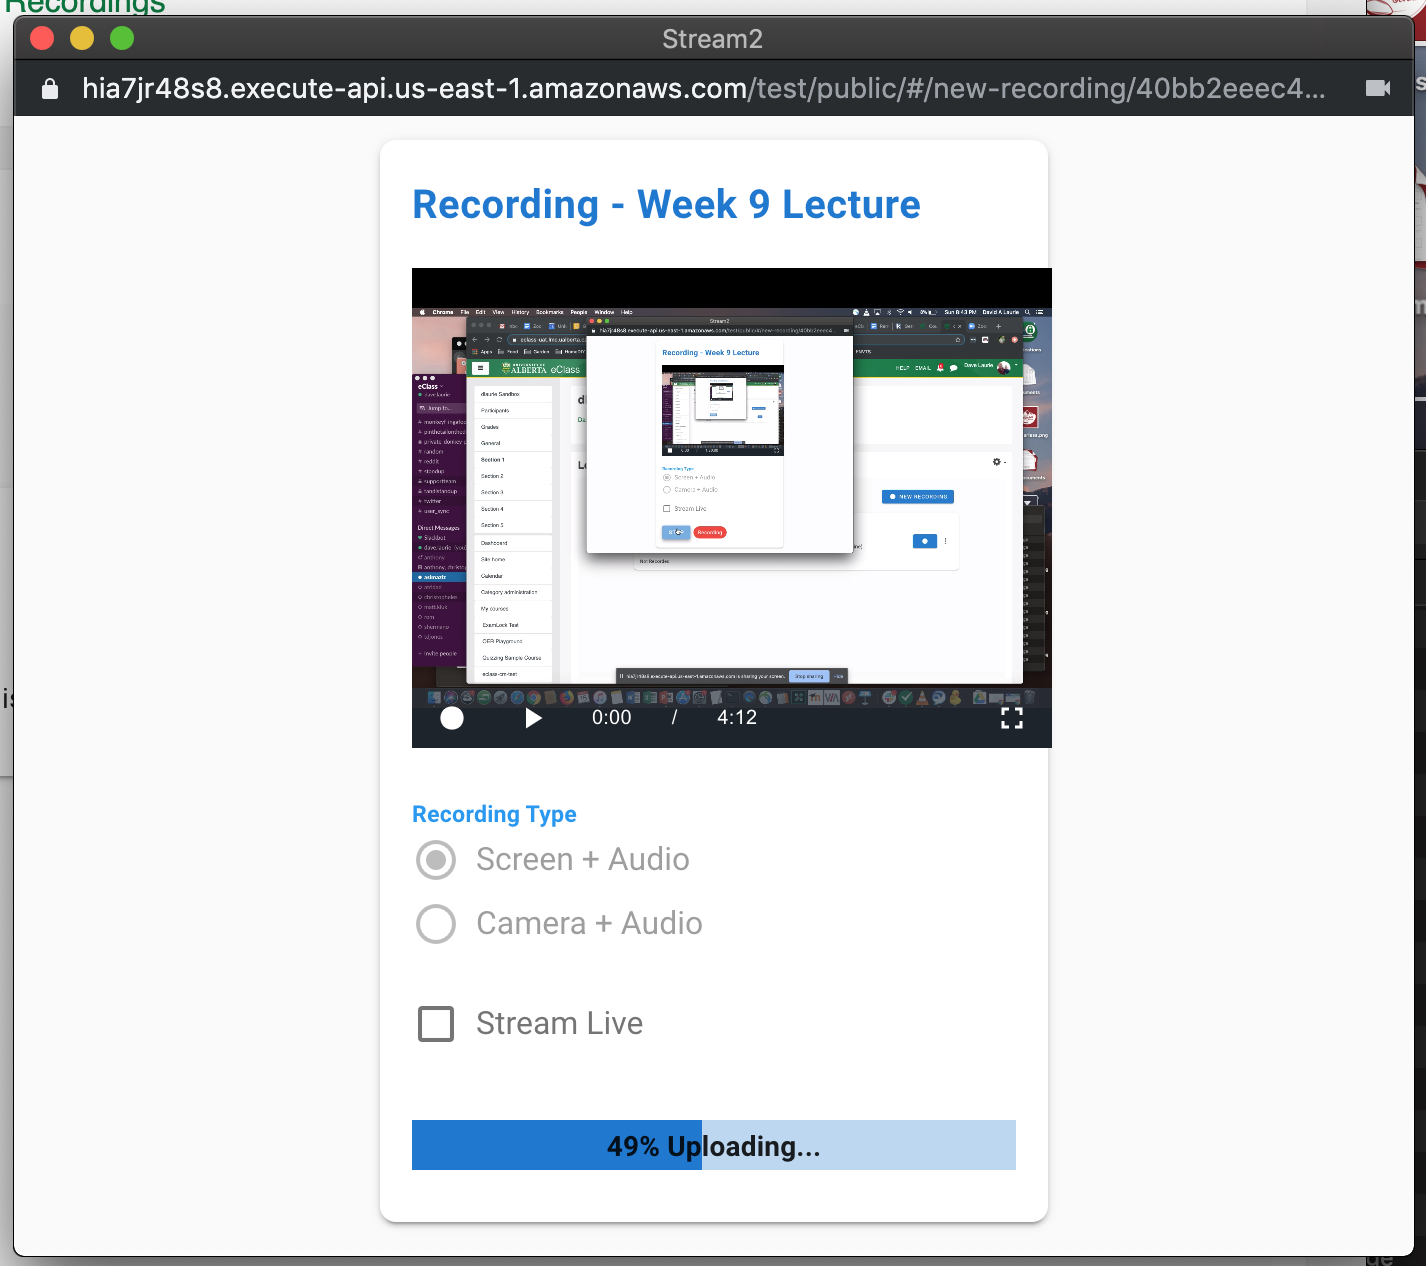
- You can now begin speaking and performing the activity you wish to record, eg. delivering a powerpoint lecture. You do this as you normally would. - When you are finished, locate the recording controller window and click Stop. Your recording should begin uploading automatically. When this is complete, the recording controller window will automatically close.
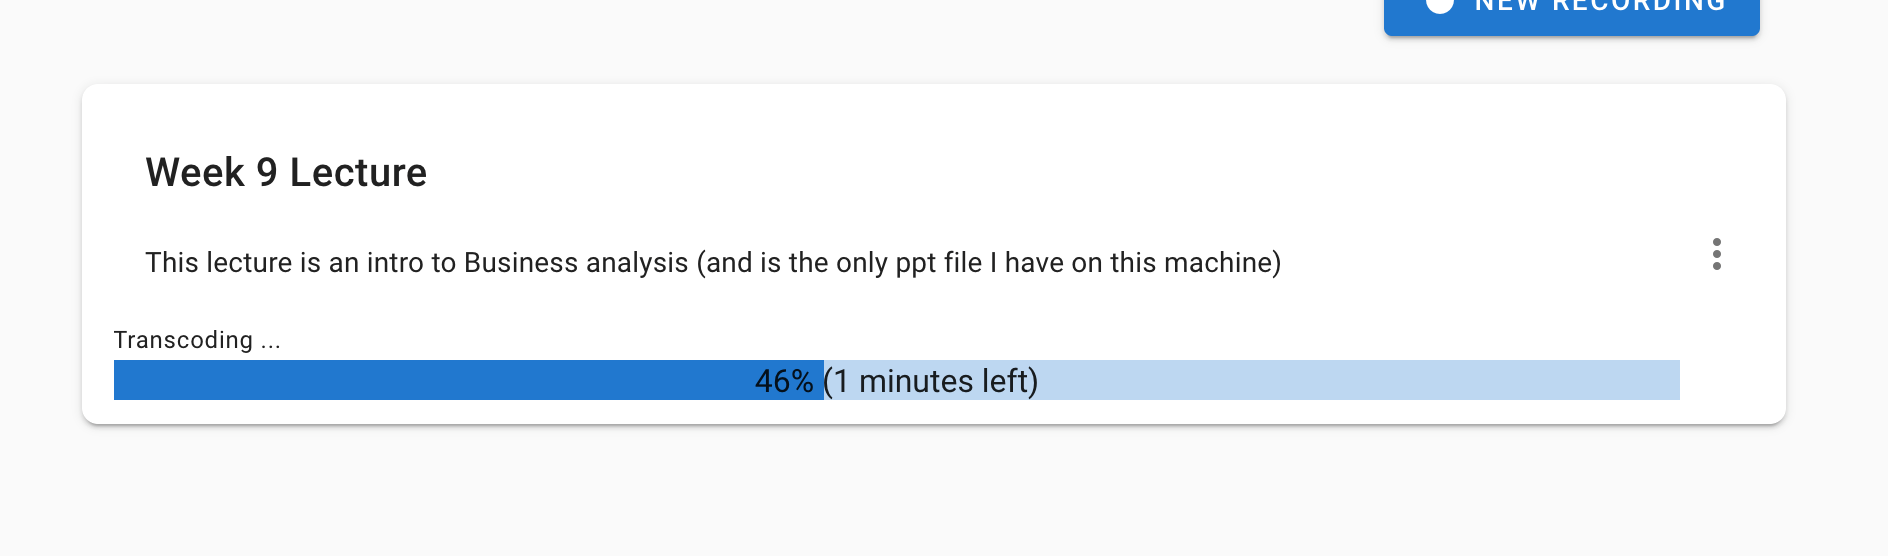
- Now when you navigate back to the Stream2 interface, you will see that the video is being processed.
- Once this is complete, you can then embed the video into eClass.
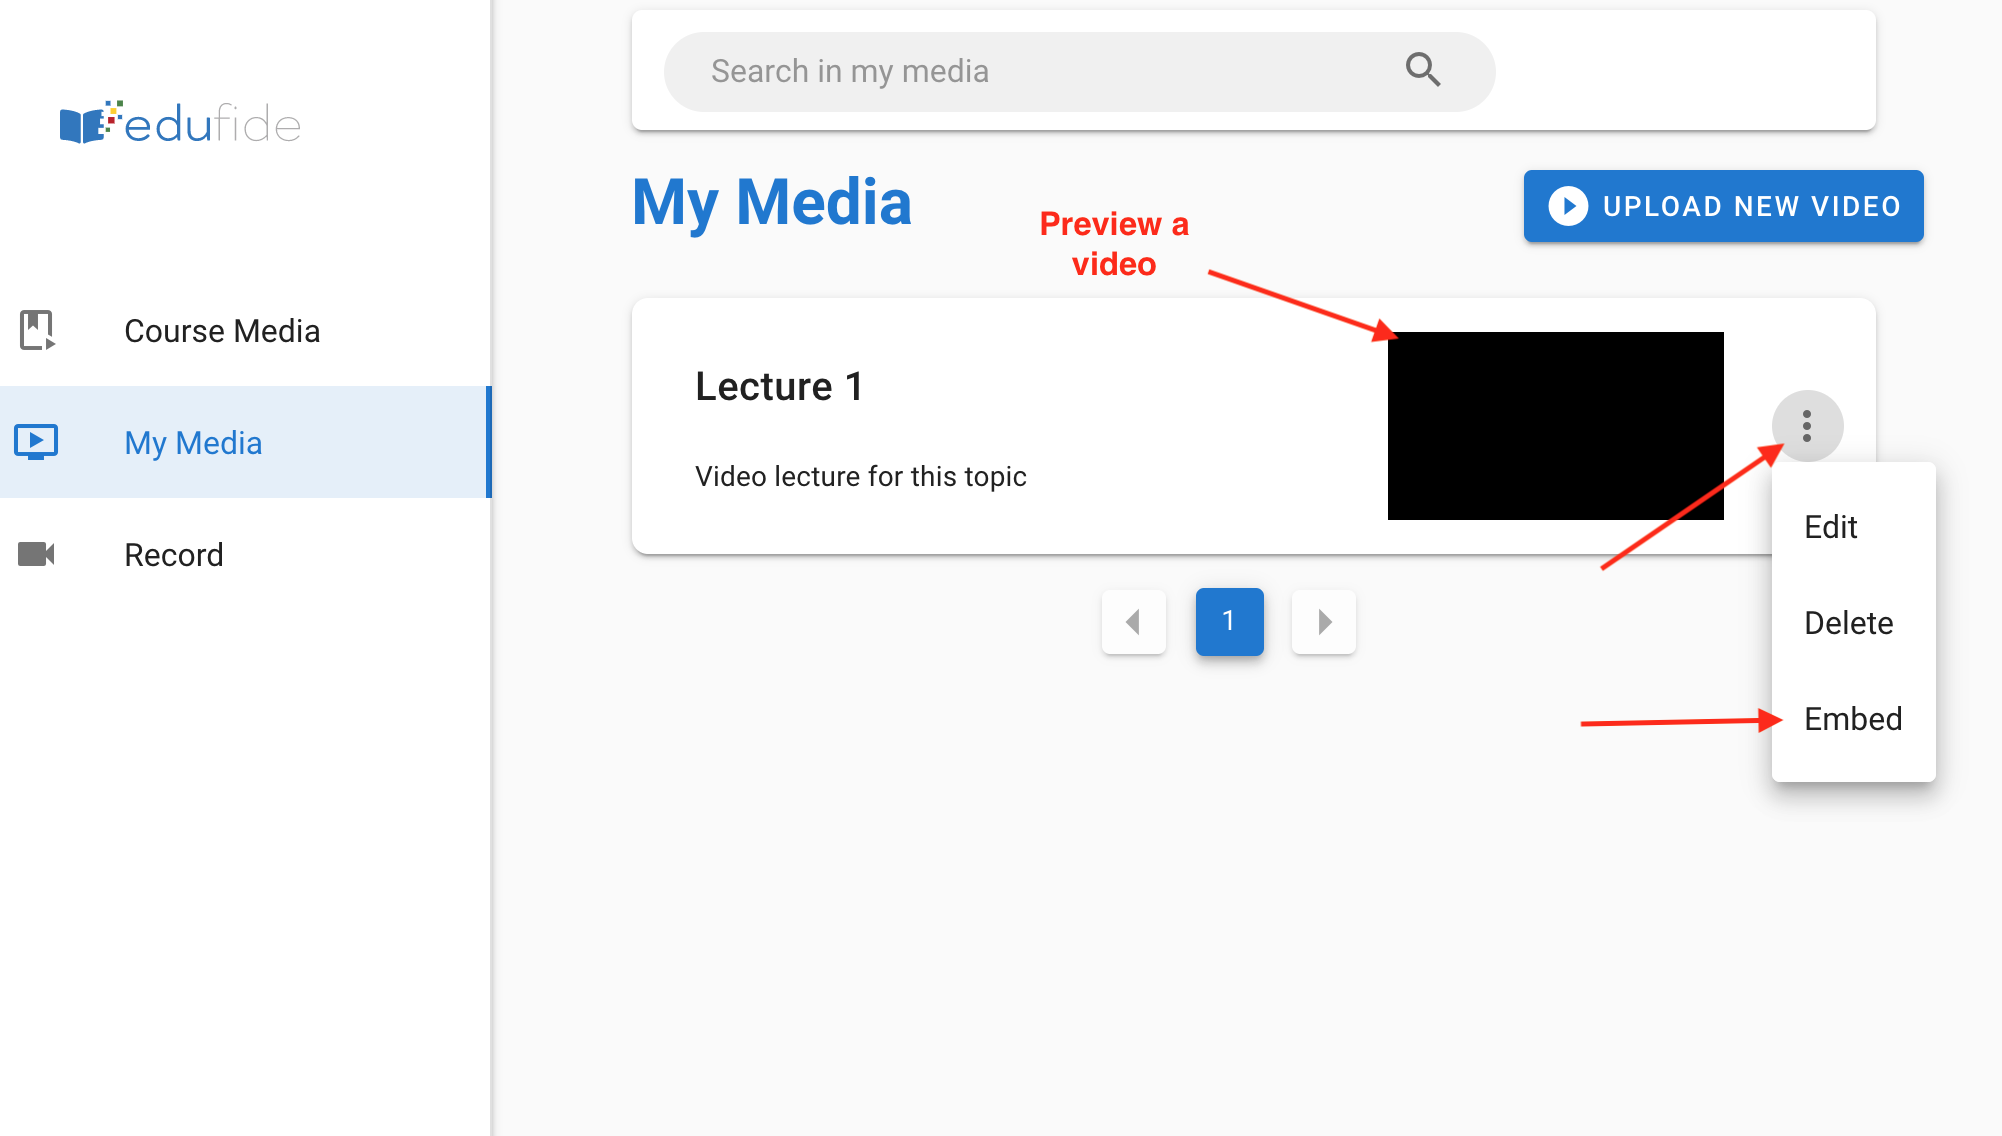
4. To embed the recording into eClass, click the action icon to the right of a video and select Embed:
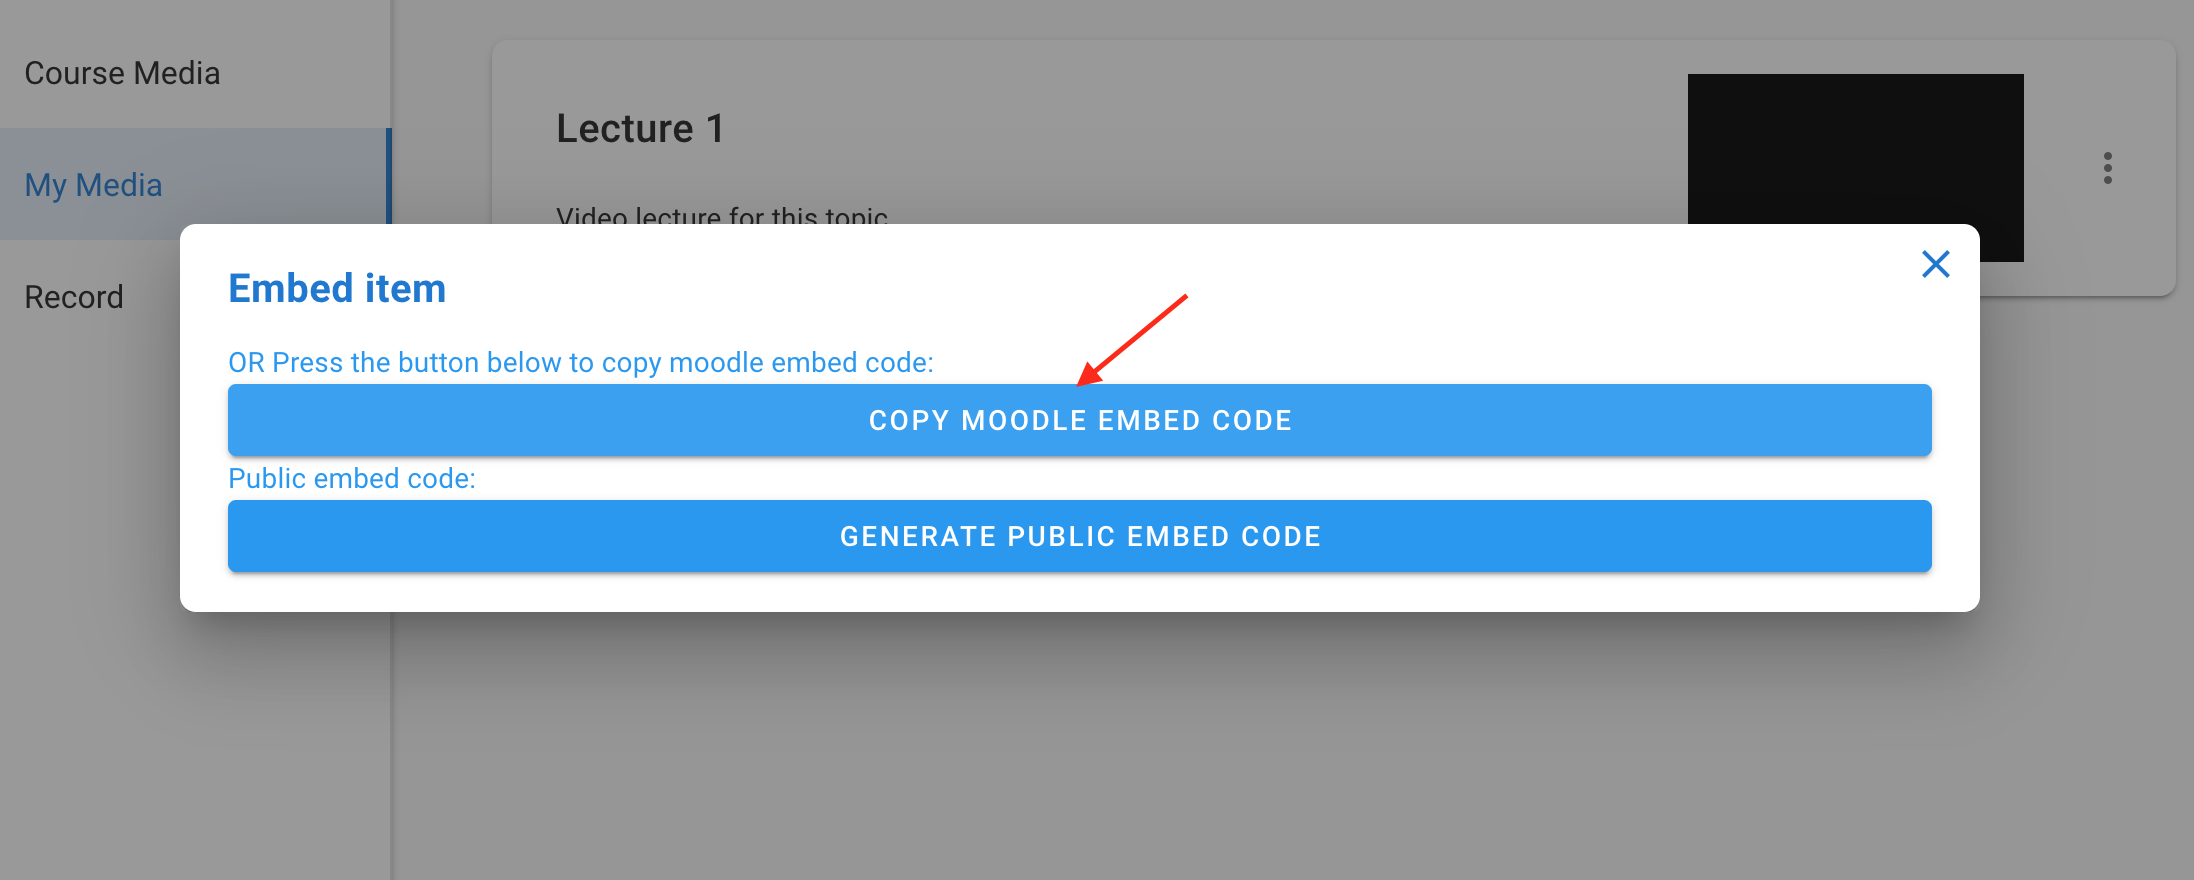
Select Copy Moodle Embed Code which automatically copies the required code and closed the embed overlay (watching these videos require students to authenticate into eClass.) The public embed code link would be used to display a video on a web page outside of eClass and is only available to instructors:
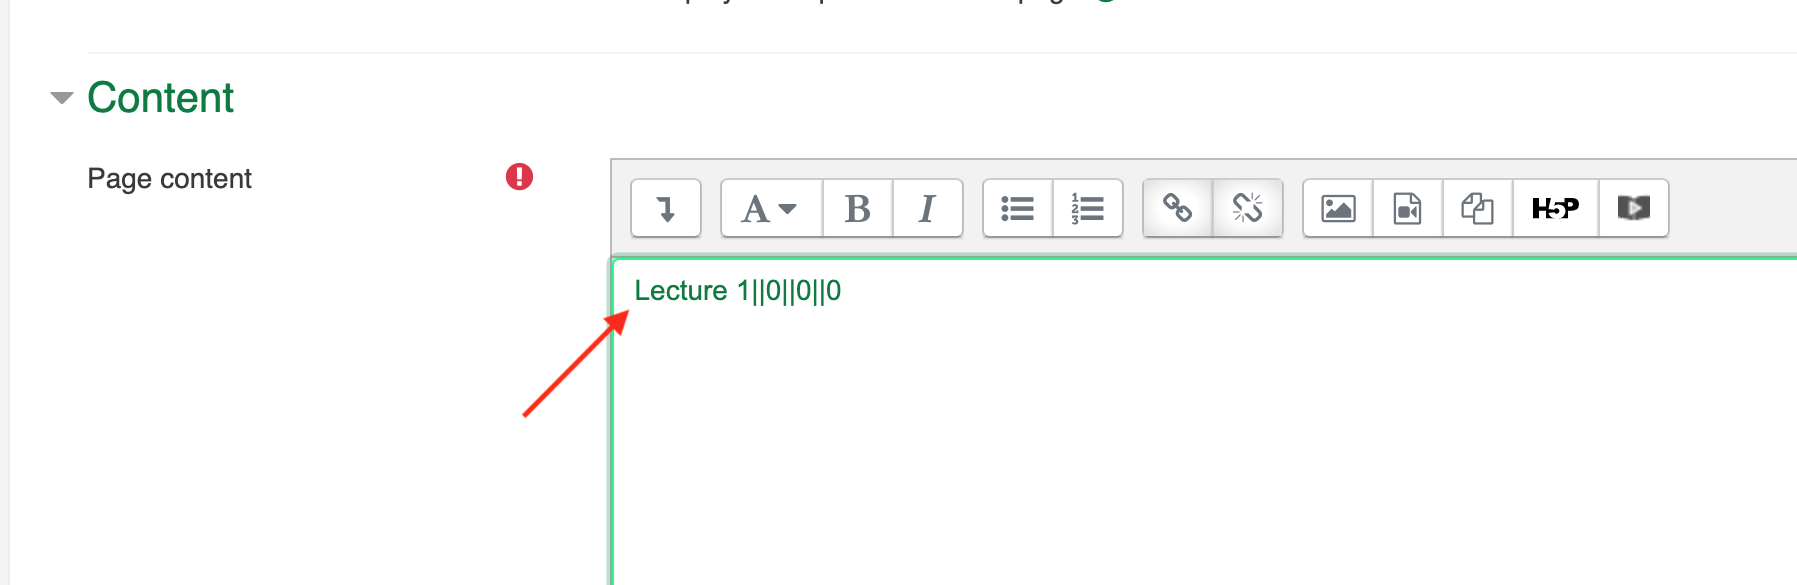
Then close the Stream2 media list, and paste the content in the required content area and click Save:
Embedded content will display in a standard media player with per user controls for video speed, captioning, and output quality. | |
|
|
Knowledgebase: Learning Environment Tools


Comments (0)