|
Switching Your Course Start and End Dates (Course Management block)
Last modified on 04 July 2023 02:03 PM
|
|
|
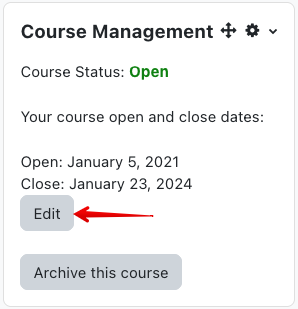
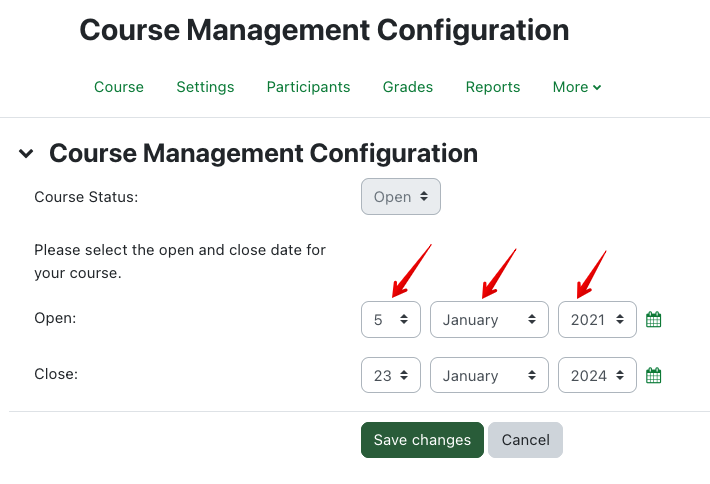
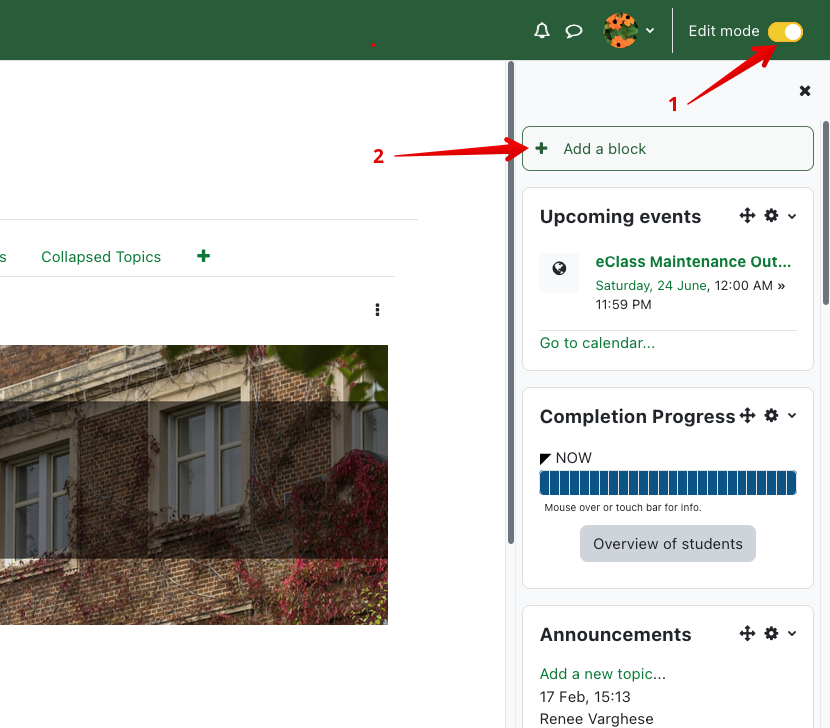
Course visibility is normally determined automatically by the course access dates specified when requesting an eClass for credit sections (see the article Student Access to Your Course for more details on that step of the course request process). Your students will gain or lose access to your course at 12:01 am on those dates. Once those dates are set, they can subsequently be viewed or adjusted inside your live eClass course using the Course Management block. It is also possible to manually change course visibility at any time. This block can only be added to a course by course instructors, designers, or TAs. The block is visible to all administrative roles but cannot be seen by students, auditors, or guests. The Course Management block can be moved to the top of the 'Block Drawer' to make the course visibility status more noticeable.
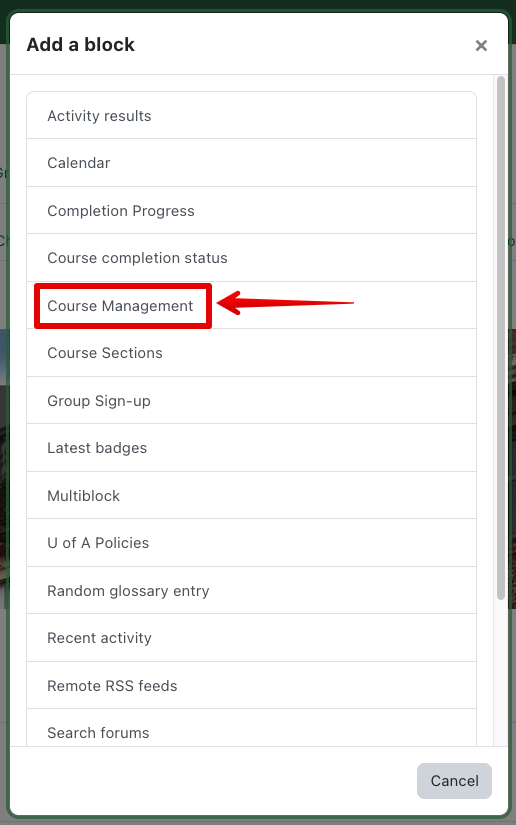
If the Course Management block is not present in your course, either because it has been inadvertently removed or you are in a non-credit course, it can be easily (re)added: Adding the Course Management block
The page should refresh and there will now be a block titled COURSE MANAGEMENT at the very bottom on the right-hand side block drawer. This will show whatever dates you specified during your initial course request (or will be empty if you requested a non-credit course). You may drag the block to move it up to place it where ever you choose it to be.
| |
|
|
Knowledgebase: eClass > eClass For Instructors