|
Adding Books
Last modified on 05 July 2023 04:13 PM
|
The book resource is very similar to the page or tab display resources, except that it allows you to organize it according to chapters and subchapters. The book resource is good for displaying a large amount of content in an organized fashion. This can be useful if you feel your main course page is getting too long.
The book module allows you to have main chapters and sub-chapters, but it goes no deeper. In other words, sub chapters cannot have their own sub chapters, as the module is intended to be a relatively simple resource for teachers and students.
Books also have two useful features: previously created websites can be imported directly into the Book module, and books can be printed entirely or by chapter.
Adding a Book
- Toggle on the Edit mode in the top right of your course.
- Move to the topic area where you wish to add content (the week, unit, etc…) and click on the Add an Activity or Resource button.
- Click on the Book icon.
- A new page will appear with the book settings.
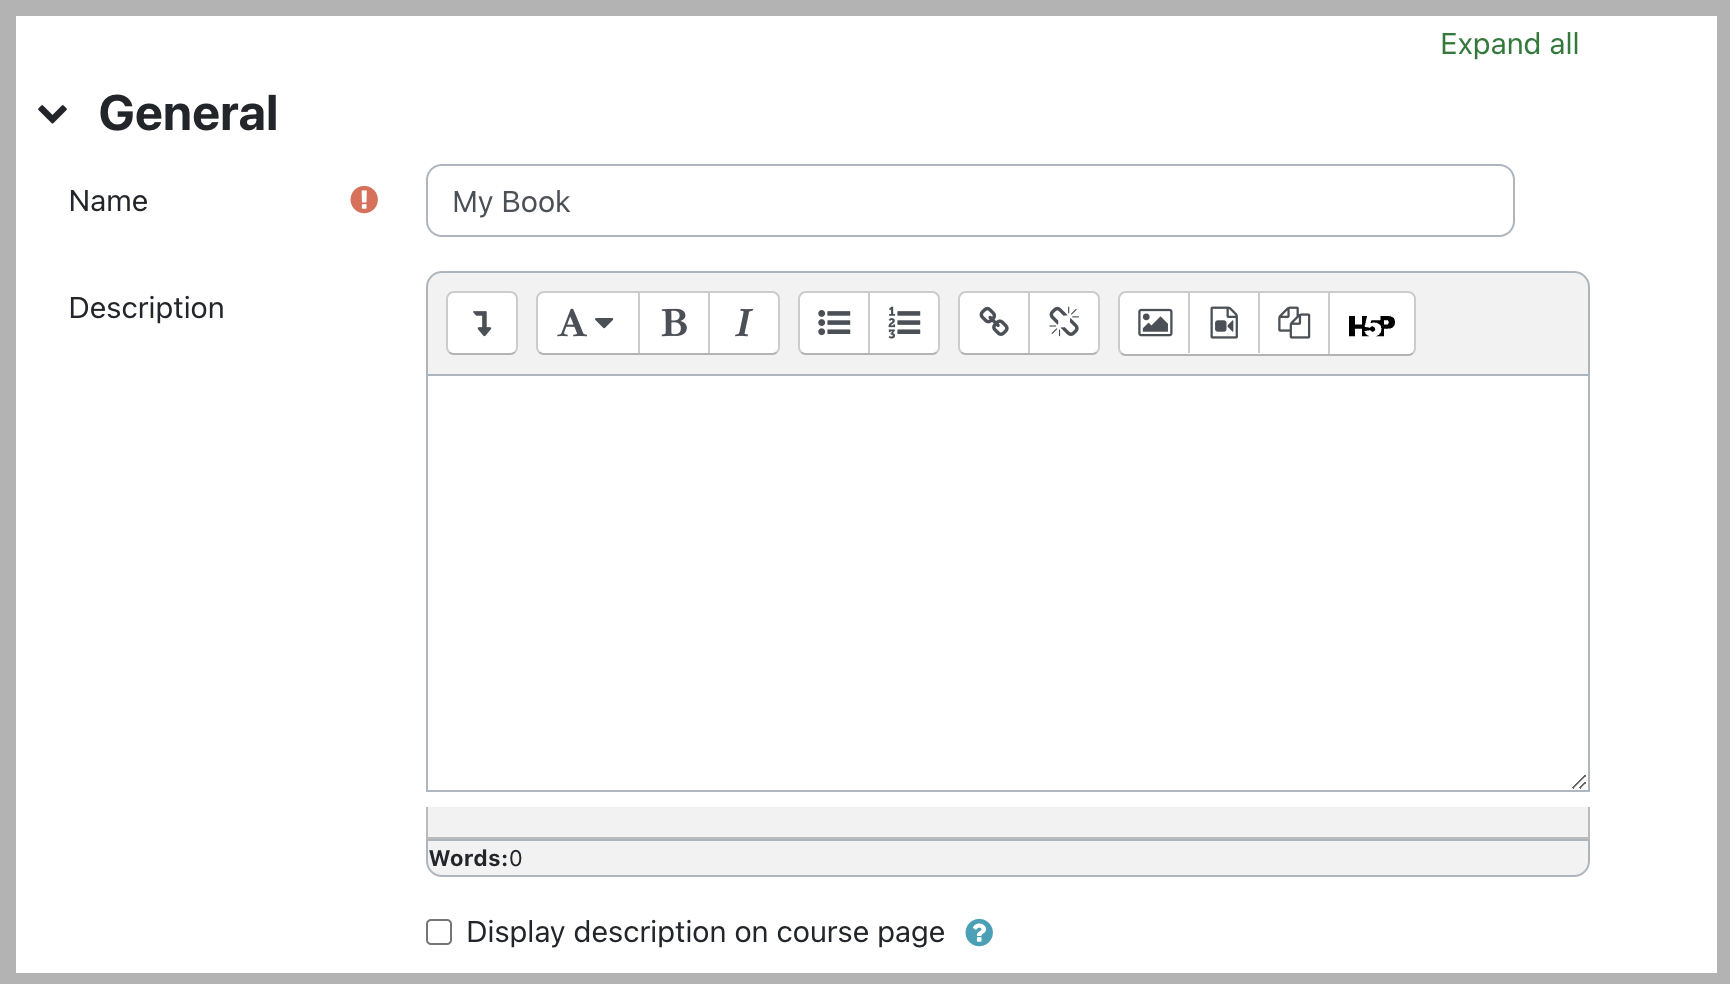
General
- "Name" is required. You may enter the title of your book here.
- "Description": You may provide a brief description of your book’s content here.
- "Display description on course page": Toggles whether or not the description of your book will be displayed on the course page below the link to your book.
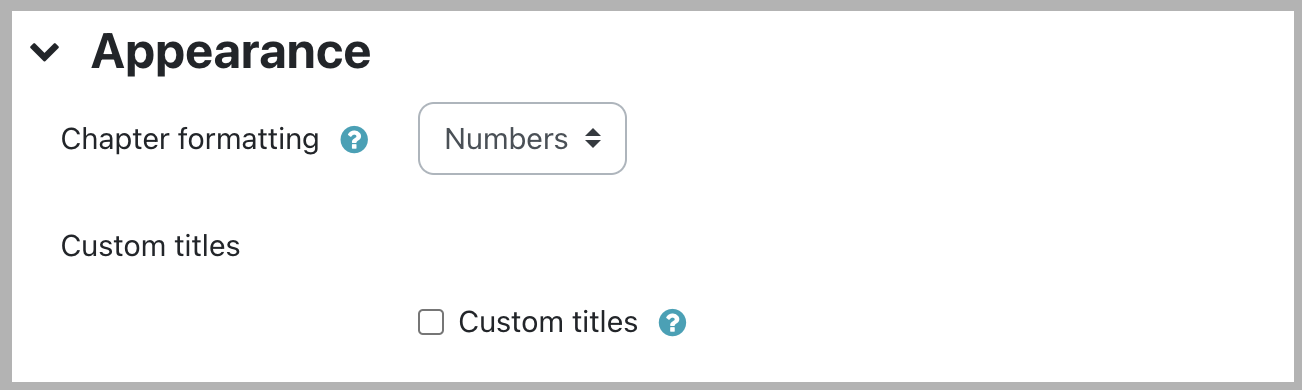
Appearance
- "Chapter formatting": Indicate how you want chapters labelled/numbered. There are several predefined labelling/numbering types:
- 'None' - Chapter and subchapter titles have no formatting.
- 'Numbers' - Chapters and subchapter titles are numbered 1, 1.1, 1.2, 2, …
- 'Bullets' - Subchapters are indented and displayed with bullets in the table of contents.
- 'Indented' - Subchapters are indented in the table of contents.
- "Custom titles": Toggles whether or not the chapter title will not displayed as a heading above the content. A different title (perhaps longer than the chapter title) may be entered as part of the content.
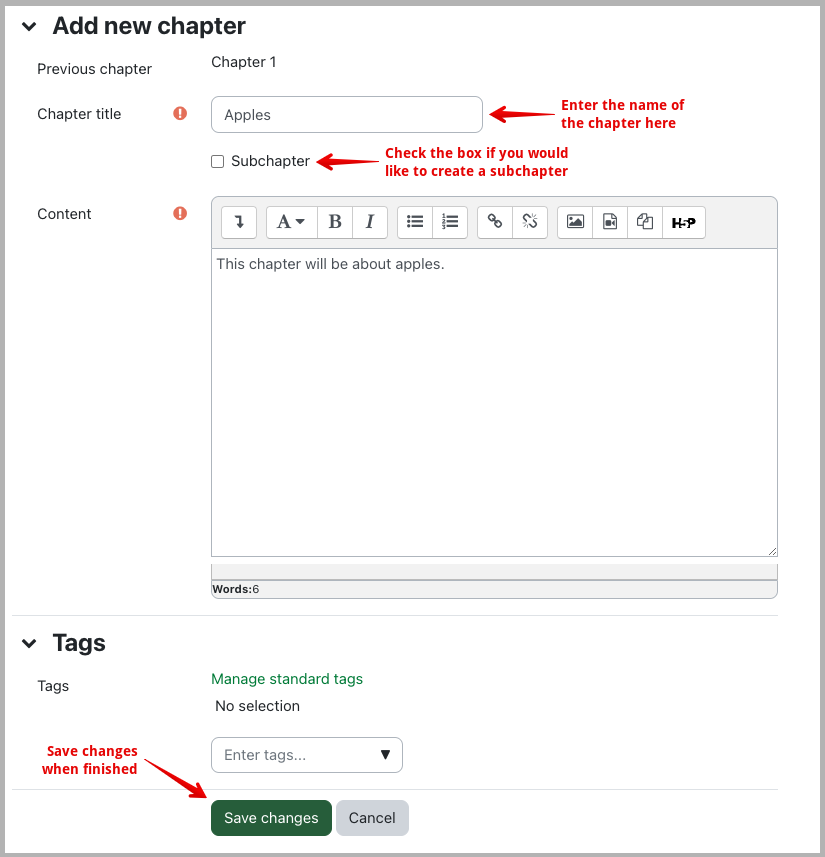
Adding chapters
Once you have selected, and Saved and Displayed, your chapter style, you should be prompted to add a chapter. Then, you can add additional chapters or sub-chapters by clicking the plus sign in the menu that appears to the right of your book activity:
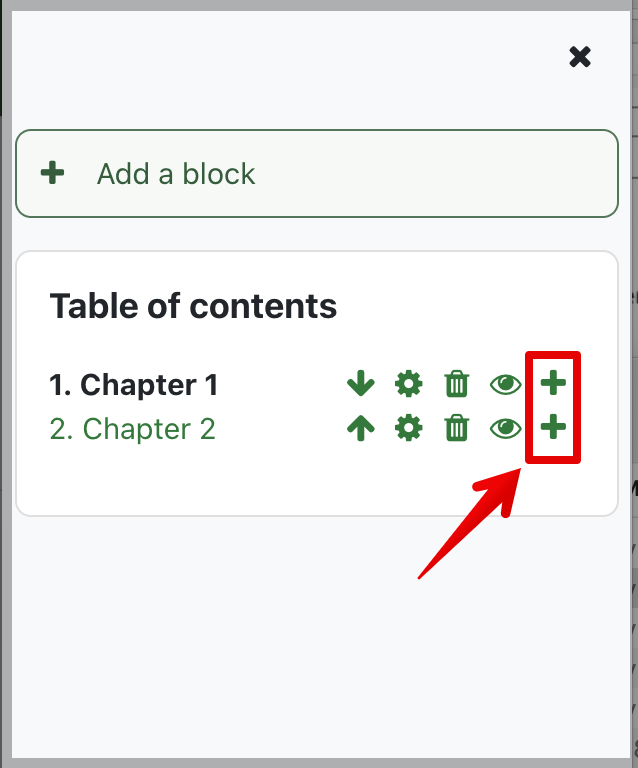
Using the standard icons, you can also reorder your chapters, edit, delete, or hide them.
To add additional Chapters after saving the book, toggle on Edit mode and then Open block drawer

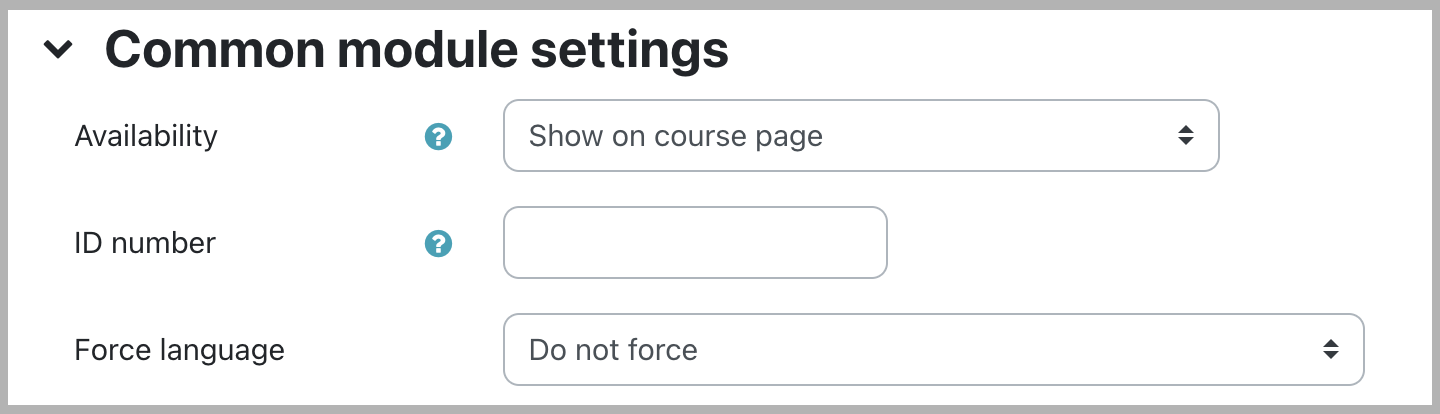
Common module settings
- "Availability": This setting has 3 options:
- 'Show on course page' - The activity is available to students (subject to any access restrictions which may be set).
- 'Hide from students' - The activity is only available to users with permission to view hidden activities (by default, users with the role of teacher or non-editing teacher).
- 'Make available but now shown on course page' - A link to the activity must be provided from elsewhere, such as from a page resource. The activity would still be listed in the gradebook and other reports.
- "ID number": An ID number identifies the activity for grade calculation purposes.
Restrict access
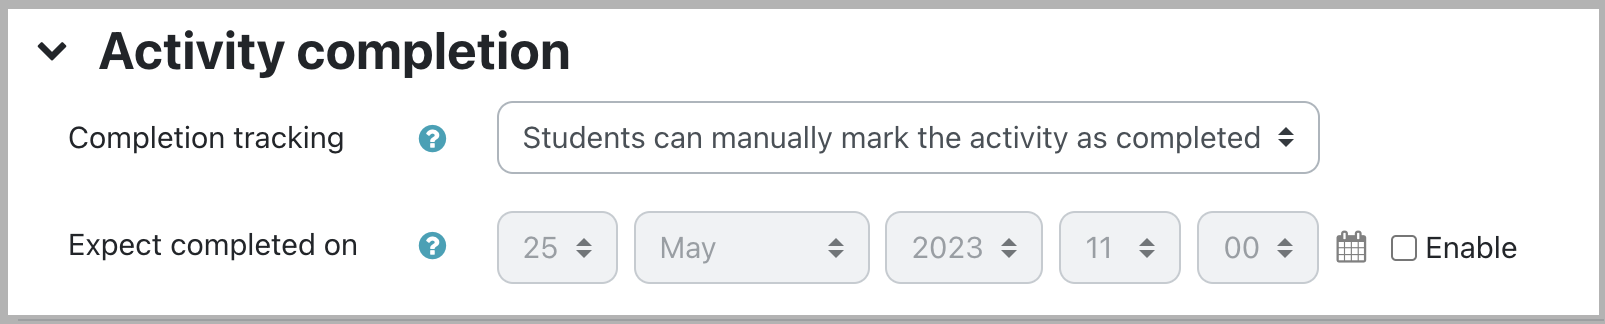
Activity completion
- "Completion tracking": Activity completion is tracked, either manually or automatically, based on certain conditions. Multiple conditions may be set if desired. If so, the activity will only be considered complete when ALL conditions are met. A tick next to the activity name on the course page indicates when the activity is complete.
- "Expect completed on": This setting specifies the date when the activity is expected to be completed. The date is not shown to students and is only displayed in the activity completion report.
Tags
|
 (2 vote(s)) (2 vote(s)) Helpful Not helpful
|