|
This article describes the range of closed caption options available through Zoom meetings.
Instructors can enable two different options for transcriptions in their Zoom meetings:
- By designating a manual transcriber (often provided through the Academic Success Centre) to provide live text transcripts of a course lecture; or
- by enabling an automated live transcription service provided by Zoom.
There are some steps required to set this up depending on the specific scenario required but broadly instructors must
- Enable closed captions or live transcription in their Zoom account settings; and
- Assign a participant (or service) to do the closed captioning.
Enable Transcriptions on a Zoom account:
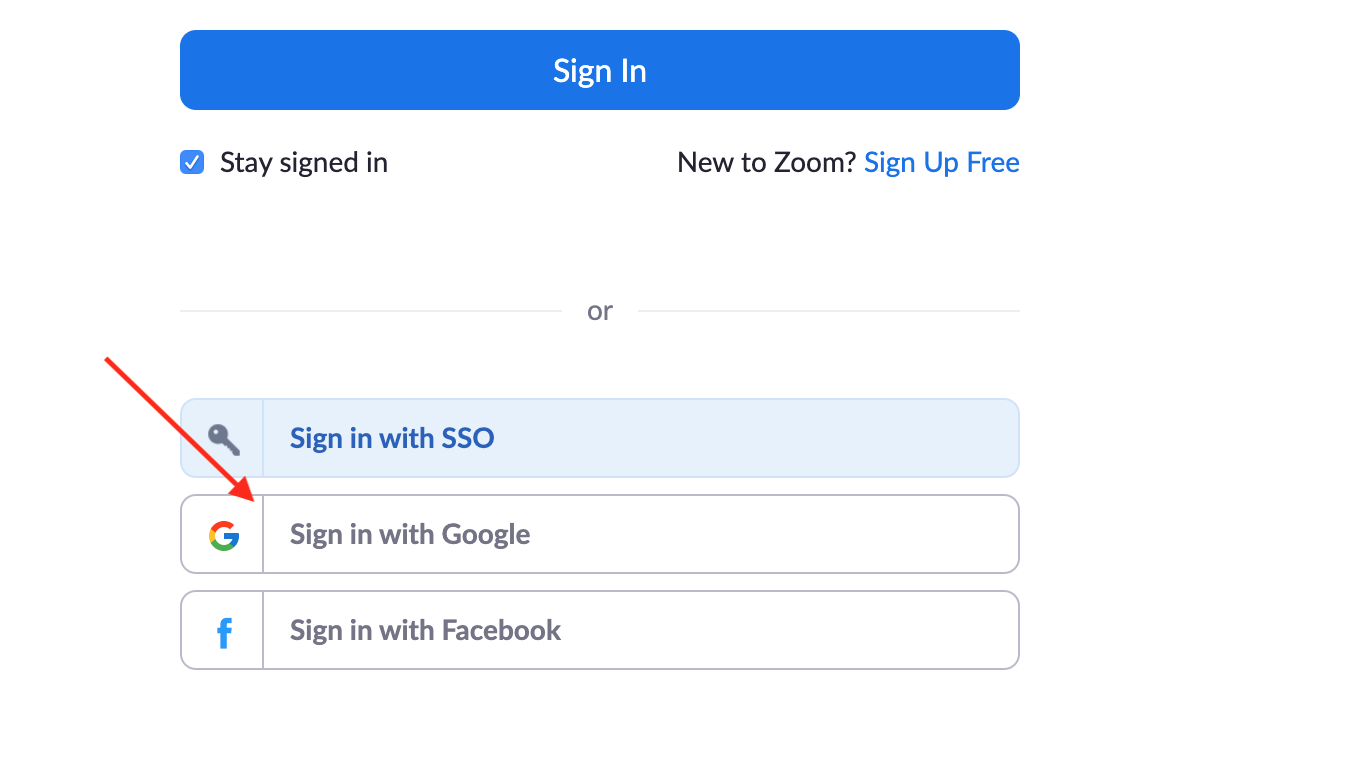
- Sign in to the Zoom web portal. Users sign-in with Google option. Note: this must occur AFTER creating a Zoom account using the Canvas integration.
- Click on your profile (upper-right) on My Account:
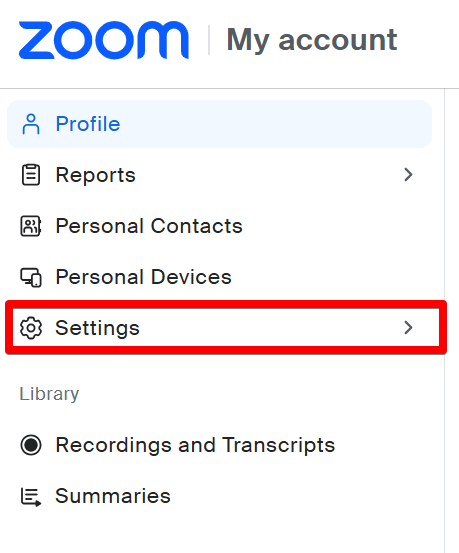
- Then onto Settings on the left-side nav menu:
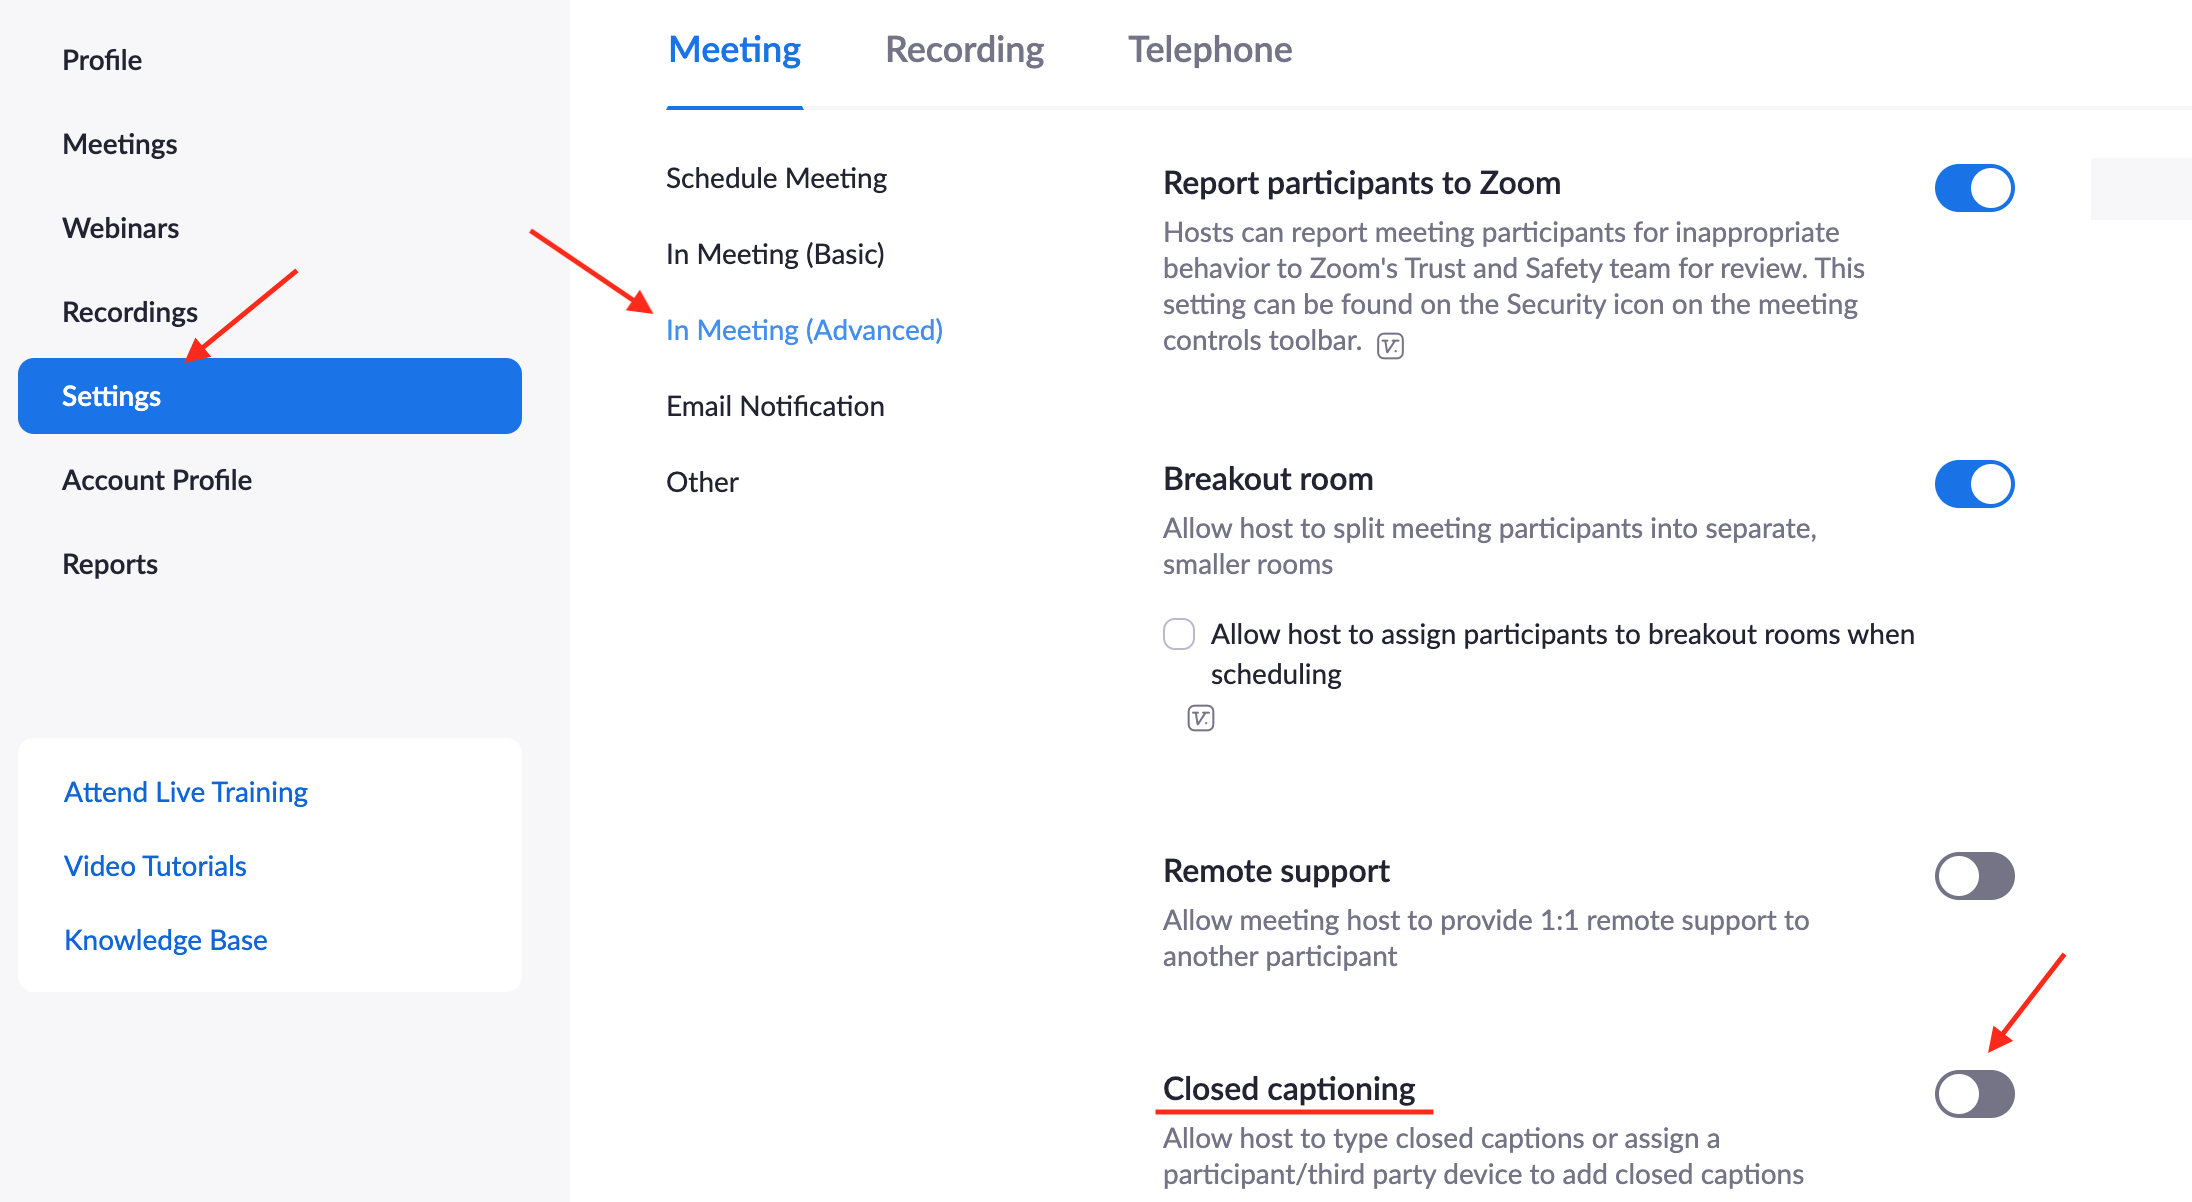
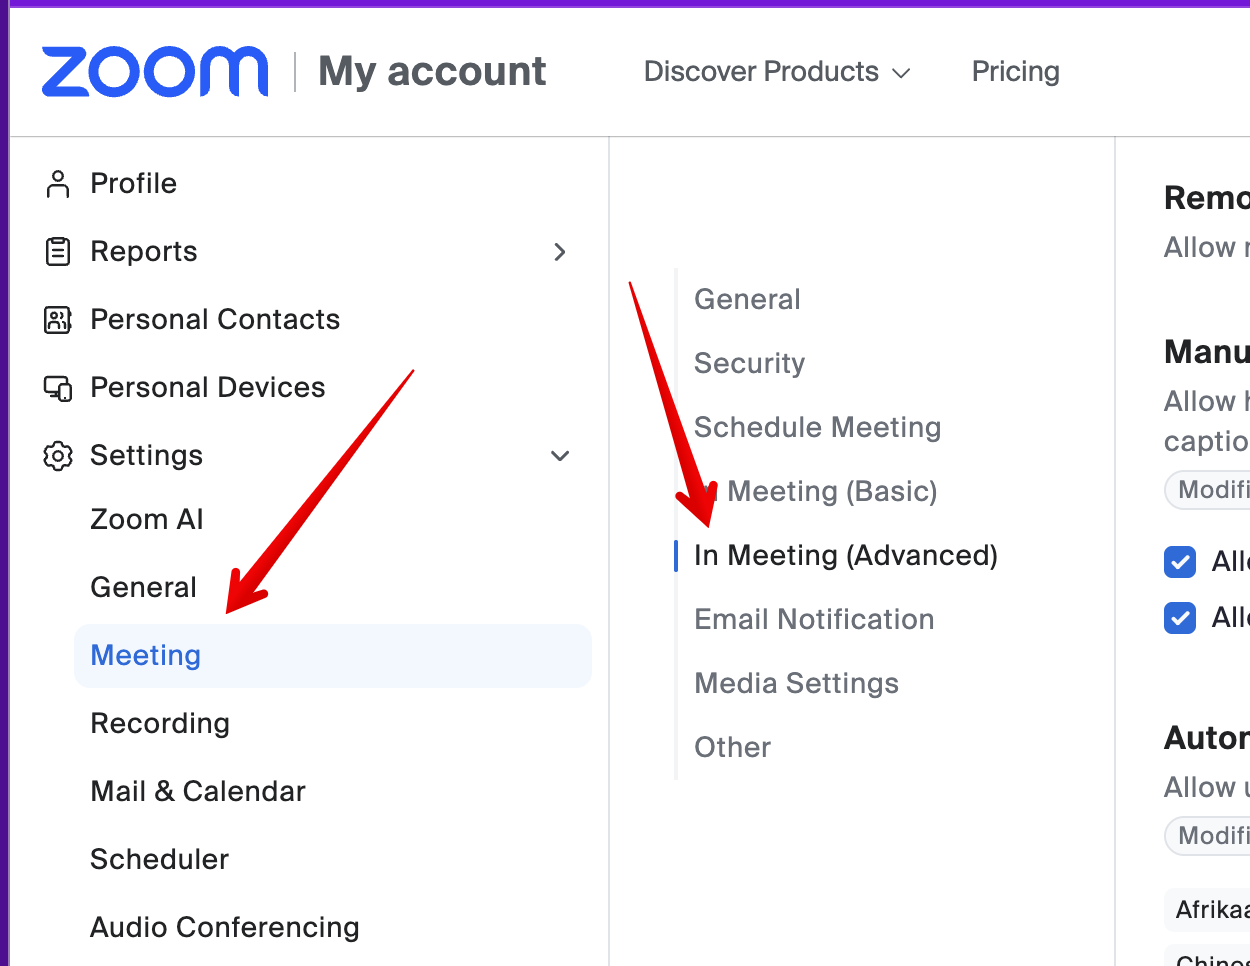
- Then either search for 'Captions' or navigate to Meeting > In Meeting (Advanced).
Here, you will find toggles for Manual Captions (typed manually) and Automated Captions (generated).
- Set your meeting options for manual captions, automatic captions, and transcripts. (see below for how meeting participants will access transcripts):
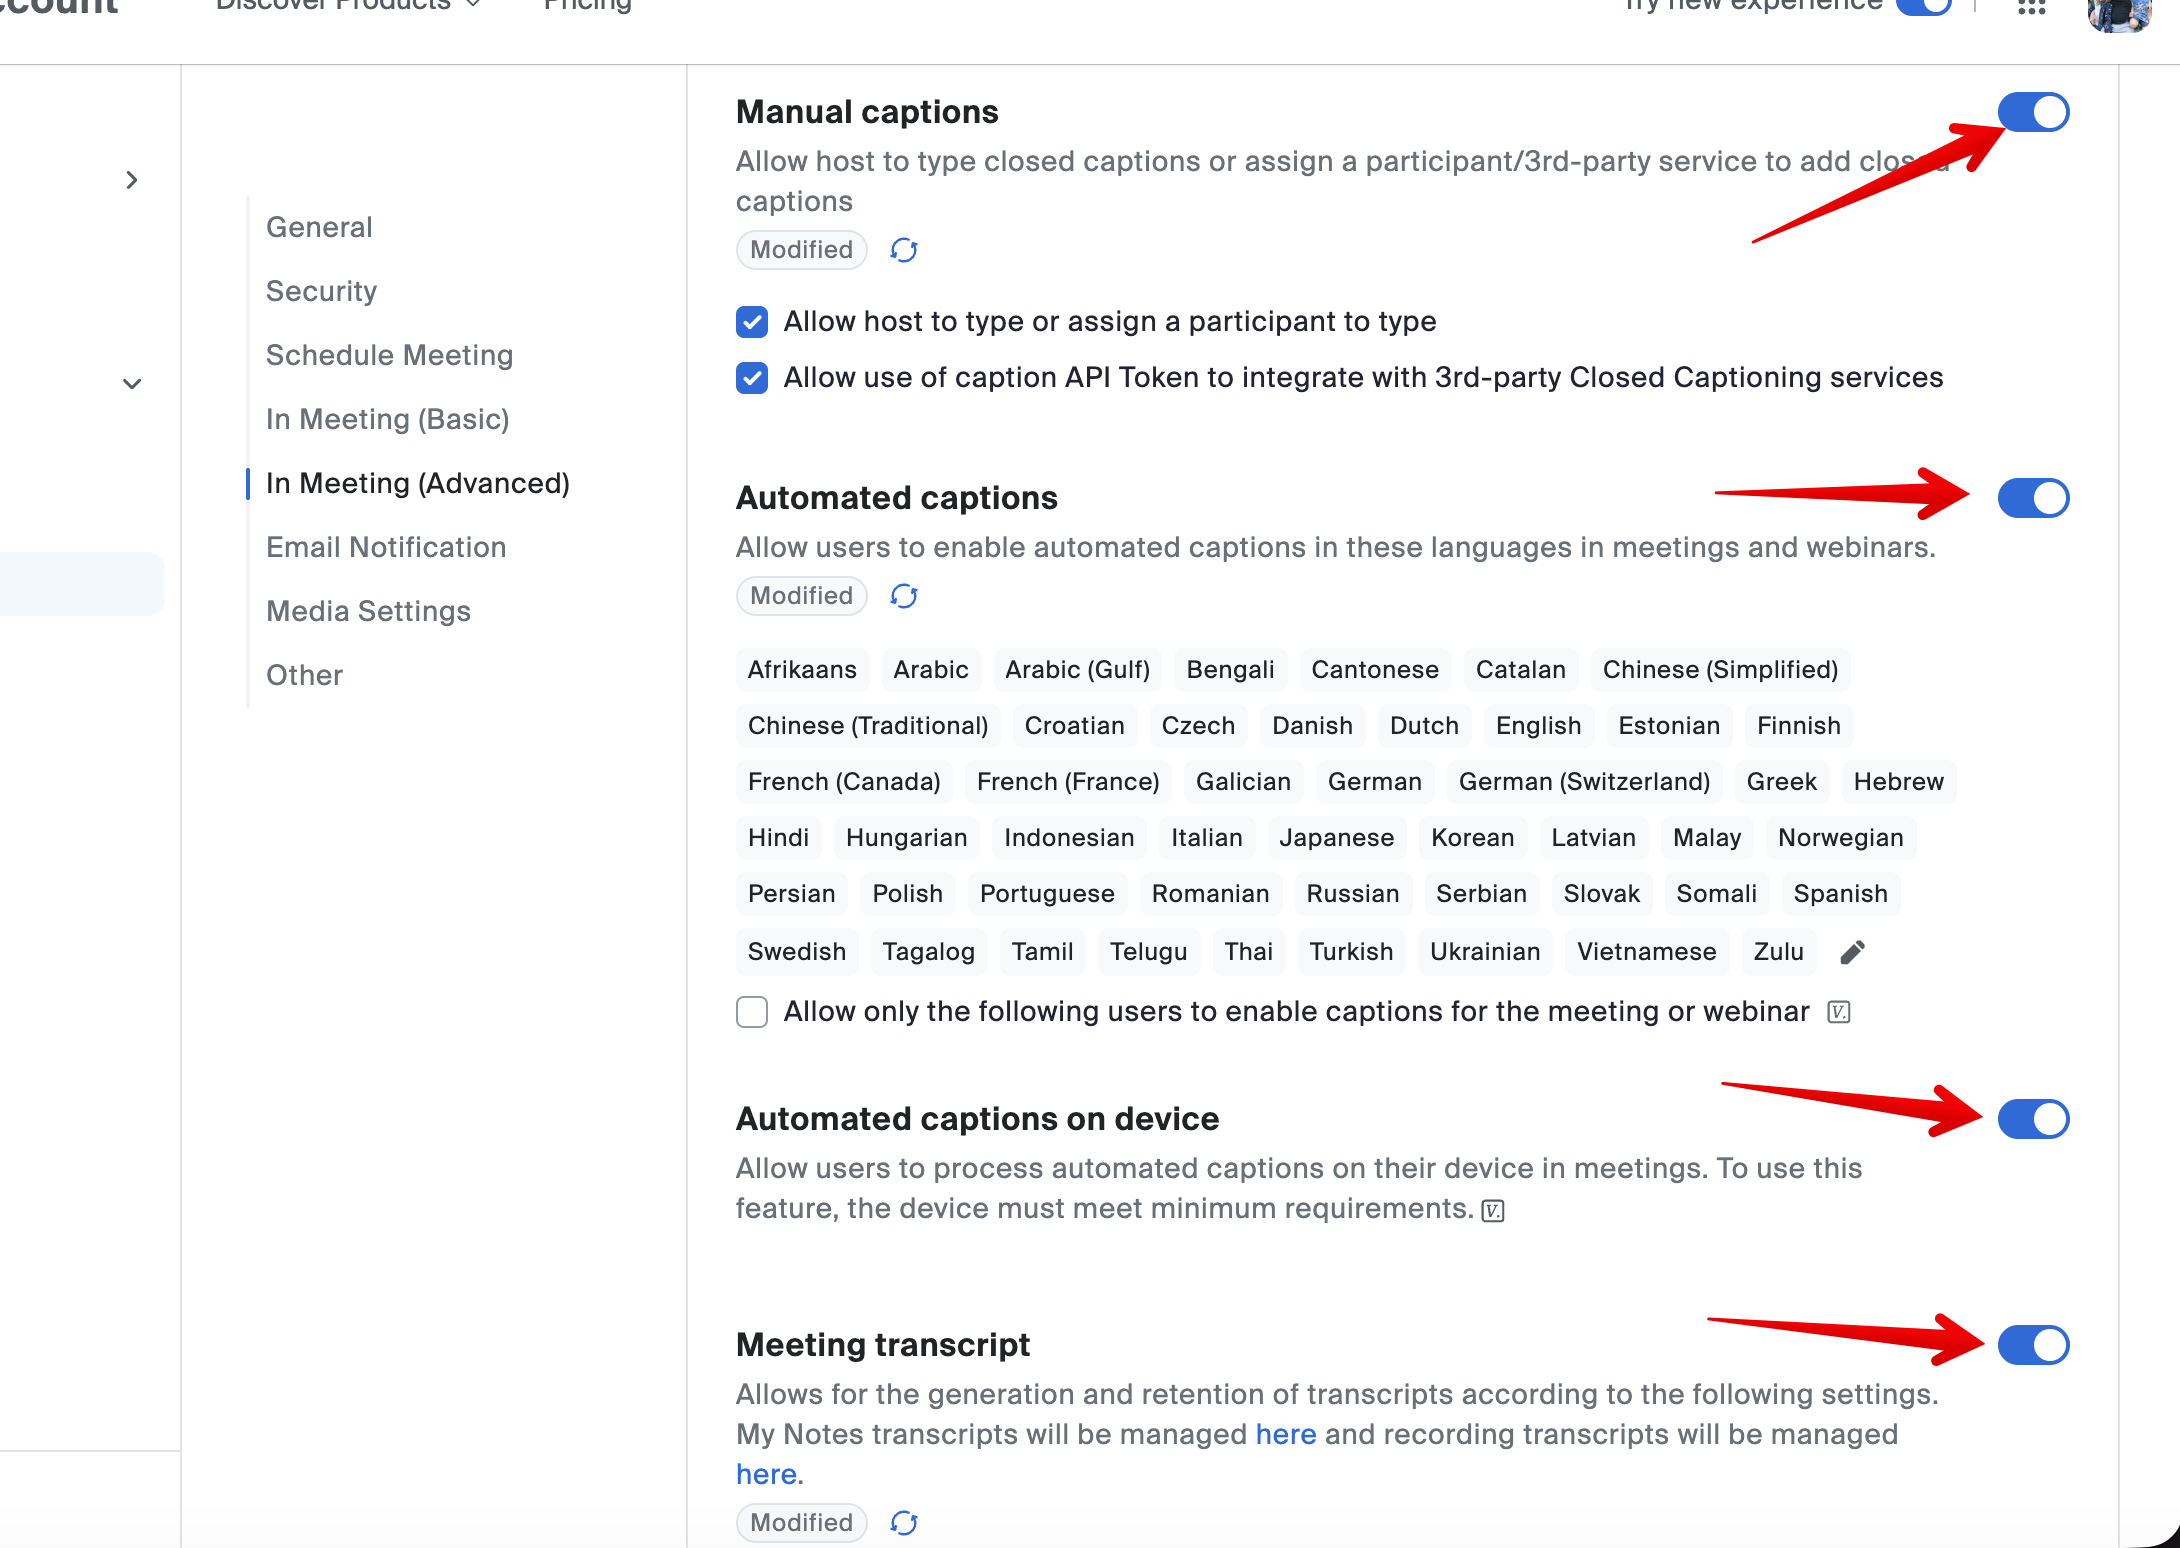
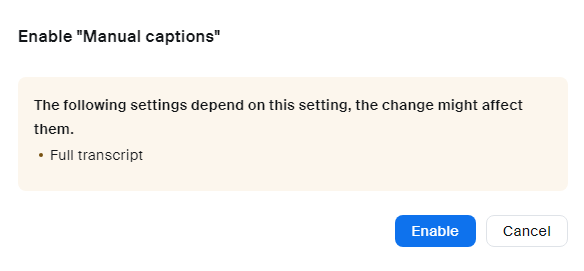
- Note that at least one of the options for captions (manual or automated) must be selected before users can enable transcripts for their meetings. When doing this for the first time, users will see a verification dialog alerting them that the closed caption setting may affect the ability for users to view the transcript:
Instructors opting to enable Zoom's live transcription service should review the limitations of the live transcription service detailed here, noting that the accuracy depends on:
- Background noise
- Volume and clarity of the speaker’s voice
- Speaker's proficiency with the English language
- Lexicons and dialects specific to a geography, discipline, or community
Assign Another User to Caption the Content
- As the host of a Zoom meeting, on the horizontal meeting toolbar, click Host Tools > Advanced > Captions :
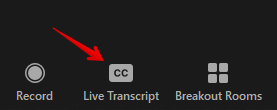
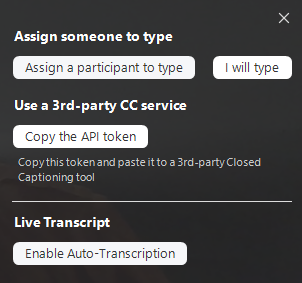
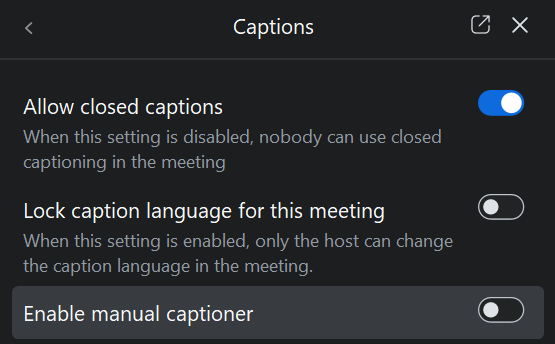
- There are 3 options for captioning (no 3rd party close captioning services are available at this time):
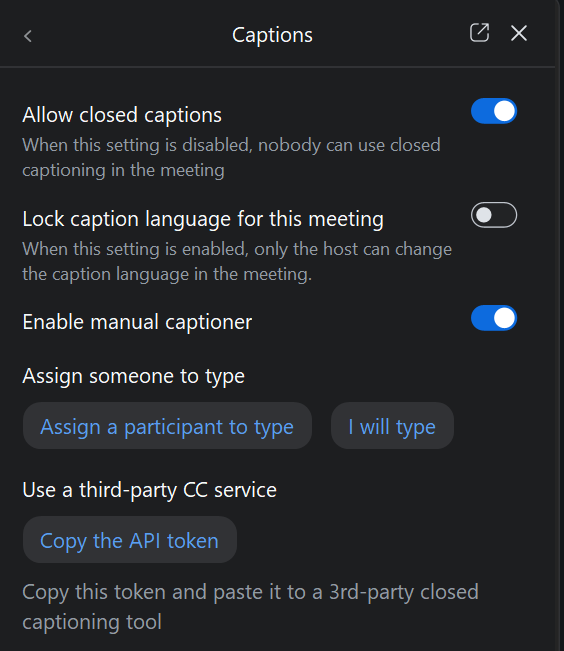
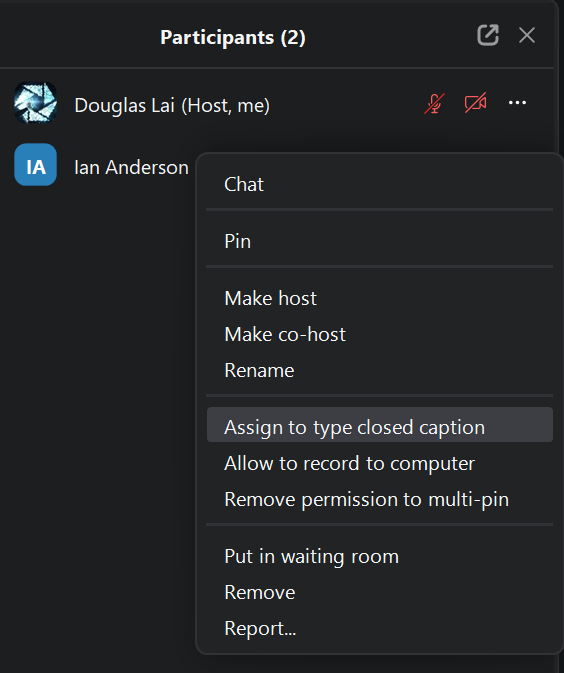
- Assign a participant to type: This opens the participants window where you can hover over the participant's name, click More, and then click Assign to Type Closed Caption.
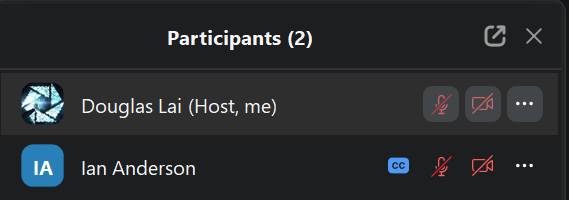
When assigned, a CC label will appear by their name.
- I will type: This opens the closed captioning window for you to manually type closed captions.
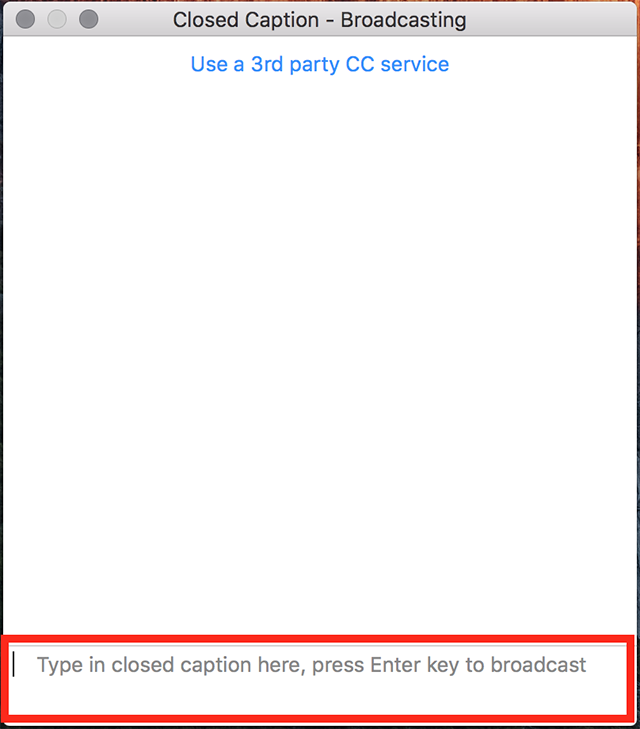
Creating the Closed Captions
- If you have been assigned to type closed captions, you will see the following notification:
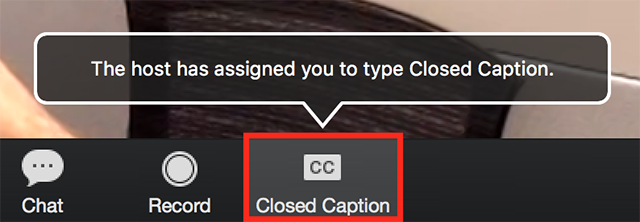
- Click Closed Caption to open a text box you can type into.
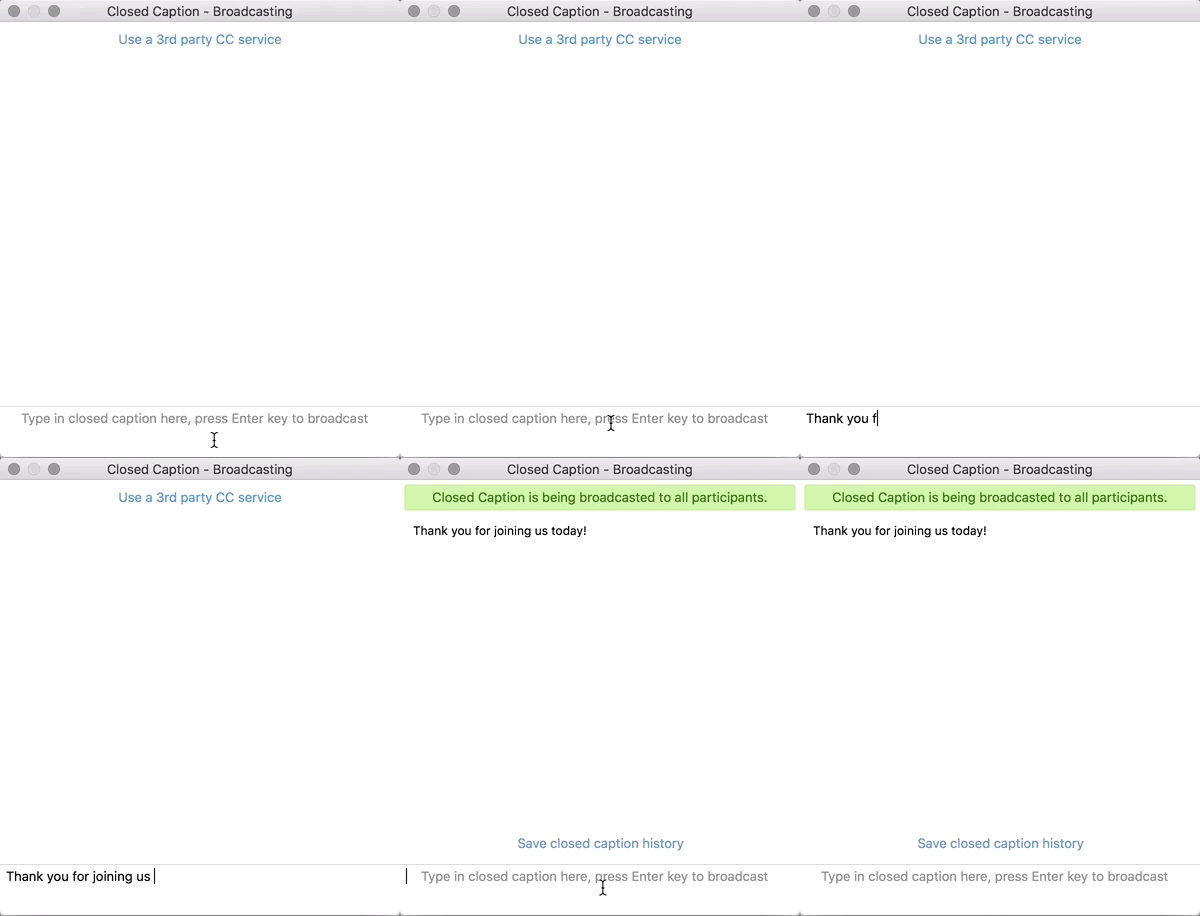
Viewing Closed Captions (CC) as a Participant
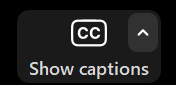
Participants can view live captions clicking Show captions.
They can also adjust CC preferences by clicking on the settings gear:
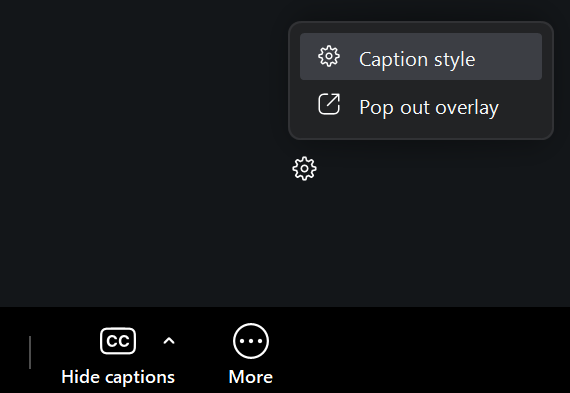
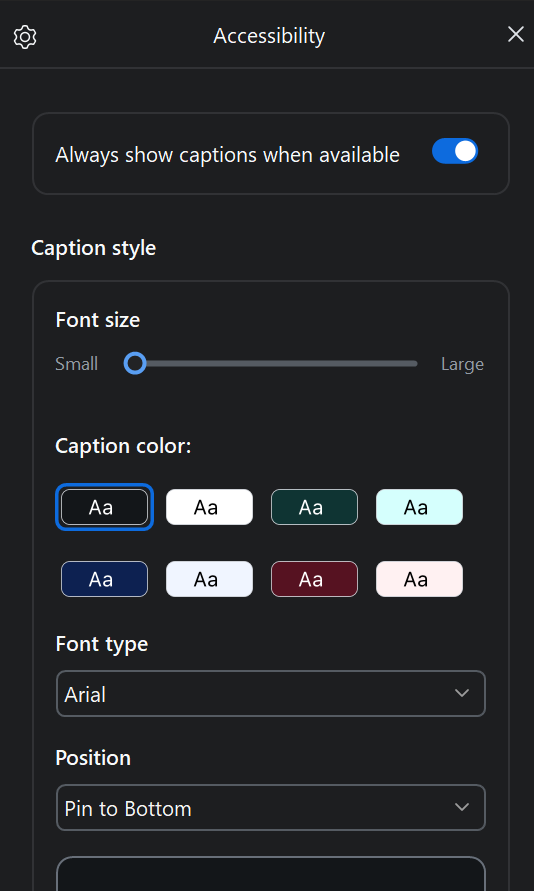
The closed captions will appear as directly in the meeting interface above the tool bar:
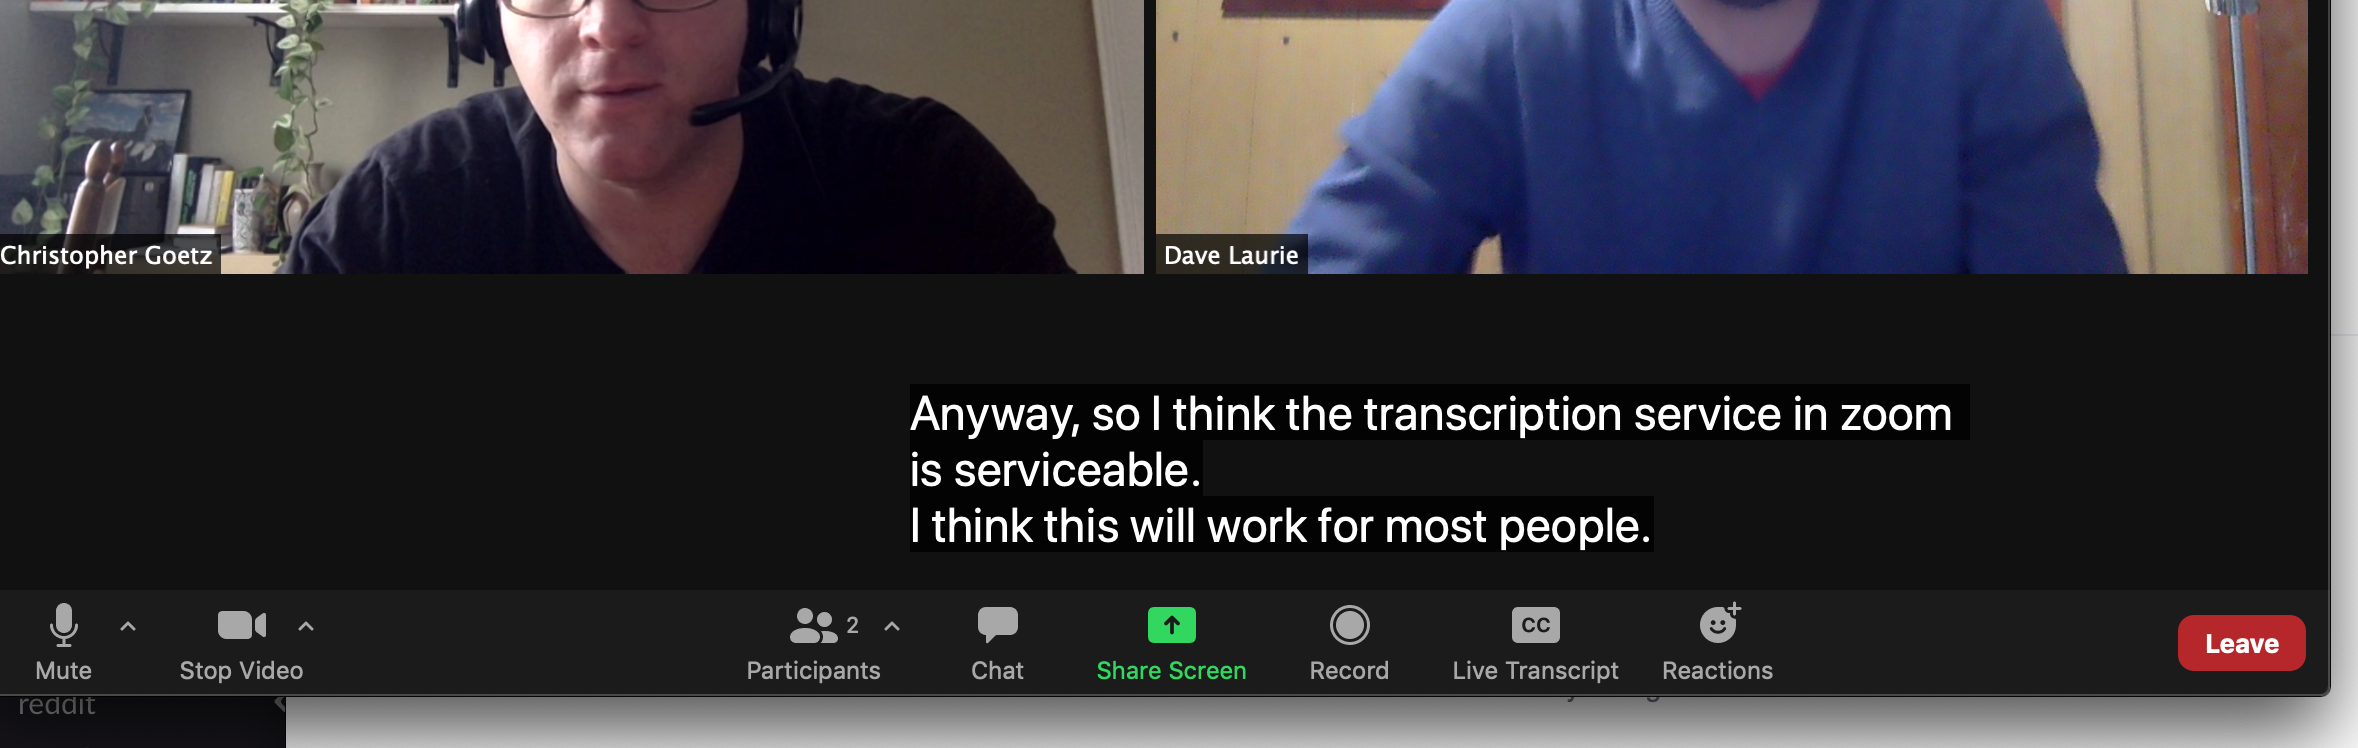
This functionality is also described in more detail in the Zoom documentation.
Afterwards the transcripts will be saved under your meetings located in your Zoom account. This can be downloaded and edited. You can also use this feature to embed the closed captioning into the video for future use.
Viewing Transcripts as a Participant
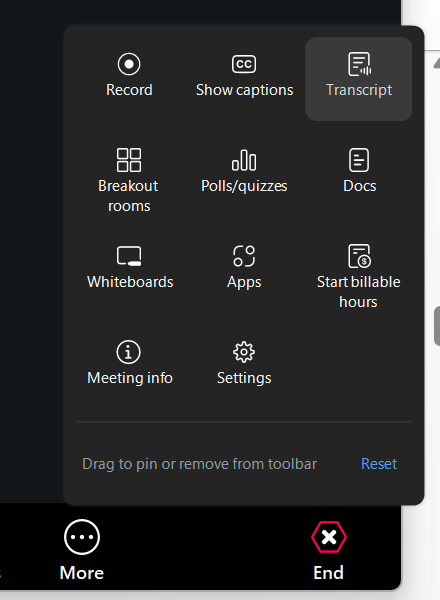
Participants can view transcripts by clicking on the three dots (...) More and then Transcript:
Allowing Live Caption Providers to Join While Requiring Authentication
When you are setting up your Zoom meetings, you can set up various security options. One being Only authenticated users can join meetings. This setting requires participants to sign in with their University of Alberta email (shown here).
However, this setting may prevent live captioners (i.e. Verbit or Vitrac) provided by the Academic Success Centre from entering the meeting. Three options are available that will allow access while also maintaining security:
- Change the Only authenticated users can join meetings from University of Alberta Zoom Users to All Zoom Users. (Least secure option)
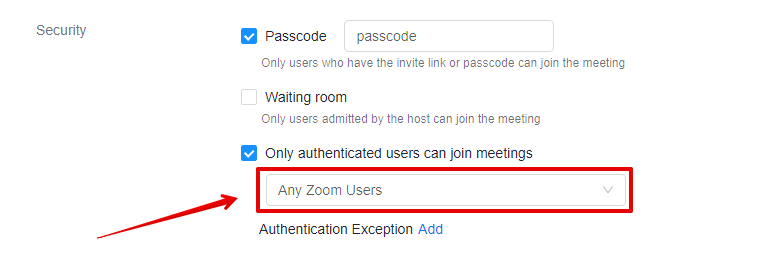
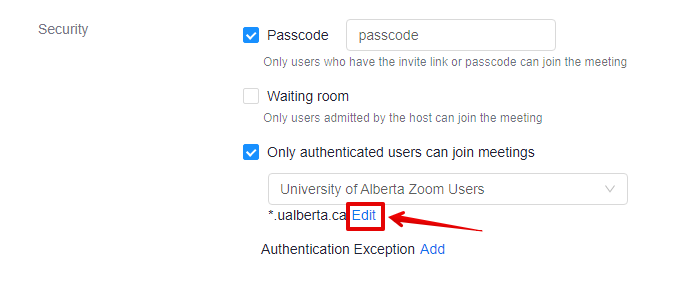
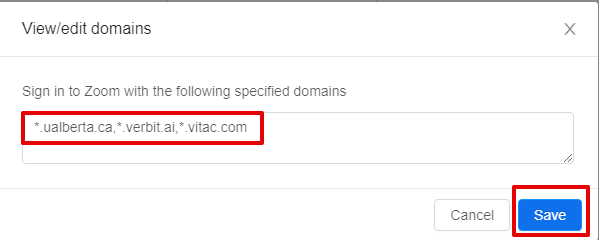
- While set to University of Alberta Zoom Users, click Edit next to the *.ualberta.ca domain, and add additional domains:
e.g. *.ualberta.ca,*.verbit.ai,*.vitac.com
Zoom accounts from those emails are permitted to access the meeting.
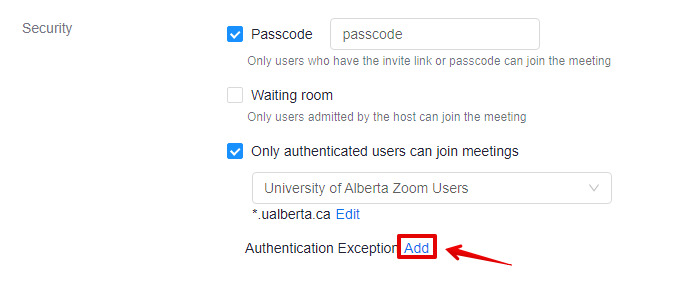
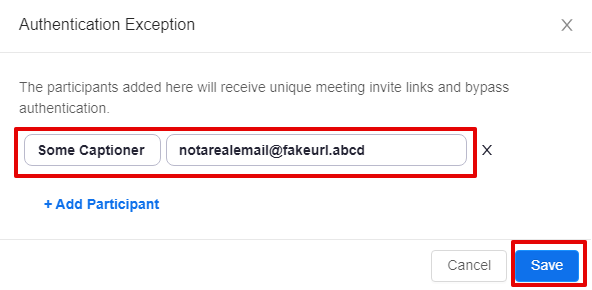
- Direct invite. Adding an email to the Authentication Exception will send an invite to specific participants.
Click Add next to the Authentication Exception and the details. Users specified may only access via the link provided by the emailed invitation.
|  eClass and Canvas Support