|
Canvas Studio is a media streaming service that is available as a part of the Canvas Learning Management System. Studio is similar in functionality to the YuJa streaming service already familiar to eClass users and instructors should consult our comparison of the 2 systems when deciding which tool will work best for their needs.
Like YuJa, Canvas Studio stores multimedia content, which can be used to link content to courses, share, and organize by course channel. Features include:
- Video cloud storage,
- Video recording with picture-in-picture capture,
- Sharing videos between courses,
- Gradable quiz tools,
- Captioning,
- Adding text annotations to videos,
- And allowing student comments on videos.
Canvas also provides excellent training resources including a video course with readings and short knowledge checks at Canvas Studio Training and a separate Canvas Studio Guide in the knowledge base.
Note: 10 GB is the maximum size for a single media file in Canvas Studio.
Accessing Canvas Studio
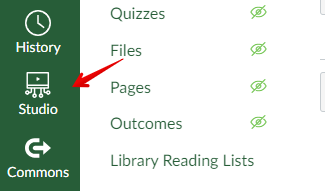
To get started, open Studio by clicking on the Studio link at the left of your course page:
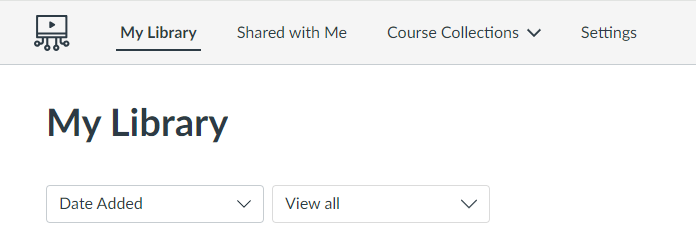
Canvas will open Studio to My Library, where you will find your uploaded and recorded content:
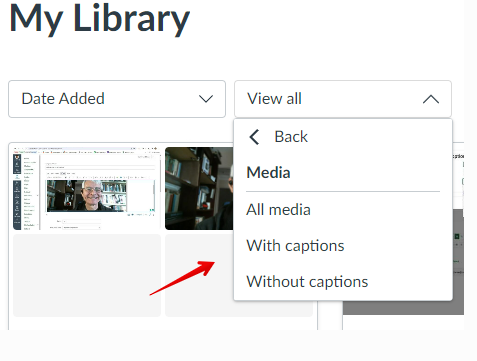
Media content can be sorted by date or by name. The content view can be switched to all media, your Collections, and whether the media is captioned:
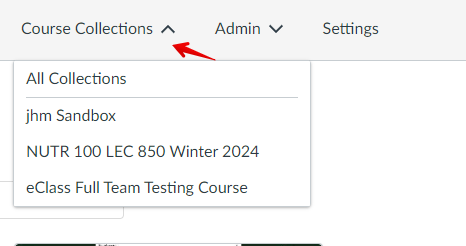
You can also switch between your media collections using the Course Collections tab in the top menu:
Studio Settings and Menus
The main Studio Settings menu allows you to create Groups to make sharing among multiple individuals easier. There are no external applications available currently under Studio Integrations.
Once videos have been uploaded or recorded, clicking the three dots beside any video title will open an options menu:
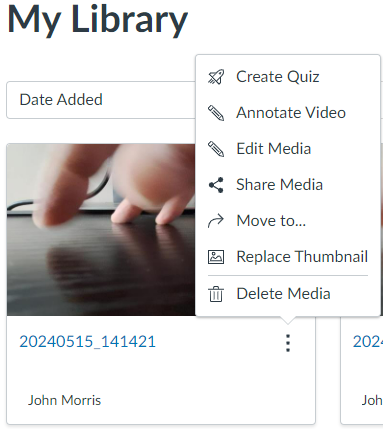
From here, you can
- Create Quiz: open the quiz creation interface (see Creating video quizzes in Canvas Studio),
- Annotate Video: add annotations to a video (see Creating video quizzes in Canvas Studio),
- Edit Media: open a simple video editor,
- Share Media: share media with another course or instructor,
- Move to: Move media into a course collection,
- Replace Thumbnail: change the thumbnail image for a video,
- Delete Media: delete this instance of media content.
Adding content to Studio
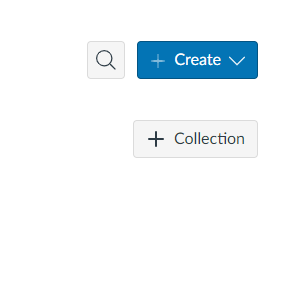
The menu at the top right of the Studio page allows you to create new Collections and also to +Create or add new media in Studio:
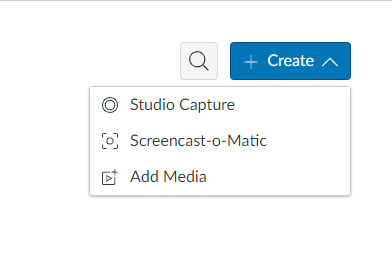
Any media added through these tools -- including external videos -- can be annotated, edited, shared, and used in a video quiz. The options for creating new media include:
- Studio Capture: a microphone, web camera, and screen capture utility recommended for Chrome and Edge browsers,
- Screencast-o-Matic: required to record screen captures using Safari or Firefox browsers,
- Add Media: upload your pre-existing media files or link YouTube or Vimeo videos
Note: Screencast-o-Matic is required to record screen captures using Safari or Firefox browsers. It can also be used with Chrome or Edge browsers, but the Canvas Studio Capture option is recommended for those users. Some versions of iPads do not allow media recording, only the option to upload media.
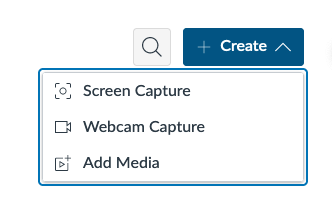
Note: in Firefox and Safari Screencast-o-Matic is named Screen Capture and Studio Capture is named Webcam Capture:
Add Media opens a simple dialogue box that allows you to add media stored on your computer or to copy the basic hyperlinks links from YouTube or Vimeo.
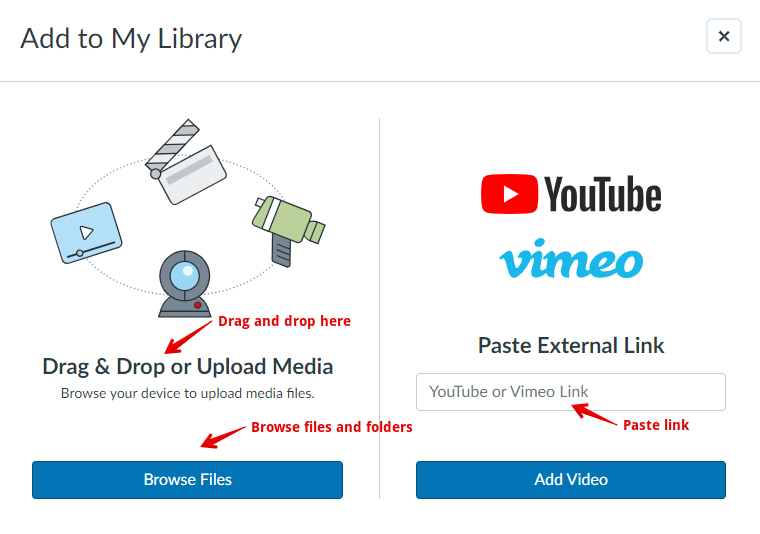
Note: YouTube and Vimeo videos can also be used in quizzes, annotated, shared, and moved to other courses, but Vimeo videos with an Unlisted privacy setting cannot be added to Studio.
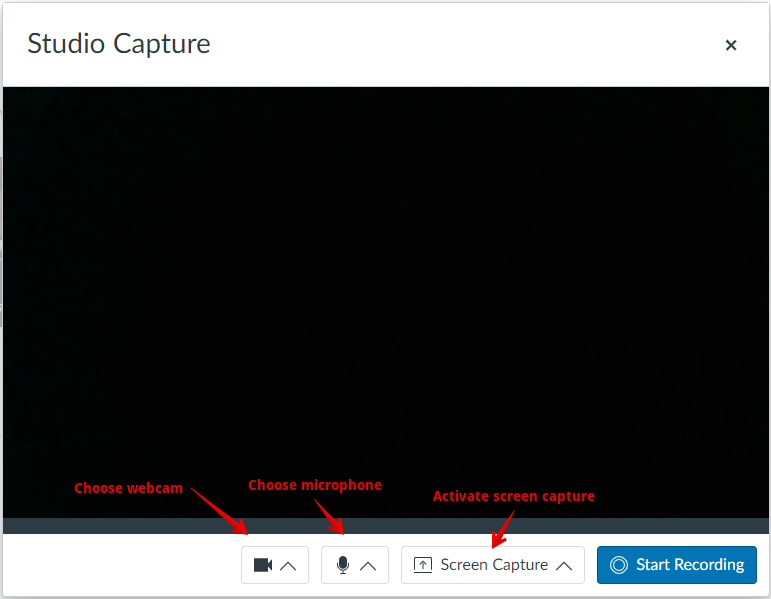
Studio Capture aka Webcam Capture opens to a simple user interface that allows you to specify which devices to use, whether to capture your screen, and to start recording:
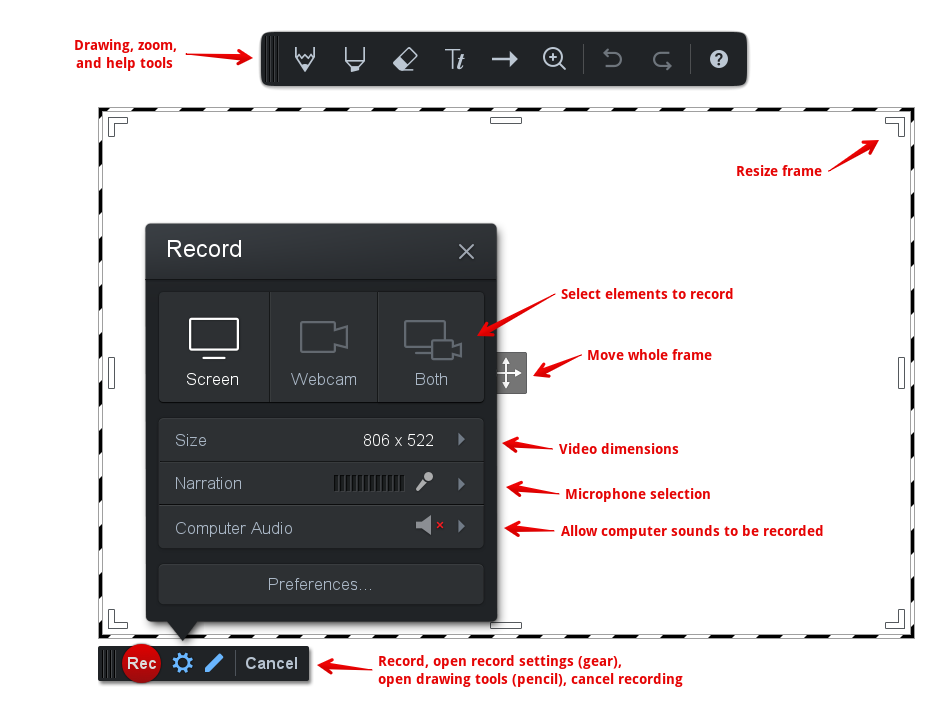
Screencast-o-Matic aka Screen Capture has additional tools such as selecting the devices to be recorded, drawing, zoom and help tools, video dimensions selection, and optionally recording computer sounds.
Note: Video recording can be paused to use drawing tools and then restarted
Adding media to a course
Rich Content Editor
Once videos have been added to Studio, they must be linked or embedded in your course so that students can view them. There are currently two ways to add media to a course: by adding the media to a Rich Content Editor in an Assignment, Discussion, or Announcement, or by creating a link in a Module.
To add media to a Rich Content Editor area:
1. Create an Assignment, Discussion, Announcement, or other item with a Rich Content Editor,
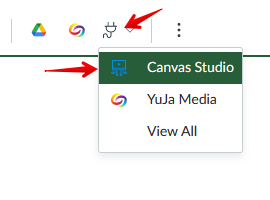
2. Click the plugin icon and select Canvas Studio (select View All if Studio is not visible),
3. Search for, or click to select, the video from My Library,
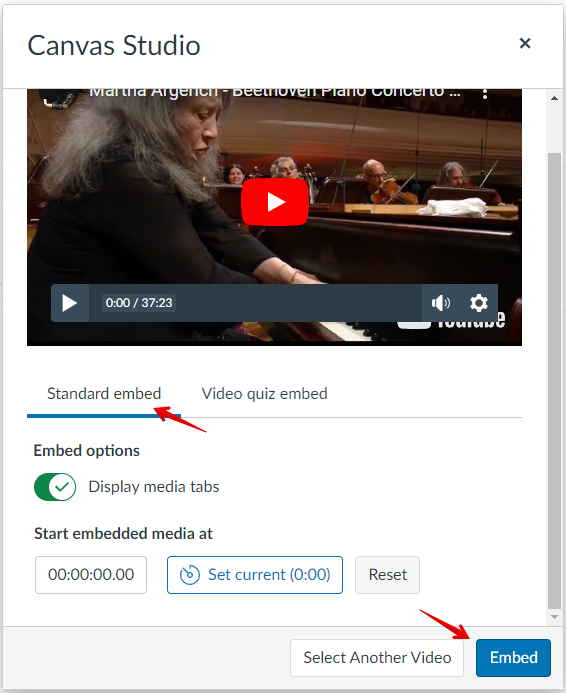
4. Click on Standard embed
5. Click Embed
In Module
To add media to a course Module,
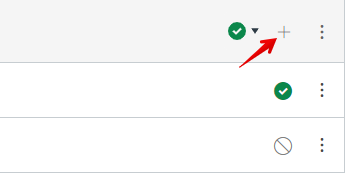
1. Click on the plus-sign to the right of the module:
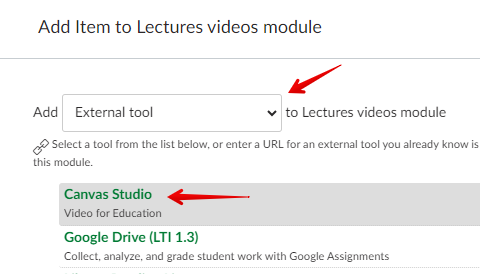
2. Select External tool from the drop-down menu and click on Canvas Studio:
3. When your Canvas Studio My Library opens, select and embed media as above.
Move media to a course collection
You can organize videos into separate collections to make them easier to find when adding them to a course.
Note: Course collections are not required. They are a useful tool for instructors to help keep videos organized, but media collections cannot be shared easily with a course.
Create a new Collection by clicking the +Collection button in My Library.
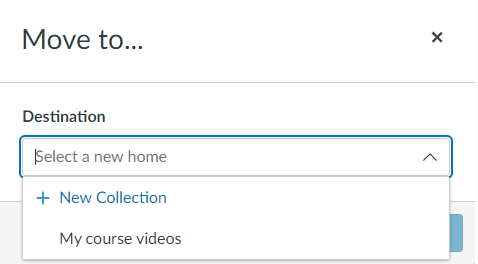
Add a video to a collection by clicking the three-dot icon beside the video and select Move to.
You can choose to make a new collection or add to an existing collection:
Sharing media with others
You can share your Studio Media with other people at the U of A or any Studio groups you are a part of. Before you can share with specific users, they must have already accessed Canvas Studio directly to create their account. It is also possible to share public links to your videos.
To share media, click on the three-dot menu and select Share Media:
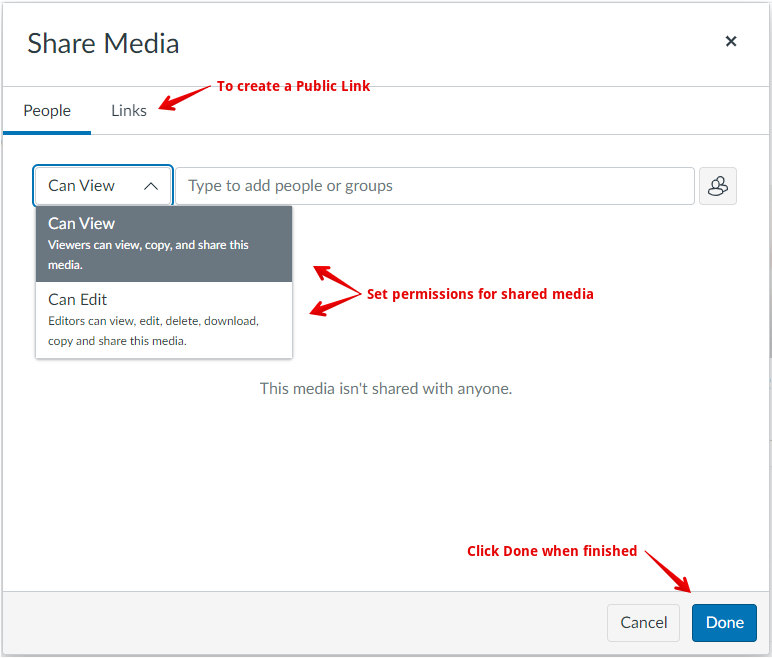
You can set permissions for using the video and create links that can be shared with anyone who has the link. Note: it is not possible to create a public link that is available only to authenticated U of A users. Public links do not allow users to enter comments nor are any analytics tracked for media usage.
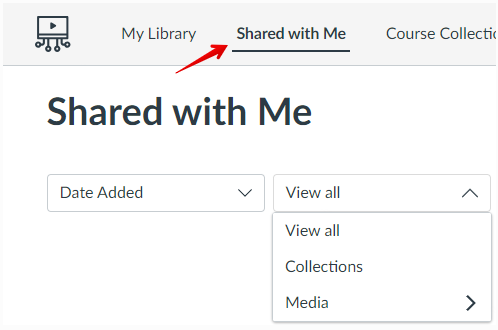
Shared media will be visible under each user's Shared with Me tab:
Canvas Studio Media Sharing Rules:
- Students can share media with Canvas Studio groups they are members of, all instructors, TAs, instructional designers, and admins at their institution. They can also share media with any verified Canvas Studio user enrolled in their same course(s).
- Instructors, TAs, and instructional designers can share media with Canvas Studio groups they are members of, all other instructors, TAs, instructional designers, and admins at their institution. They can also share media with verified Canvas Studio users enrolled in their courses.
- Admins can share Canvas Studio media with Canvas Studio groups they are members of and all users at the institution.
Student interactions with videos
By default, students can add comments after opening an embedded video in an assignment or discussion. If students pause the playback, they can enter a comment to be shared with the class under the Comments tab:
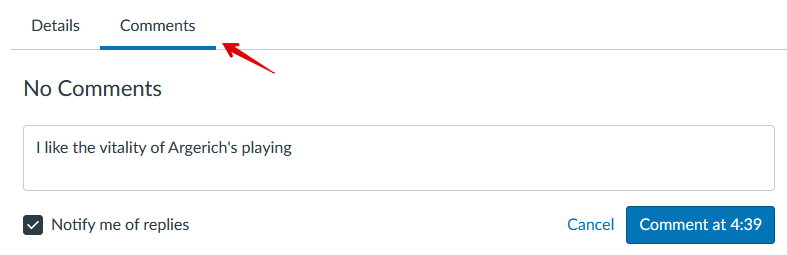
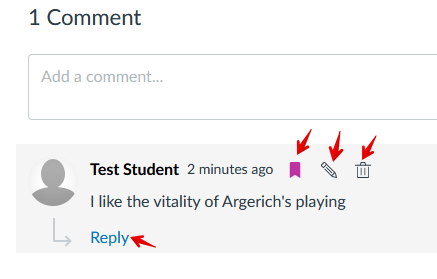
The comment will be saved after clicking the Comment at <timestamp> button and will act like a running discussion on the video. Instructors can add comments but note that these will not copy forward if videos are moved to other courses. Instructor comments must also be added to videos after they have been published to course channels or they will not display If instructors need to add more permanent inline notes onto videos, annotations are also available. Both instructors and students can tag, edit, and delete comments their own comments as well as adding replies to their own and other's comments.
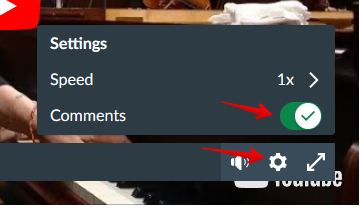
Students and instructors can disable seeing comments by clicking the Settings gear icon and toggling off Comments:
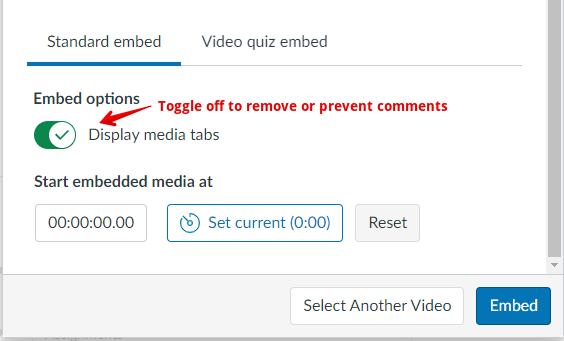
Commenting can be disabled entirely on a video only if the Display media tabs is toggled off when the video is added to an assignment or discussion. If you wish to turn off comments after a video has been added to an assignment or discussion, you must remove it and then add it back with Display media tabs off:
Please note: comments are not attached to the video itself so will not be brought forward if the video is added to another course. If instructors need to add permanent, additional text or links onto videos that will transfer across courses, annotations should be used.
Video captions
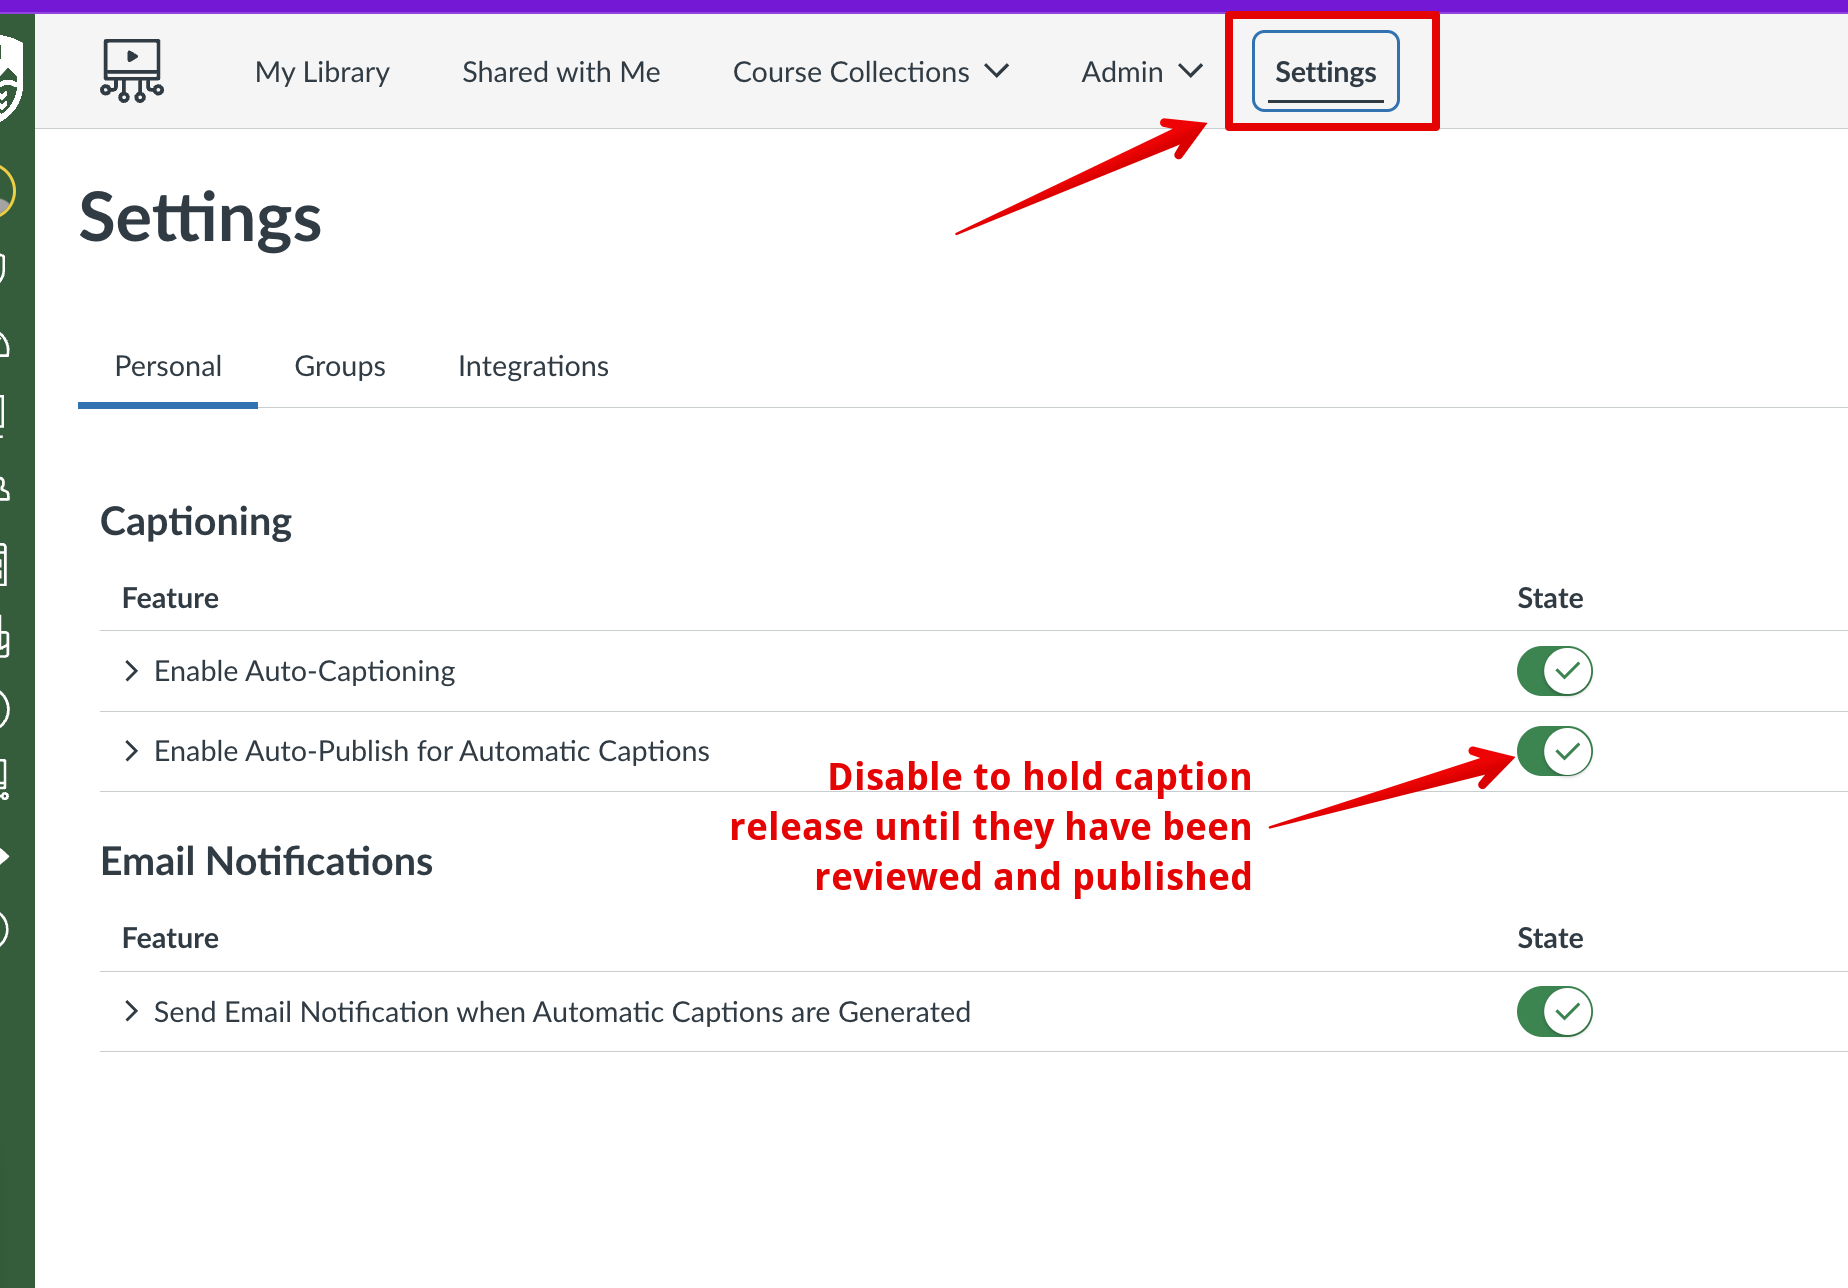
Canvas Studio videos are automatically captioned after they are uploaded. New in November 2024, captions are now also automatically published for users to enable and use when viewing videos (formerly instructors had to review and publish captions before viewers could use them.)
Once a video is uploaded or recorded, after the automatic captioning process completes, users will receive an email letting them know that their 'Automatic captions are ready to be reviewed!' and the captions will be automatically published at that time.
Users who want to hold the release of captions until they have reviewed them and made any required edits can adjust their personal captioning settings to disable auto-publishing (see below.)
Reviewing Captions:
To review the captions, users can either
1. Follow the link in the email or click to View a video in their Library
2. Click on the Captions tab
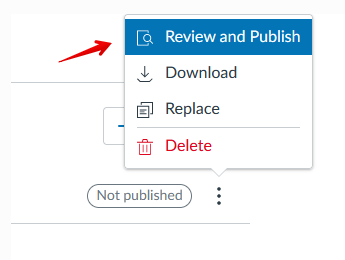
2. Click the three dots dropdown menu
3. Select Review and Publish
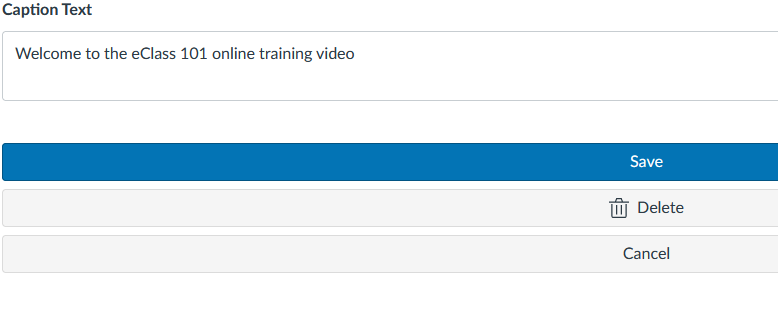
On the Review page, individual captions can be edited by clicking on the caption text and then clicking Save when done editing.
If captions require corrections or refinement later, the owner of a video may choose Edit from the three dots menu under the Captions tab to reopen the caption editing interface:

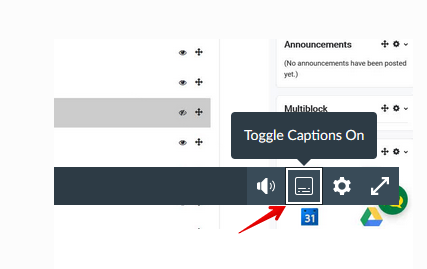
Once published, a captions button will now be visible in the video controls. Viewers can choose to toggle captions on or off:
Viewers can also change captions options by clicking the Settings gear icon:
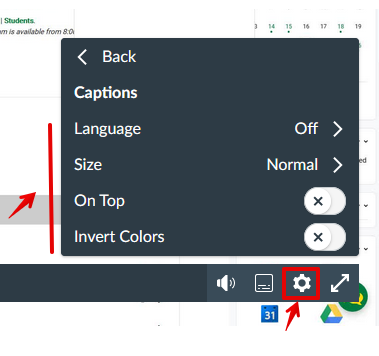
Caption Settings:
Users can adjust their preferences for the timing and release of captions for end users:
Studio Analytics
Studio provides robust viewing analytics including overall views, viewed duration, specific viewing stats for students, and student scores on in video quizzes. These statistic are available under the Insights tab on a video in the media library. Complete details on using Studio analytics are available in the Canvas Support portal: please see How do I view Canvas Studio analytics for individual viewers?
|