|
This article describes the range of closed caption options available through Zoom meetings.
Instructors can enable two different options for transcriptions in their Zoom meetings:
- By designating a manual transcriber (often provided through the Academic Success Centre) to provide live text transcripts of a course lecture; or
- by enabling an automated live transcription service provided by Zoom.
There are a number of steps required to set this up depending on the specific scenario required but broadly instructors must
- enable closed captions or live transcription in their Zoom account settings; and
- Assign a participant (or service) to do the closed captioning.
Enable Transcriptions on a Zoom account:
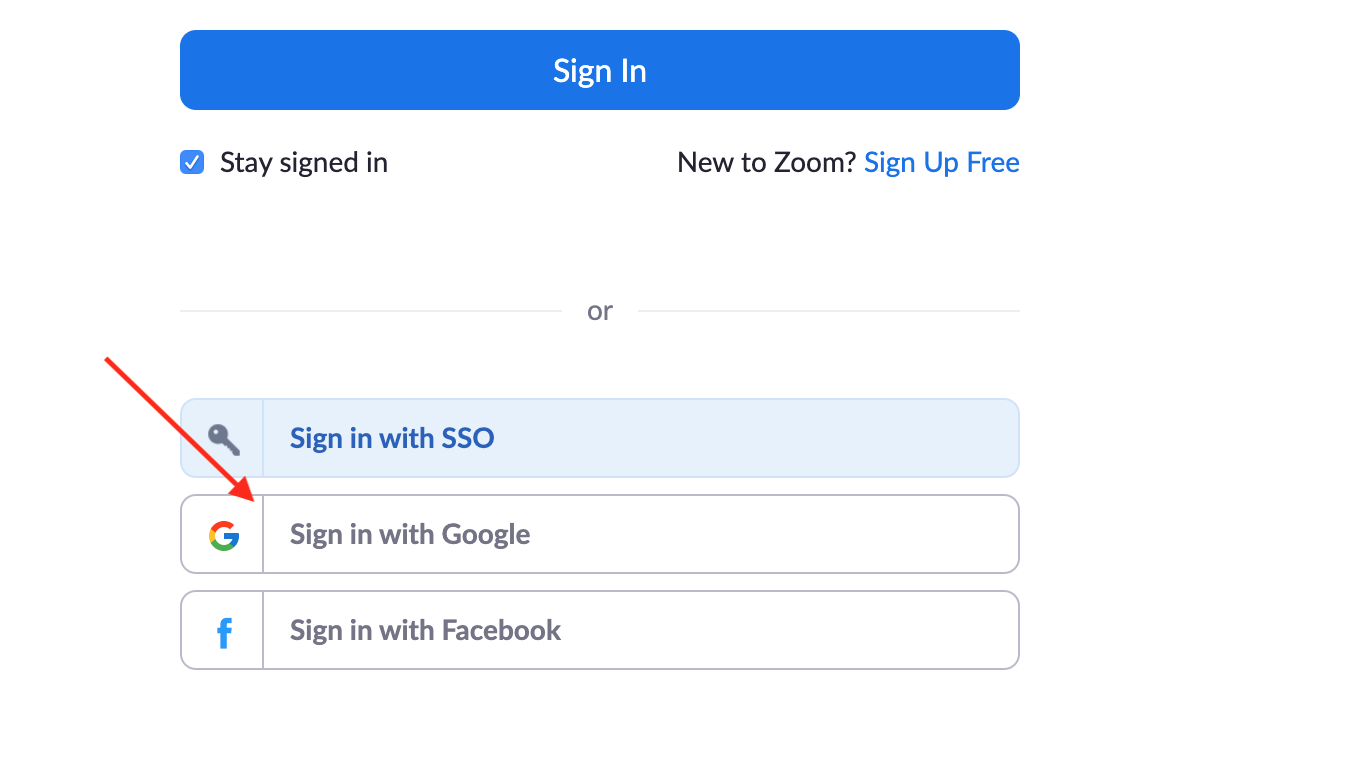
- Sign in to the Zoom web portal. Users should use the 'Sign-in with Google' option. Note: this must occur AFTER creating a Zoom account using the eClass integration.
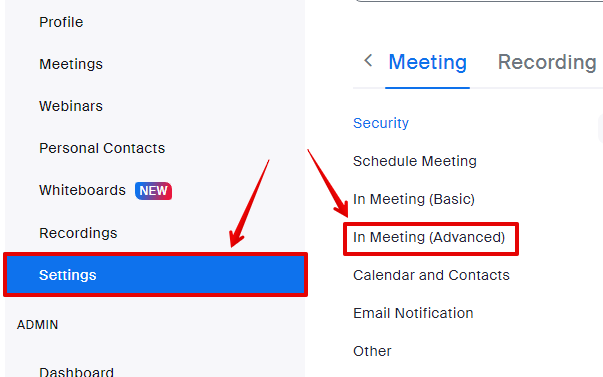
- In the left-side navigation panel, click Settings.
- On the Meeting tab, click the 'In meeting (Advanced)' link.
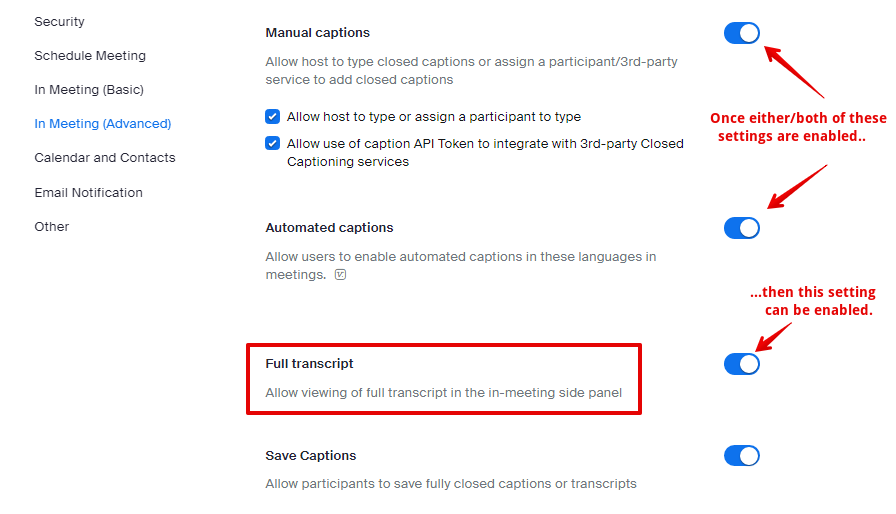
- Then, you will be able to find toggles for Manual captions, for captions that are manually typed out or that use a third-party service, and for Automated captions, which are automatically generated during the meeting. You can toggle either or both options.

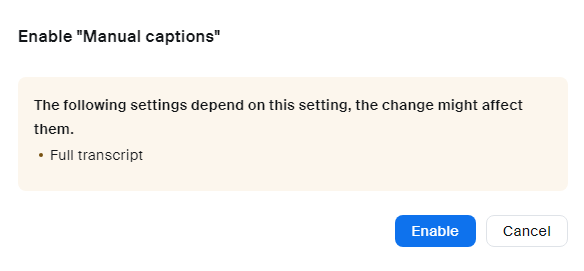
- Users will see a verification dialog alerting them that the closed caption setting may affect the ability for users to save the captions - click Enable:
- Once either or both of the Automated captions or Manual captions options are enabled, the option to turn on Full transcript becomes available. Once this is selected, all further meetings created by this user will allow participants to enable live text transcripts in their display of the meeting (see here):
Instructors opting to enable Zoom's live transcription service should review the limitations of the live transcription service detailed here, noting that the accuracy depends on:
- Background noise
- Volume and clarity of the speaker’s voice
- Speaker's proficiency with the English language
- Lexicons and dialects specific to a geography, discipline, or community
Assign Another User to Caption the Content
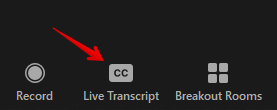
- As the host of a Zoom meeting, click the Live Transcript icon in the bottom horizontal meeting toolbar:
- There are 3 options for captioning (no 3rd party close captioning services are available at this time):
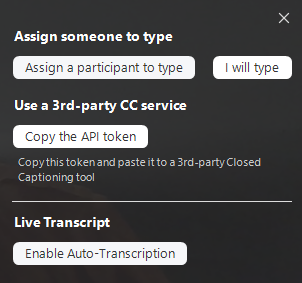
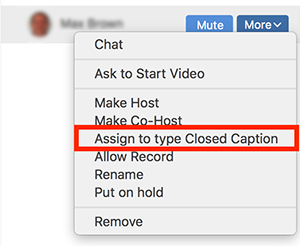
- "Assign a participant to type": This opens the participants window where you can hover over the participant's name, click More, and then click Assign to Type Closed Caption.
- "I will type": This opens the closed captioning window for you to manually type closed captions.
- "Enable Auto-Transcription": Turn on the automatically generated captions.
Creating the Closed Captions
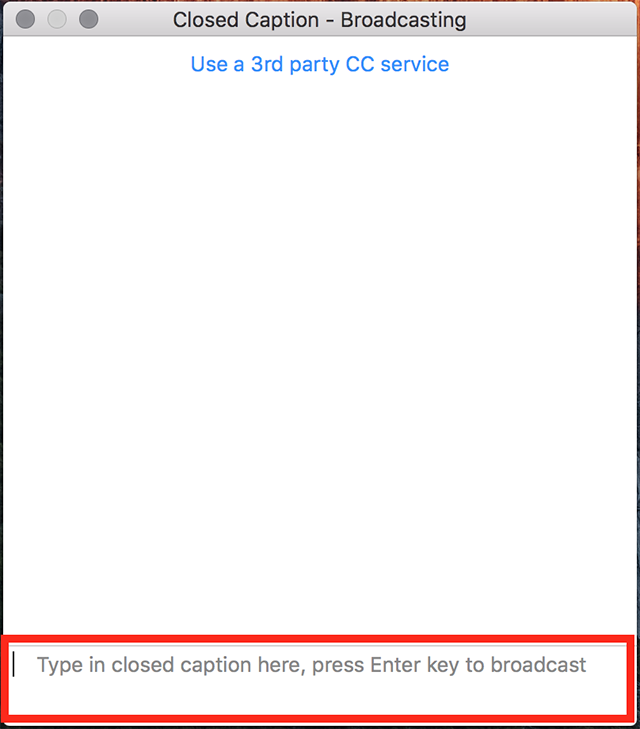
- If you are manually typing the captions, then once the host assigns you the ability to type closed captions, a notification will appear in your meeting controls.
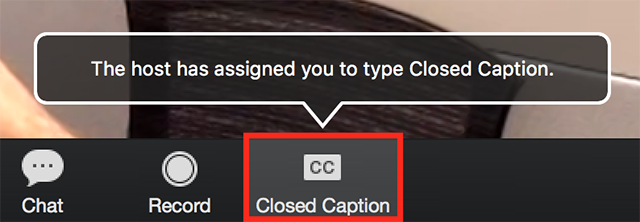
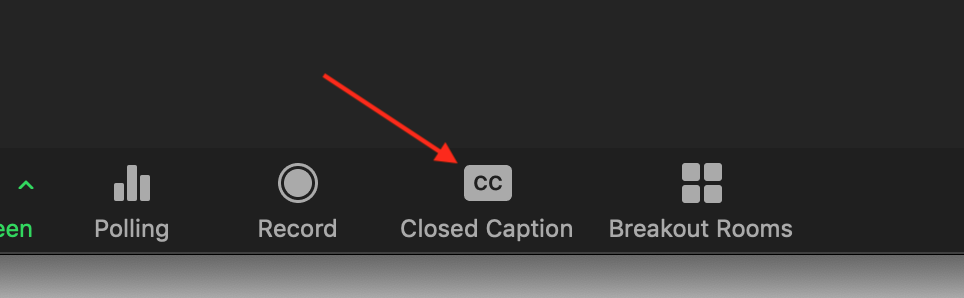
- Click Closed Caption.
- This will open up the closed caption box. You will type the caption in the box and press Enter to submit it.
Viewing Live Transcripts as a Participant
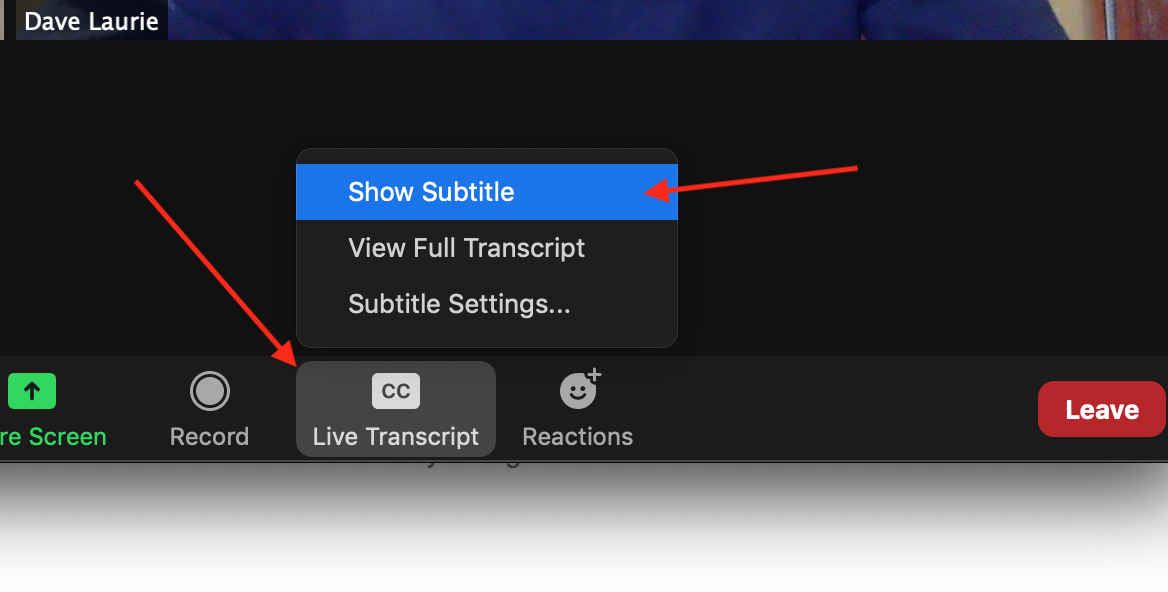
Regular users are able to view live captions in sessions by opening the Live Transcript button in the bottom horizontal toolbar and then clicking on Show subtitle:
Users can adjust the size of the live transcript by clicking Subtitle settings and toggling the size slider:

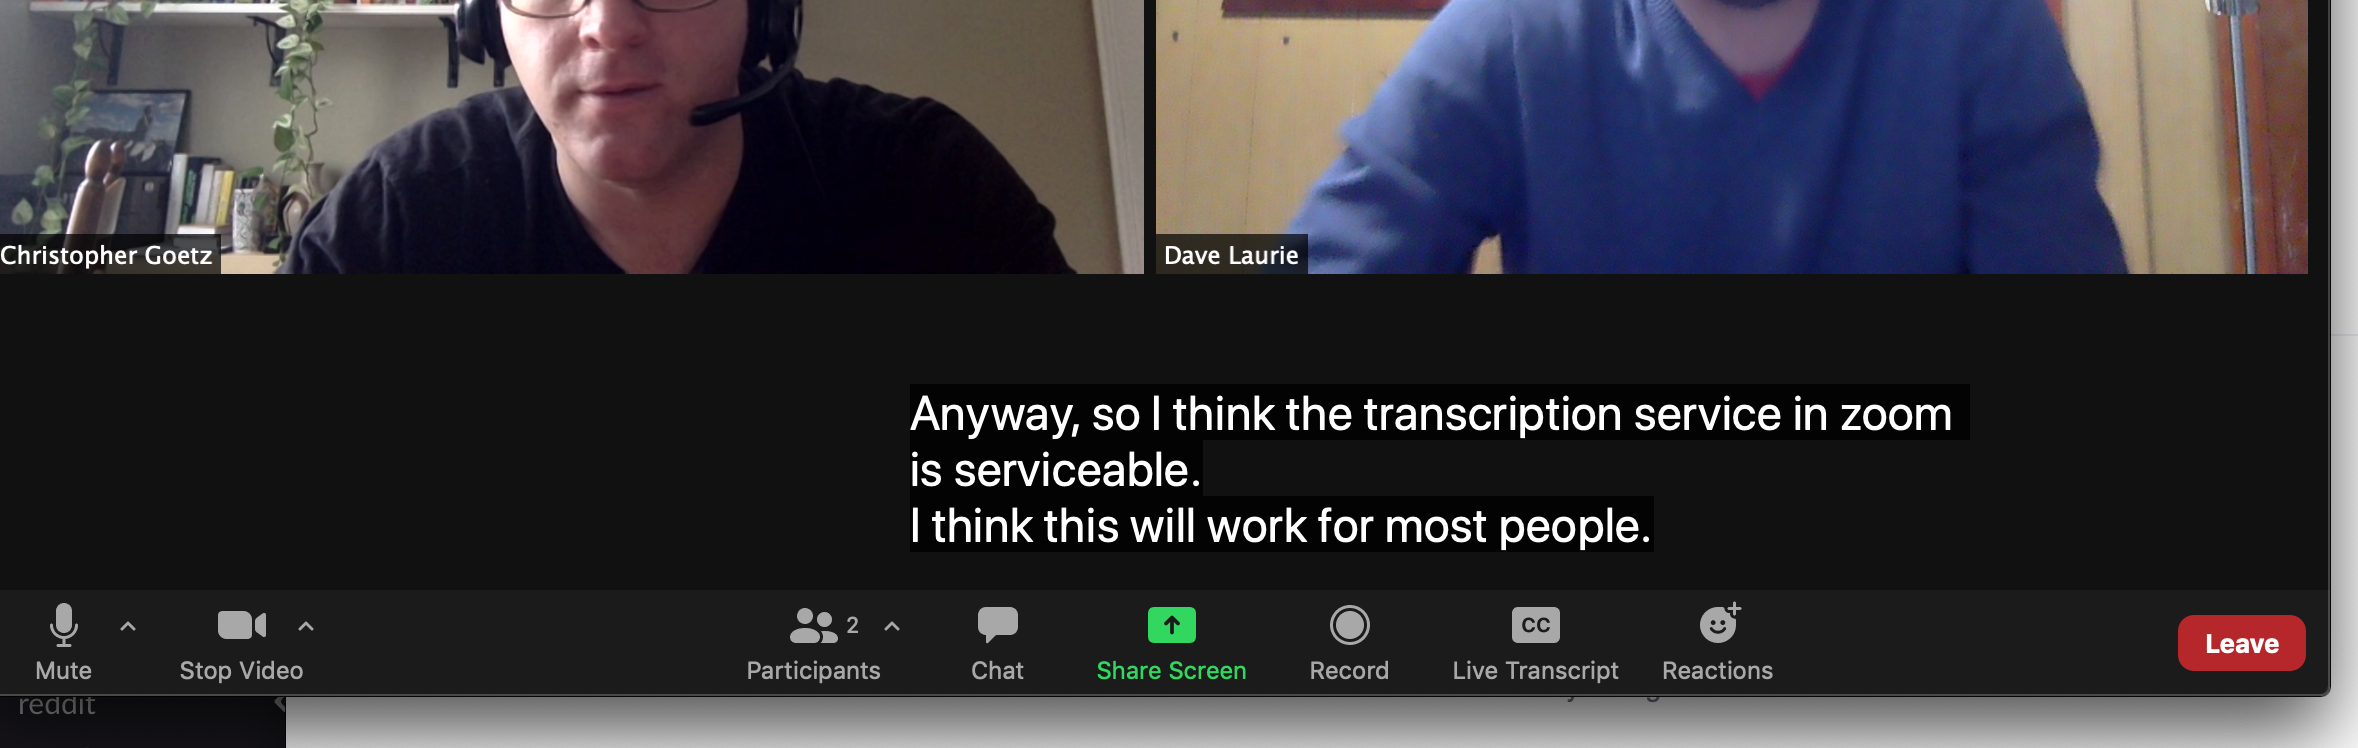
The live transcript will appear as directly in the meeting interface above the tool bar:
Viewing Closed Captions as a Participant
Regular users are able to view closed captions live in sessions by opening the clicking on the Closed Caption button in the bottom horizontal toolbar:
This functionality is also described in more detail in the Zoom documentation.
Afterwards the transcripts will be saved under your meetings located in your Zoom account. This can be downloaded and edited. You can also use this feature to embed the closed captioning into the video for future use.
Allowing Live Caption Providers to Join While Requiring Authentication
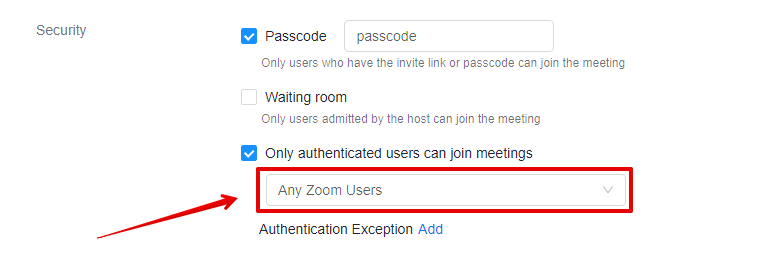
When you are setting up your Zoom meetings, you can set up different security options. One of these options is setting "Only authenticated users can join meetings" on. This requires that participants in the meeting have to sign in with a University of Alberta email, as shown here.
This keeps your meeting secure. However, if you are getting a live caption provider to join your meeting, like the ones from companies like Verbit or Vitac that are provided by the Academic Success Centre, then this setting might prevent the transcribers from getting into the meeting.
There are three ways that you can keep the authentication security setting on, while still allowing for the people providing live captioning to join.
- You can change the "Only authenticated users can join meetings" setting from "University of Alberta Zoom Users" to "All Zoom Users". This means that users can sign in with any Zoom account, and it doesn't have to be associated with the @ualberta.ca domain. This doesn't prevent non-UofA users from joining your meeting, so it is the least secure option, but it does force the user to sign in and be logged as joining the meeting. If you need more security, we do not recommend this option.
- You can still have the setting set to "University of Alberta Zoom Users", but you can click on Edit next to the *.ualberta.ca domain, and then you can add however many domains in the style of *.domain.url separated by commas (for example, it could be *.ualberta.ca,*.verbit.ai,*.vitac.com). Then, only Zoom accounts with emails of these domains are the only accounts that can access the meeting.
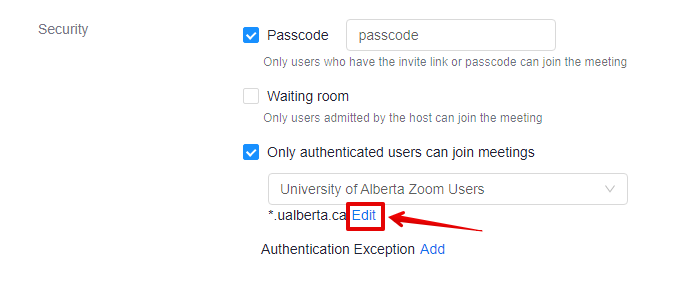

This is likely the most flexible option while still keeping your meeting very secure.
- If you know the email of the person that needs to get past the authentication, and you only want that one user to be able to circumvent the authentication, then you can add an Authentication Exception. This sends them an email link to the meeting that if they join the meeting from there, it will circumvent the need for authentication and let them join the meeting.
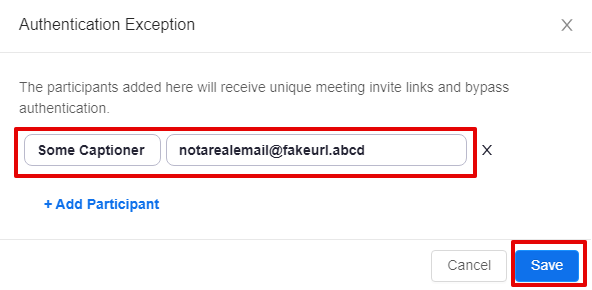
To add an authentication exception, click on Add next to the "Authentication Exception". Then, you can enter in the name and email address of the user, and it will send them an email. The user MUST join the meeting through that email.
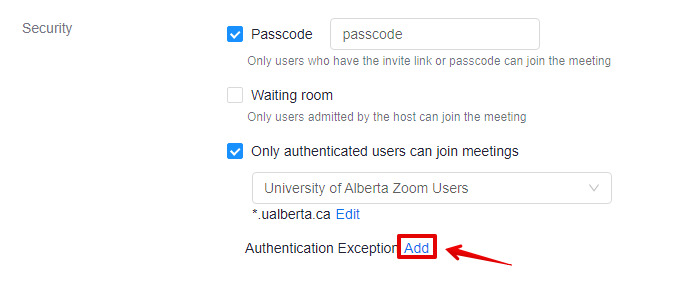
This is the least flexible option, as only one user can access it, and only through an email invitation, but it is the most secure option if you want to have a specific live caption provider join a meeting.
|