|
Creating Online Homework Assignments Using Assign2
Last modified on 17 June 2026 07:55 PM
|
|
|
Assign2 is an assessment tool that supports two distinct workflows: traditional scanned-paper assessments and fully online, interactive Structured Quizzes or Programming Assessments. Instructors can use Assign2 to deliver homework, code-based projects, or full summative exams online or on paper. This article will show you how to set up the online assessment component. Contents:
Creating Online Homework Assignments: A new Assign2 activity must be added to the course for each assignment that will be set up in the course. Follow the procedure from this article: https://support.eclass.ualberta.ca/knowledgebase/article/View/546/55/setting-up-assign2-in-canvas Important: If there are any Canvas restrictions active, student data, including grades and enrollments, will not synchronize from Assign2. Instead, use the options from within Assign2 to manage access times: Managing Student Assignments in Assign2
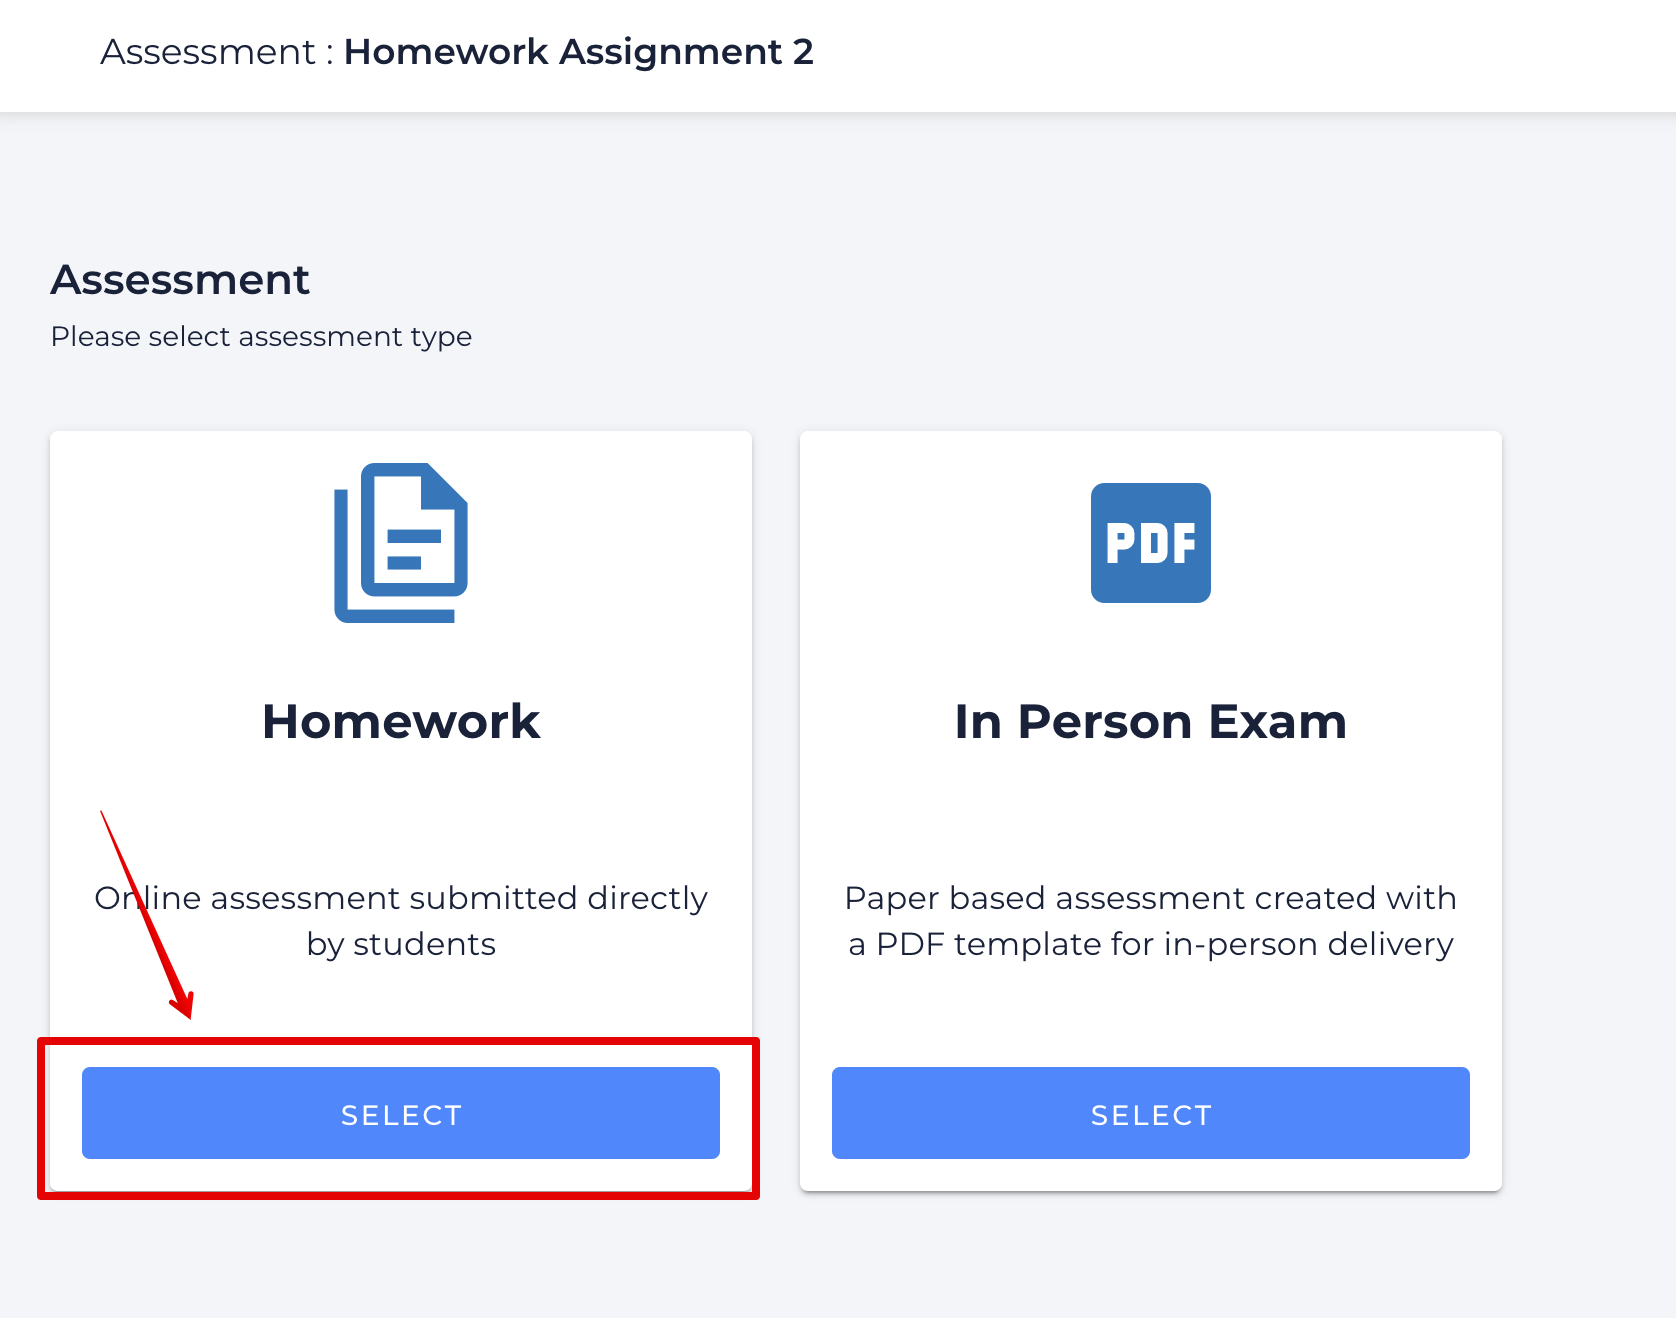
1. Within the tool, select the Homework option
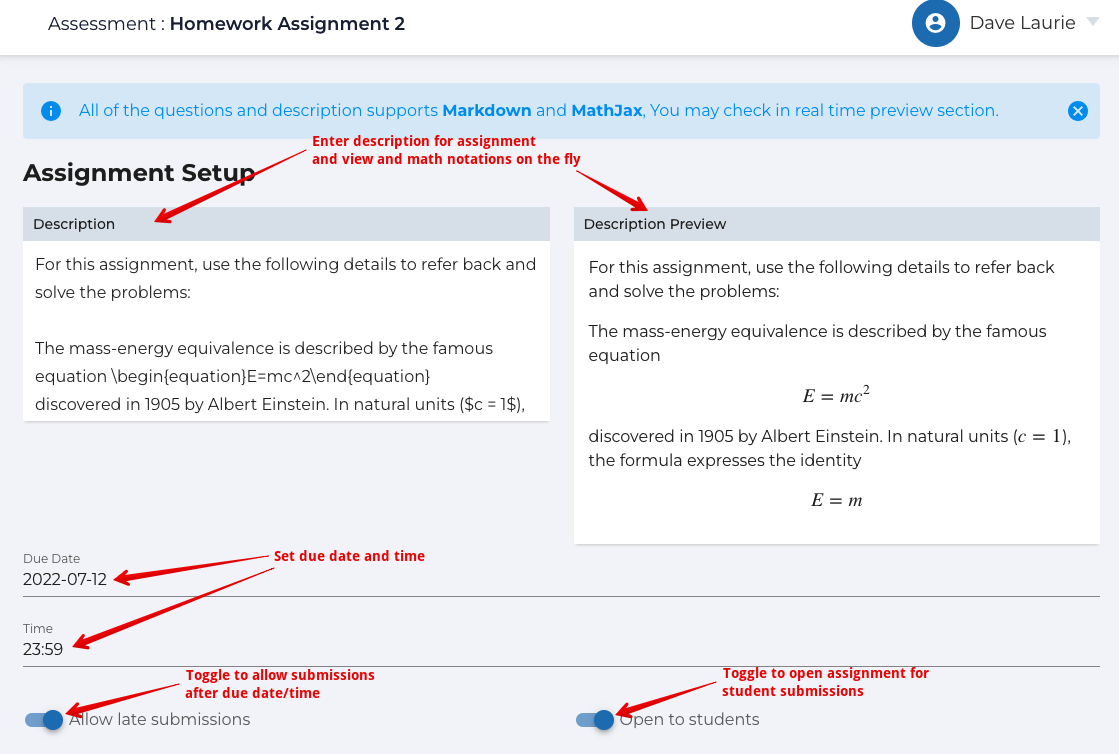
2. Once the Assessment type is selected, instructors can set up their assignment:
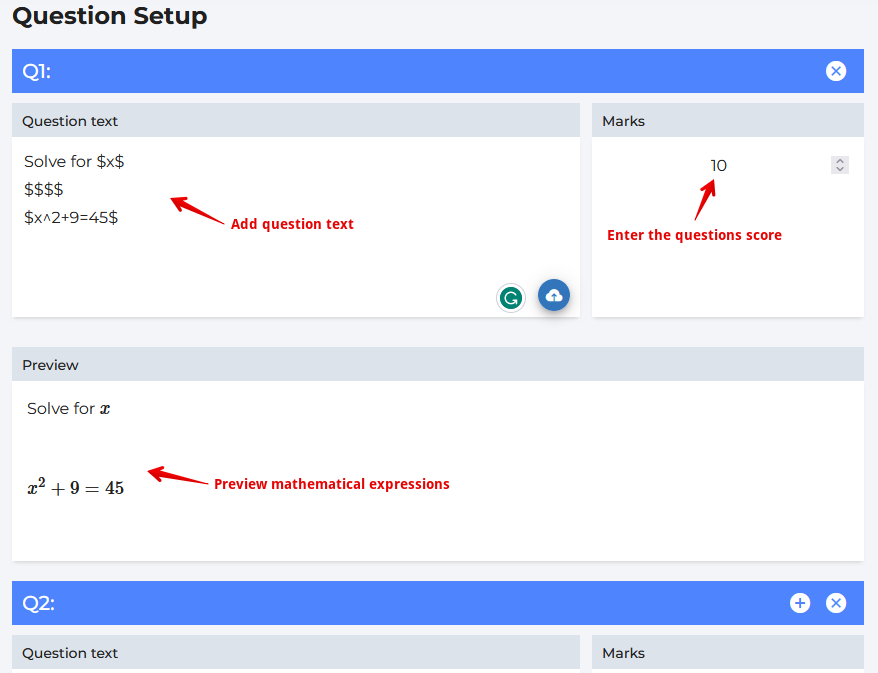
1. Individual questions are added under Question Setup. The question text is added on the left with any accompanying mathematical notation appearing in the preview below it.
2. Once all questions have been added, click SAVE ASSESSMENT to complete the setup. 3. It is also possible to configure the Assign2 tool for submissions only and deliver assignments to students as files linked in the course. In this case, the only configuration required would be the due date/time and setting the required number of questions
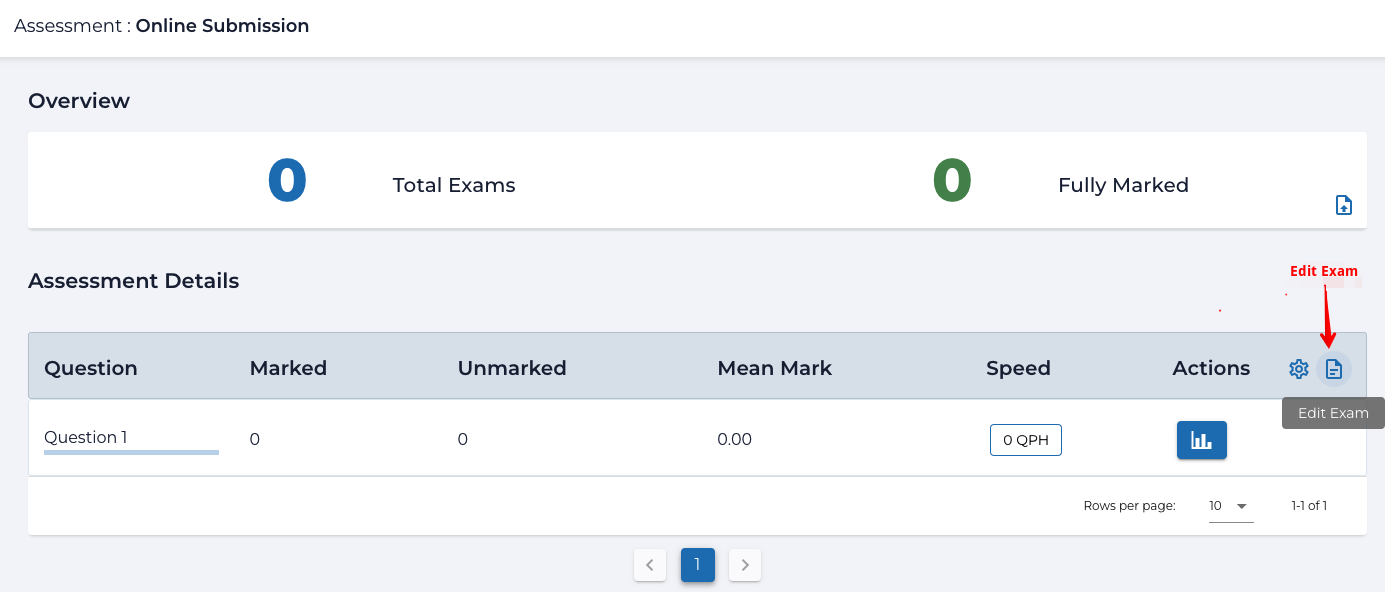
4. To access, update, and add questions after creating an assessment, instructors should click the Edit Exam option on the dashboard:
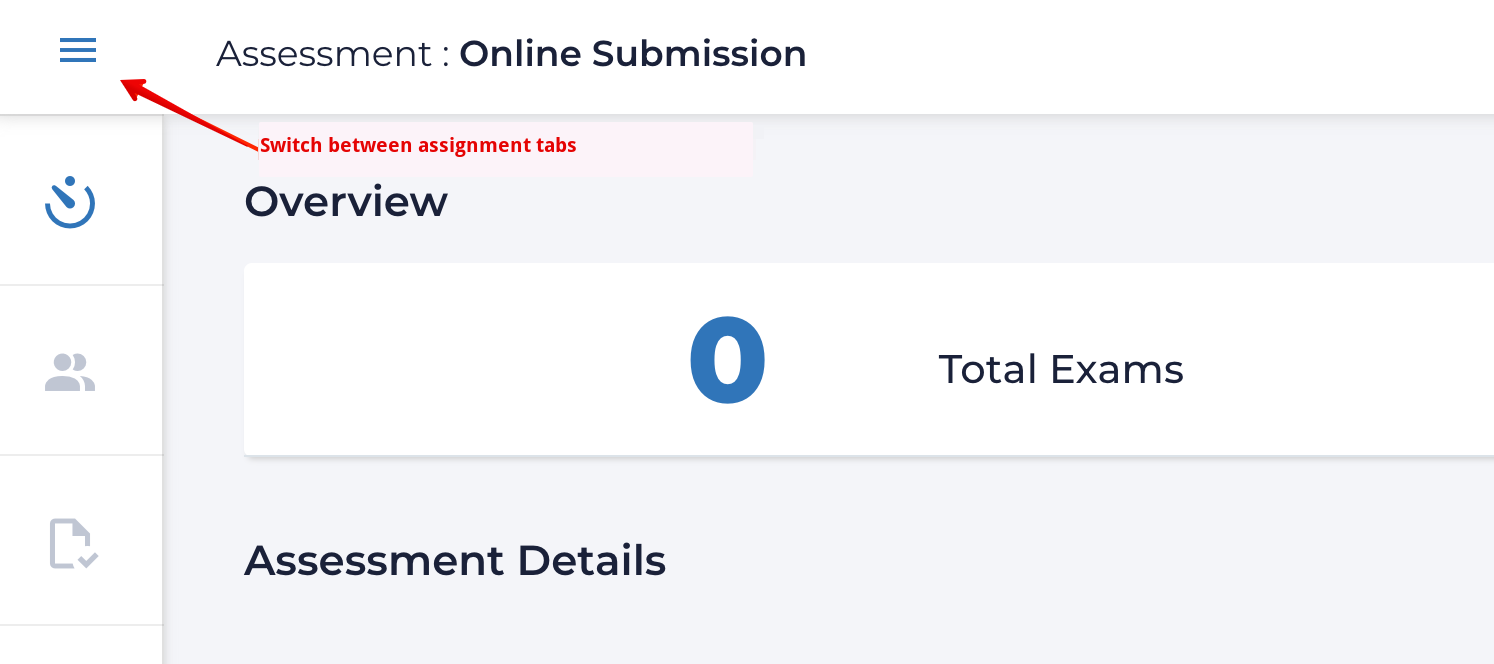
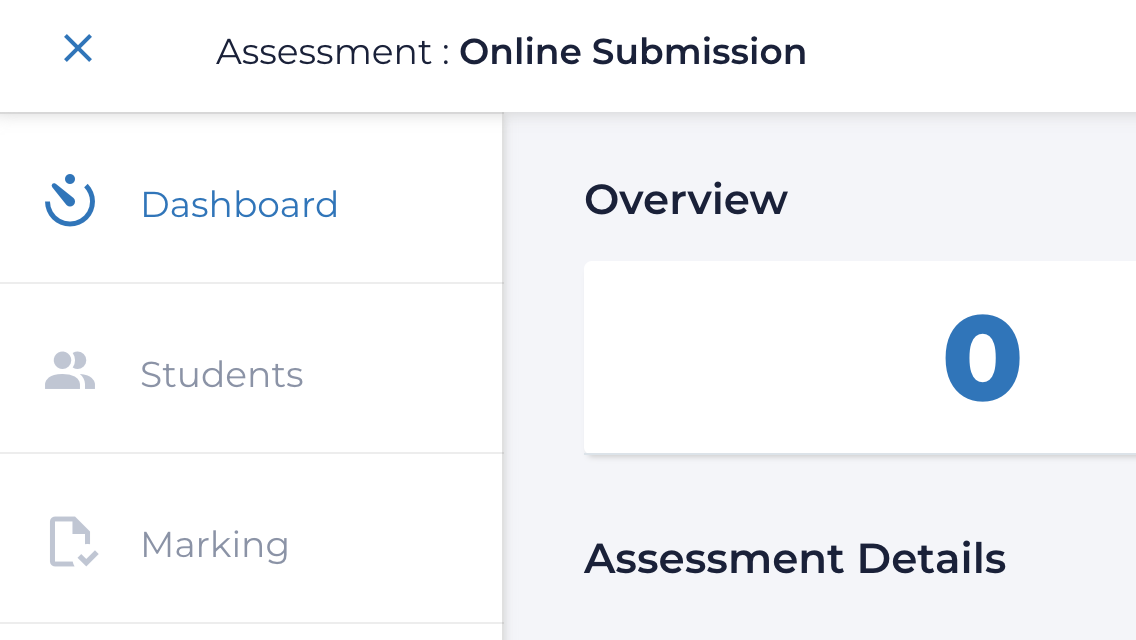
1. Once an assignment configuration and questions are saved, instructors can navigate within the assessment using 3 different tabs: Students, Marking, or Dashboard. 2. Users can switch between tabs from the top left nav drawer:
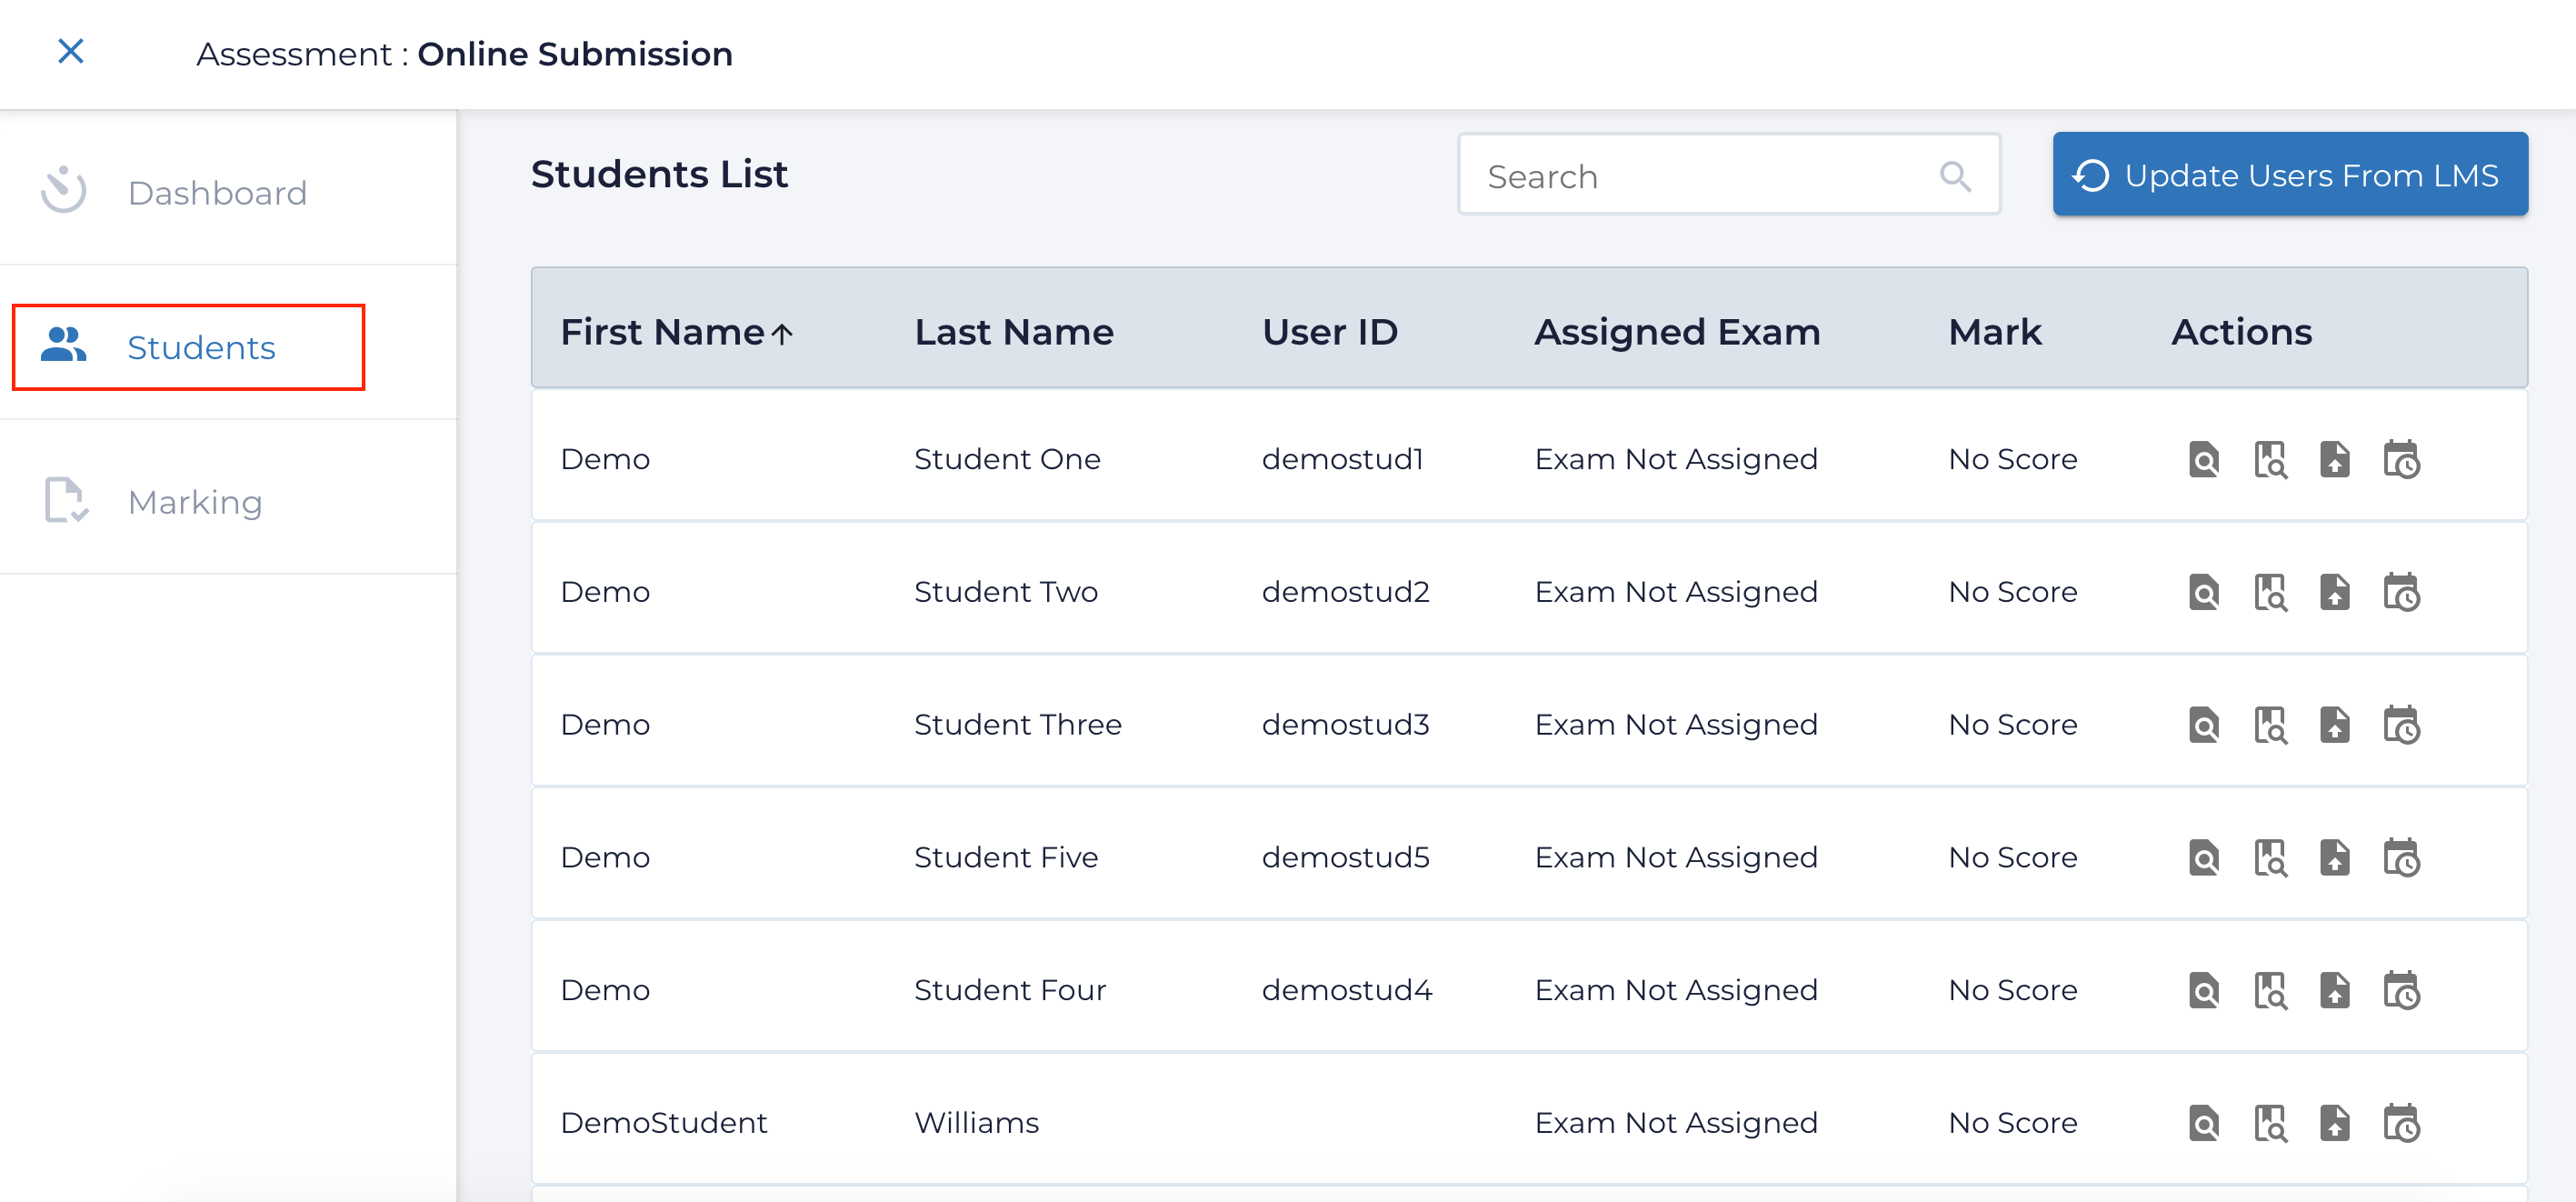
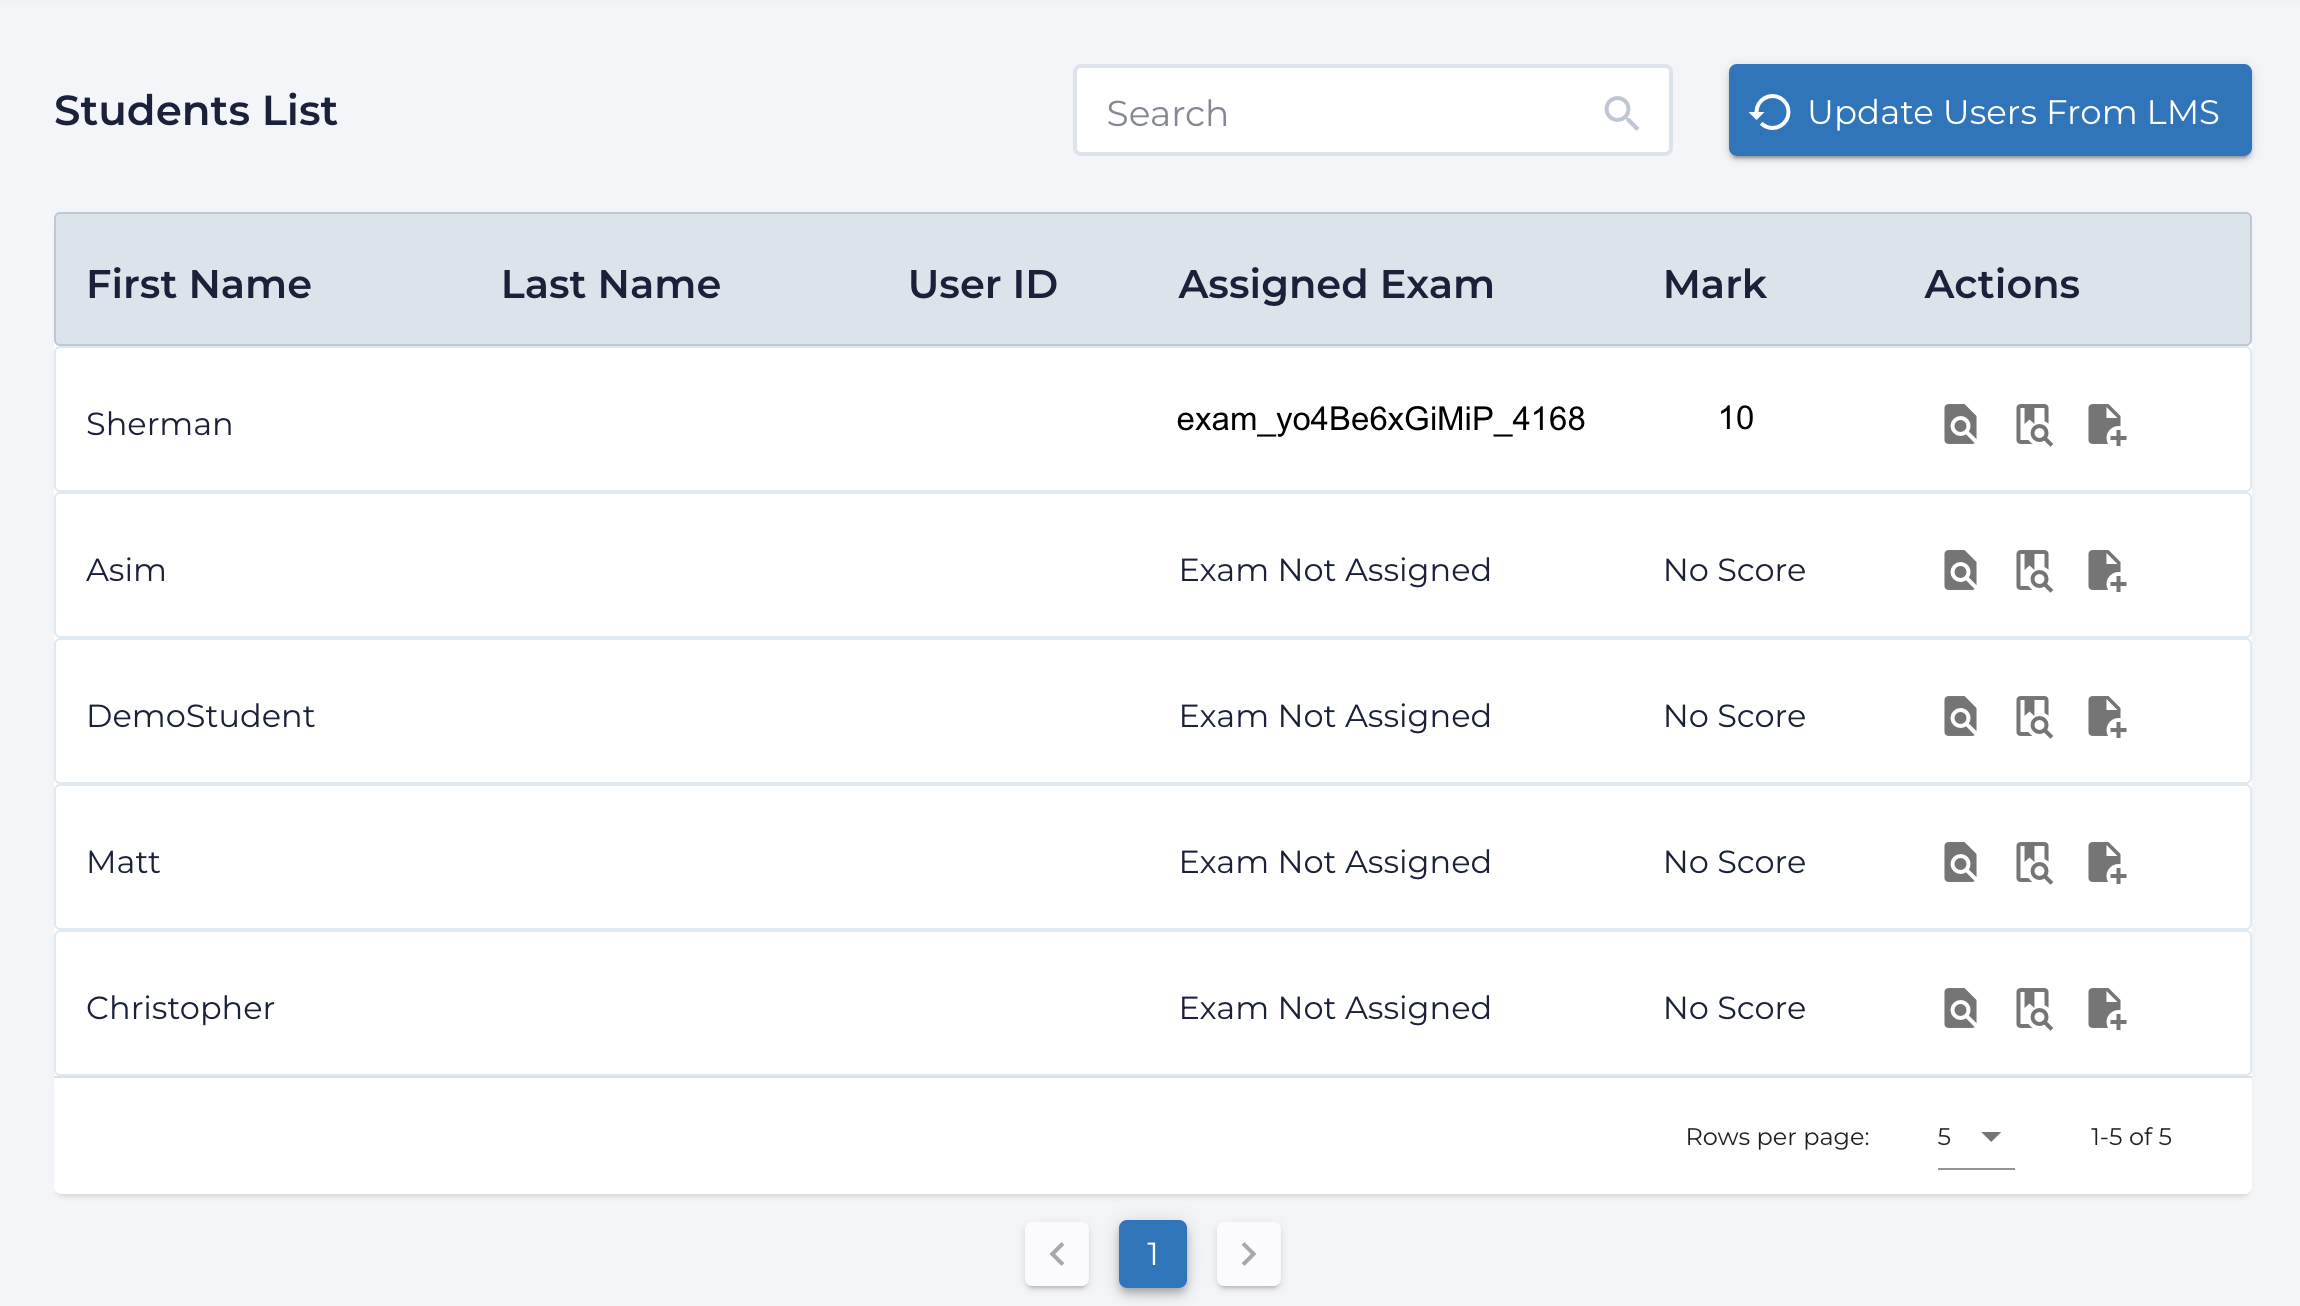
1 The Students tab will display the students' information as seen below:
2. For further details about the specific actions available on the Students tab, and especially to ensure that students have access to assignments see Managing Student Assessments in Assign2. 3. When delivering assignments to students, instructors can provide them with the link to a student-facing guide for using the tool: Submitting Assignment Using Assign2 (For Students). 4. Students will access their assignment submission area by clicking the Assign2 link from the course and begin adding submissions when assignments are set to Open for students. Students will complete solutions to the problems on paper, photograph them, and upload the photo(s)/file(s) for each question using their desktop, laptop, or mobile device in any of the accepted image file types: PNG, JPG, and PDF files. 5. File submissions are automatically re-sized and rotated on submission.
1. Once students have completed assignments, work can be graded by clicking the Marking tab. 2. The grading interface (covered in detail here)allows multiple graders to score and markup either specific questions across all student submissions or entire student assignments at a time. 3. Grades are entered at the top left either on a keyboard or with a mobile/tablet friendly keypad:
4. The grading overlay tools offer a number of time-saving workflows to grade assessments rapidly including the ability to create custom keyboard shortcuts. These features are covered in detail in Marking Student Submissions in Assign2. 5. Once grades have been entered, scores are reflected on the Students tab along with links to the student's submission:
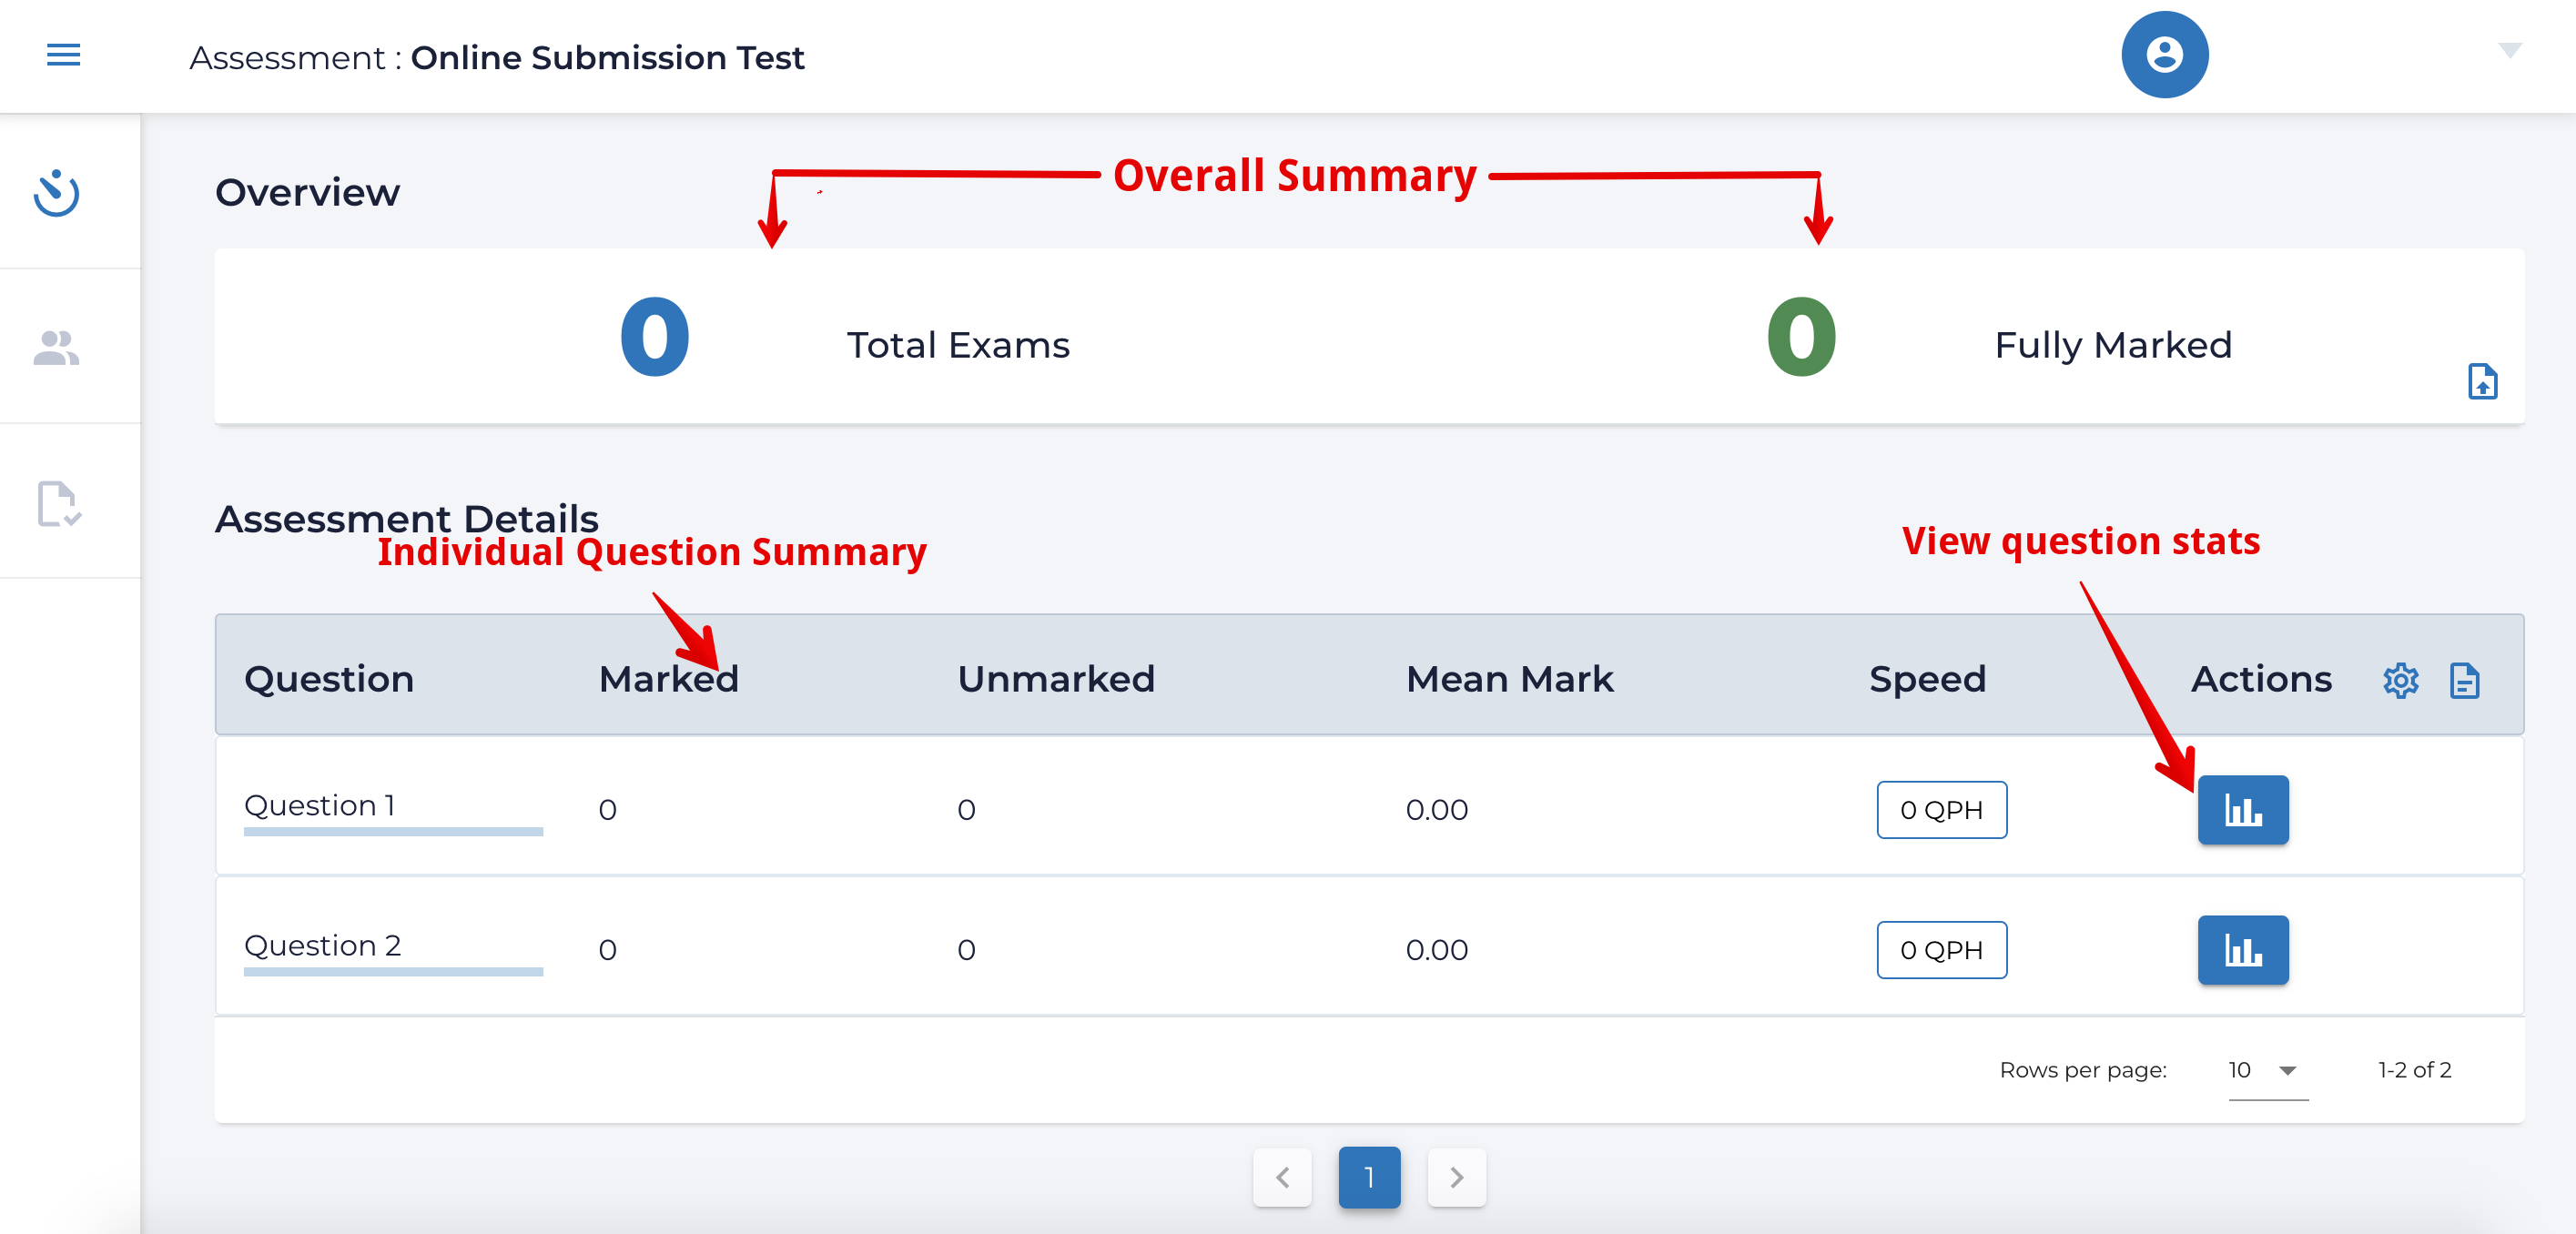
1. After grading, the assignment Dashboard shows the overall grading summary and per question marking progress and statistics:
2. The Dashboard action menu near the middle right also allows instructors to refresh the questions grading statistics, make changes to the assignment settings, and push grades into the LMS. 3. For more detail on these functions, see Managing Student Assessments in Assign2. | |
|
|
Knowledgebase: Online Assessment > Assessment with External Tools


Comments (0)