|
Creating and Accessing Zoom Meetings through Canvas
Last modified on 03 November 2025 03:57 PM
|
|
|
Zoom is currently available for all Faculty and Staff at the UofA. If a Zoom account is required by a Staff or Faculty member who does not want to access Zoom via Canvas (or eClass), please contact us at eclass@ualberta.ca to request a manual account in Zoom. This article describes how instructors can create and launch Zoom meetings through their Canvas course. It is also possible to create online sessions outside of regular Beartracks credit sections.
Contents:
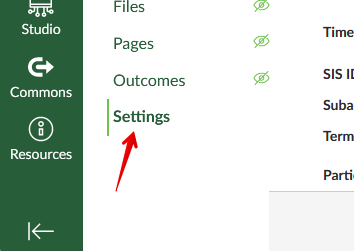
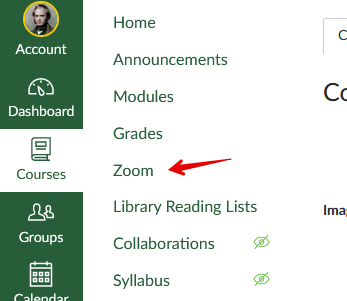
Adding Zoom to Canvas1. If Zoom is not visible in your course left navigation menu, you may add it from the Settings menu:
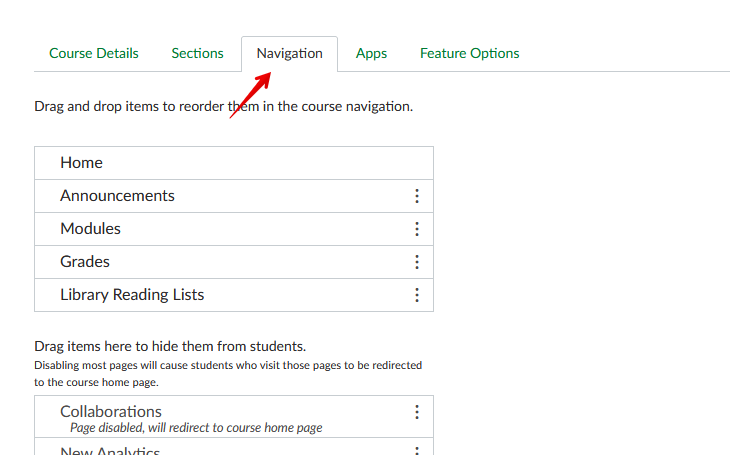
2. Click on the Navigation tab:
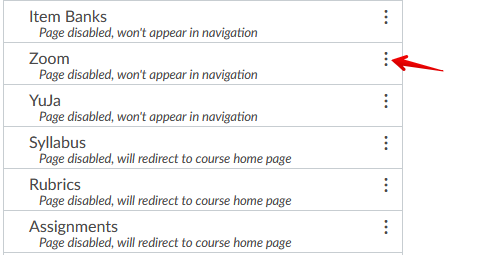
3. Click on the three dots to the left of Zoom and drag it up to the area for visible items:
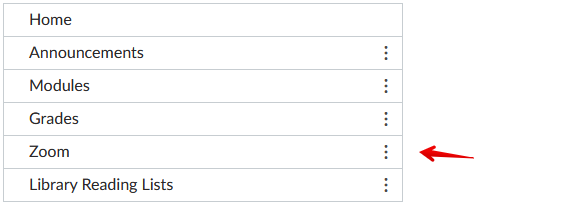
4. Click Save at the bottom of the page. If successful, the Zoom link will be available in the left navigation items visible to students:
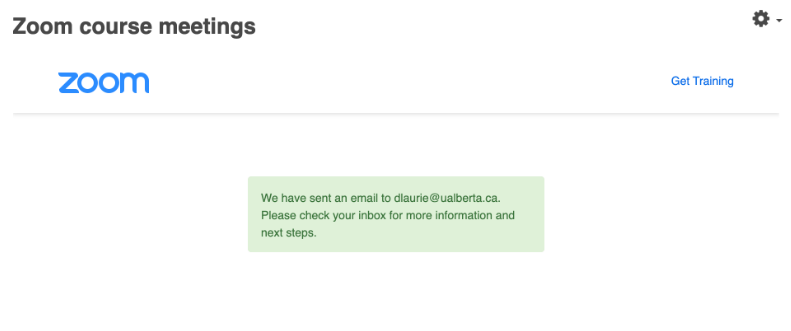
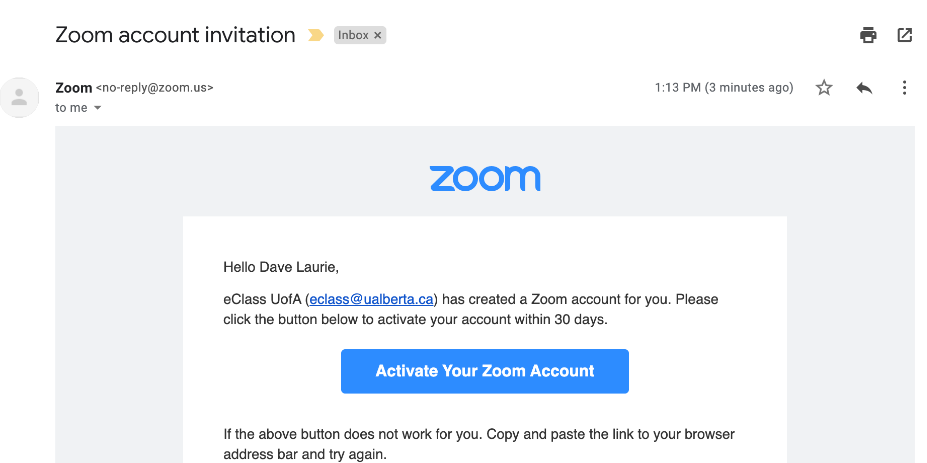
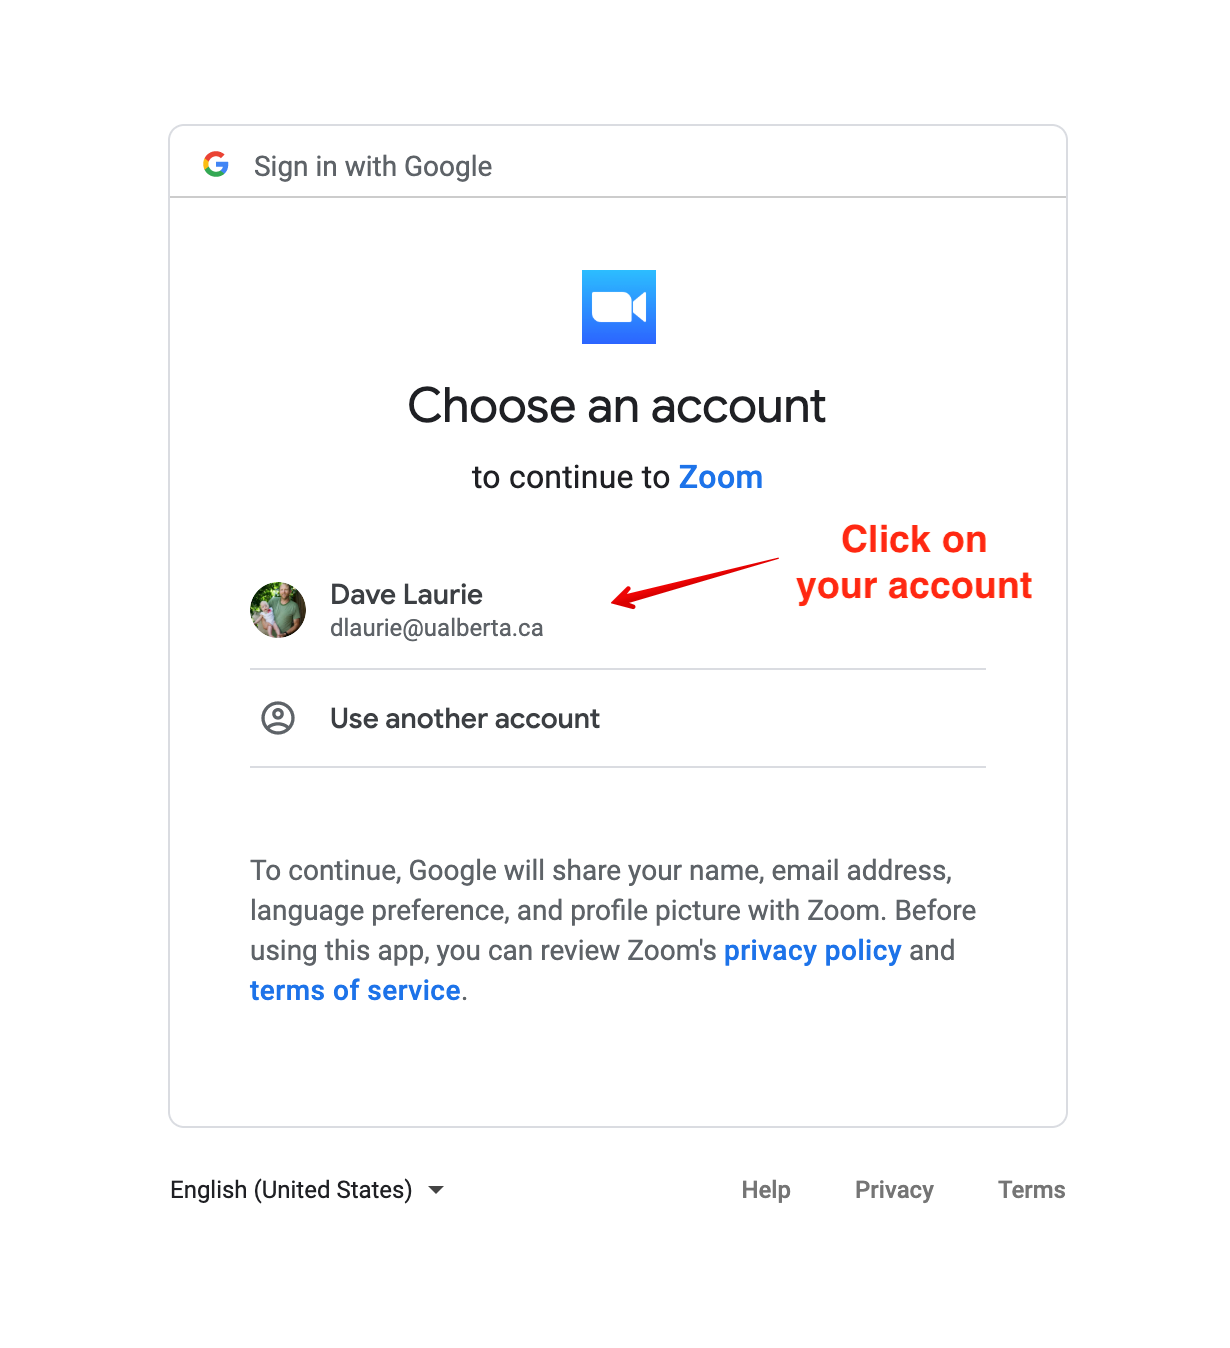
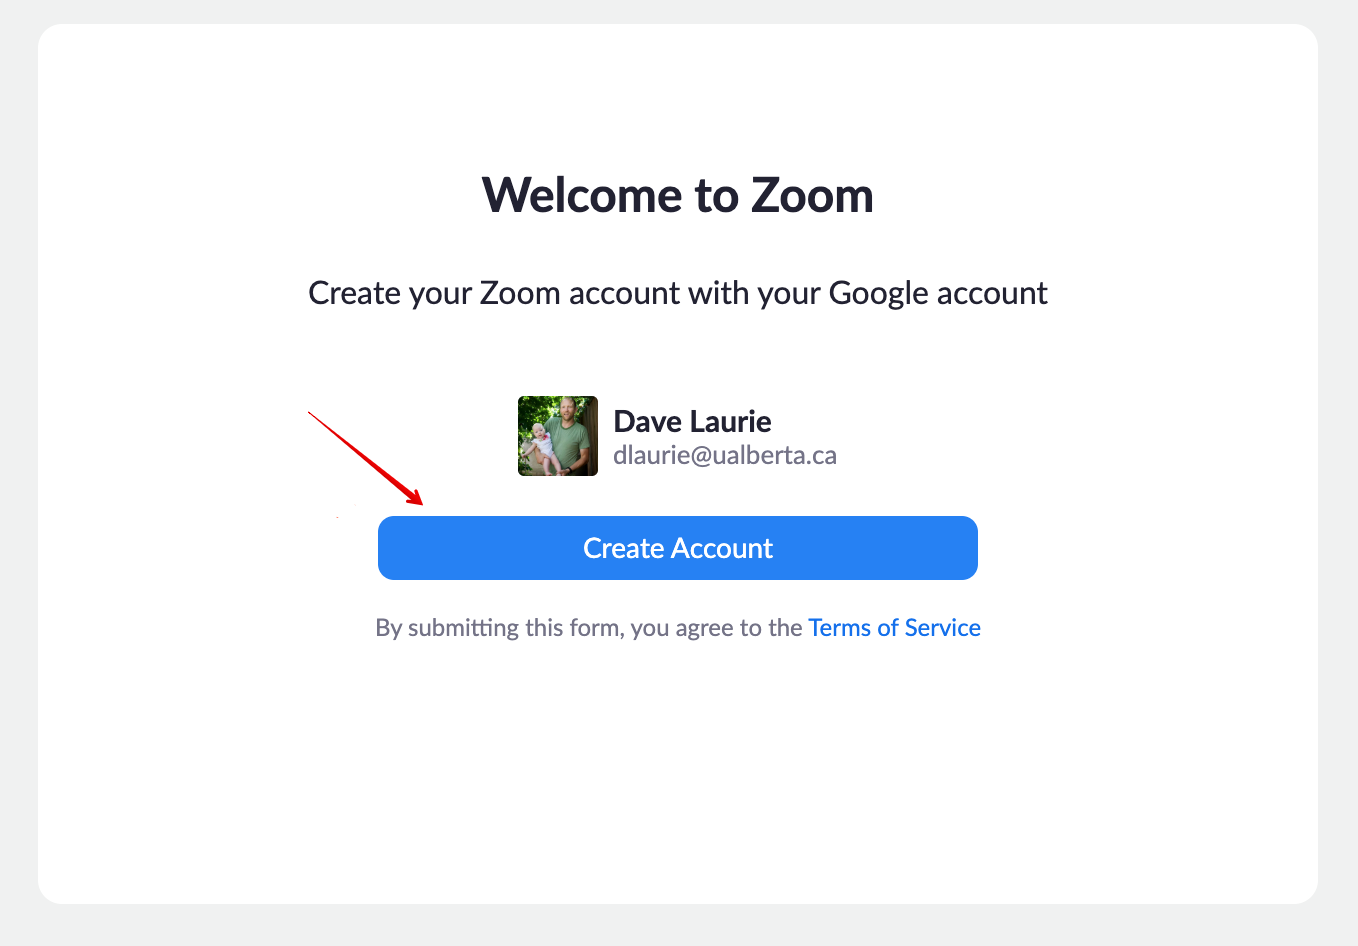
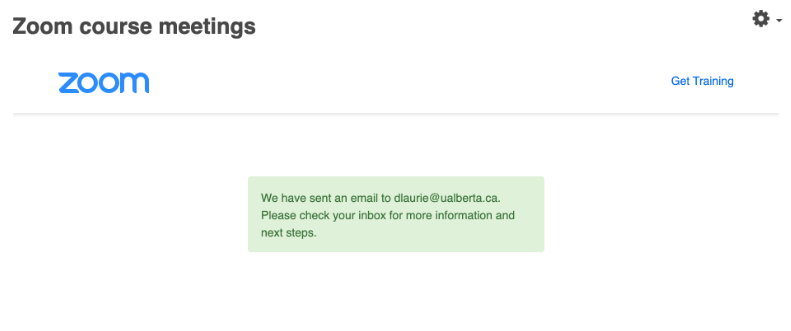
Activating a Zoom accountOnce you click the link, you should now see the Zoom course dashboard. If this is your first time accessing the tool (and Zoom), you will need to confirm your UAlberta email address as an account on the system. Note: if you already have a Zoom account associated with your UAlberta Gmail account (in the form ccid@ualberta.ca) you may encounter problems with this step. You will need either to delete or rename your personal account to link an account to Zoom through Canvas.
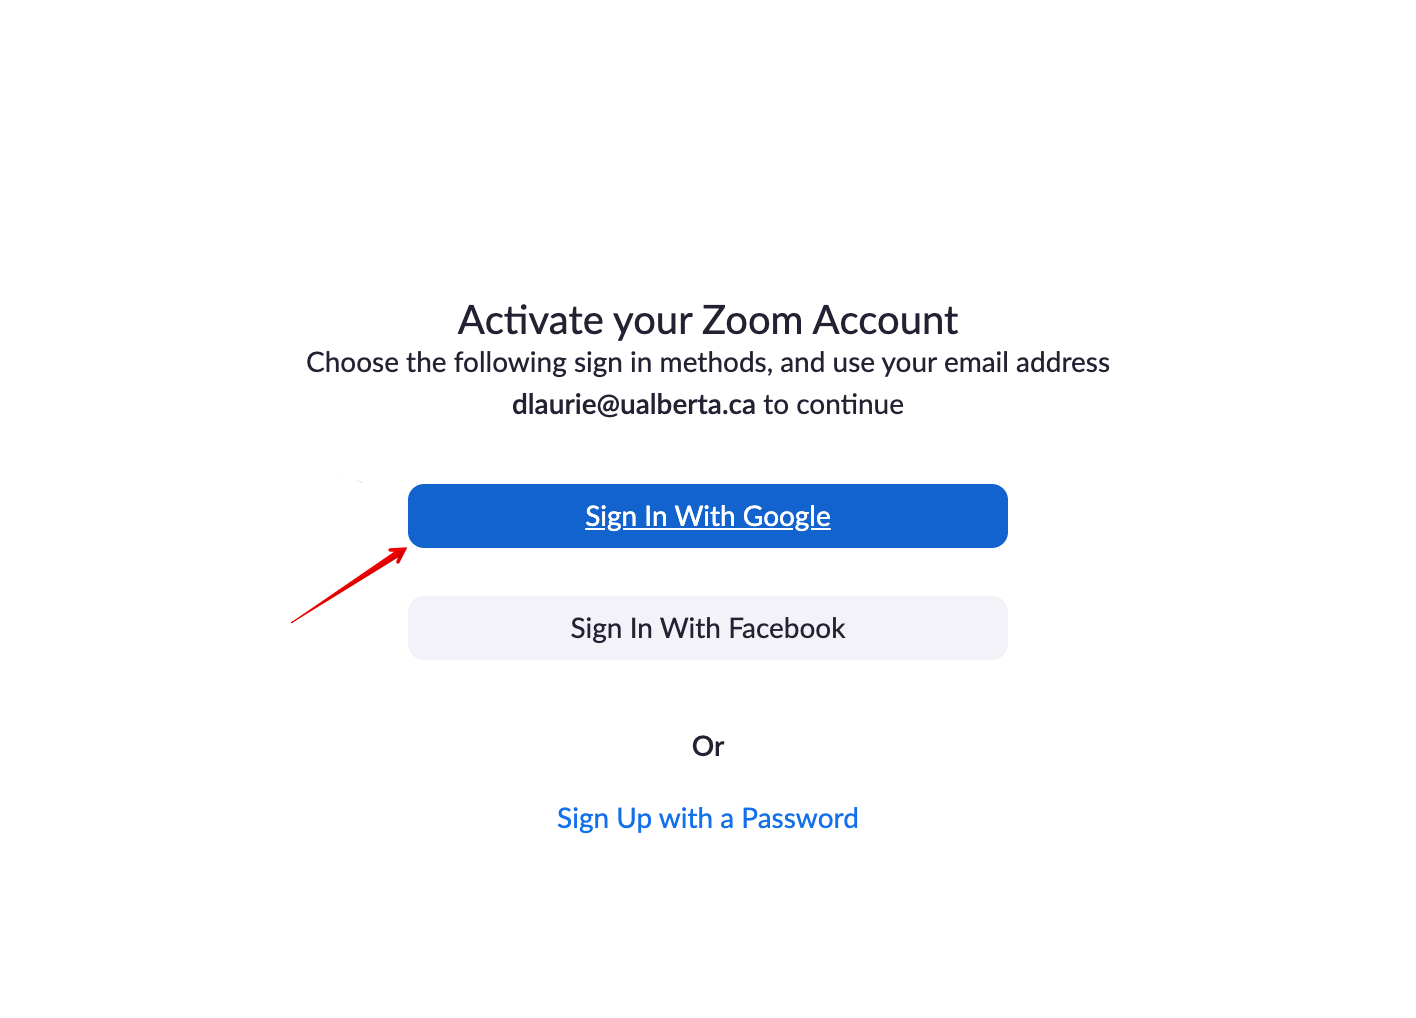
Clicking the link in your UAlberta email account will allow you to follow a sequence of steps to sign in to and connect your account to Zoom. Note: some people have had their accounts created without needing to go through this step. If you go into the Zoom tool and see the 'Zoom Course meetings' screen, your account is set up.
Now your account is enabled and you will be signed in to the Zoom web application. As this interface is slightly different from the integrated Canvas tool, it is recommended that you navigate back to Canvas and refresh your page. Setting your Zoom display nameWhen registering for a Zoom account for the first time using your Bear Tracks information, Zoom will create your account as:
If none are set, it will choose your name (in ascending priority):
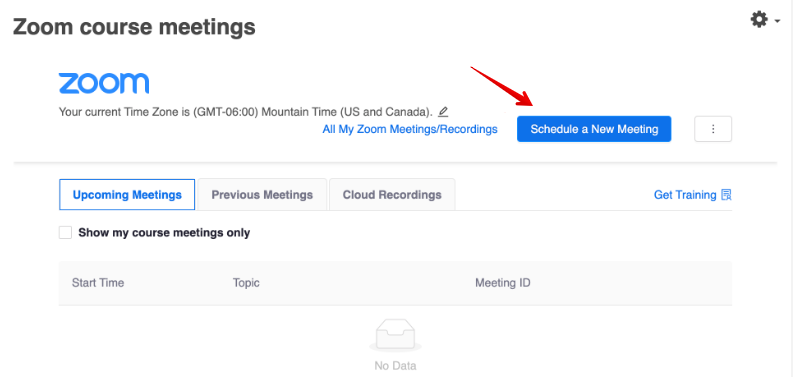
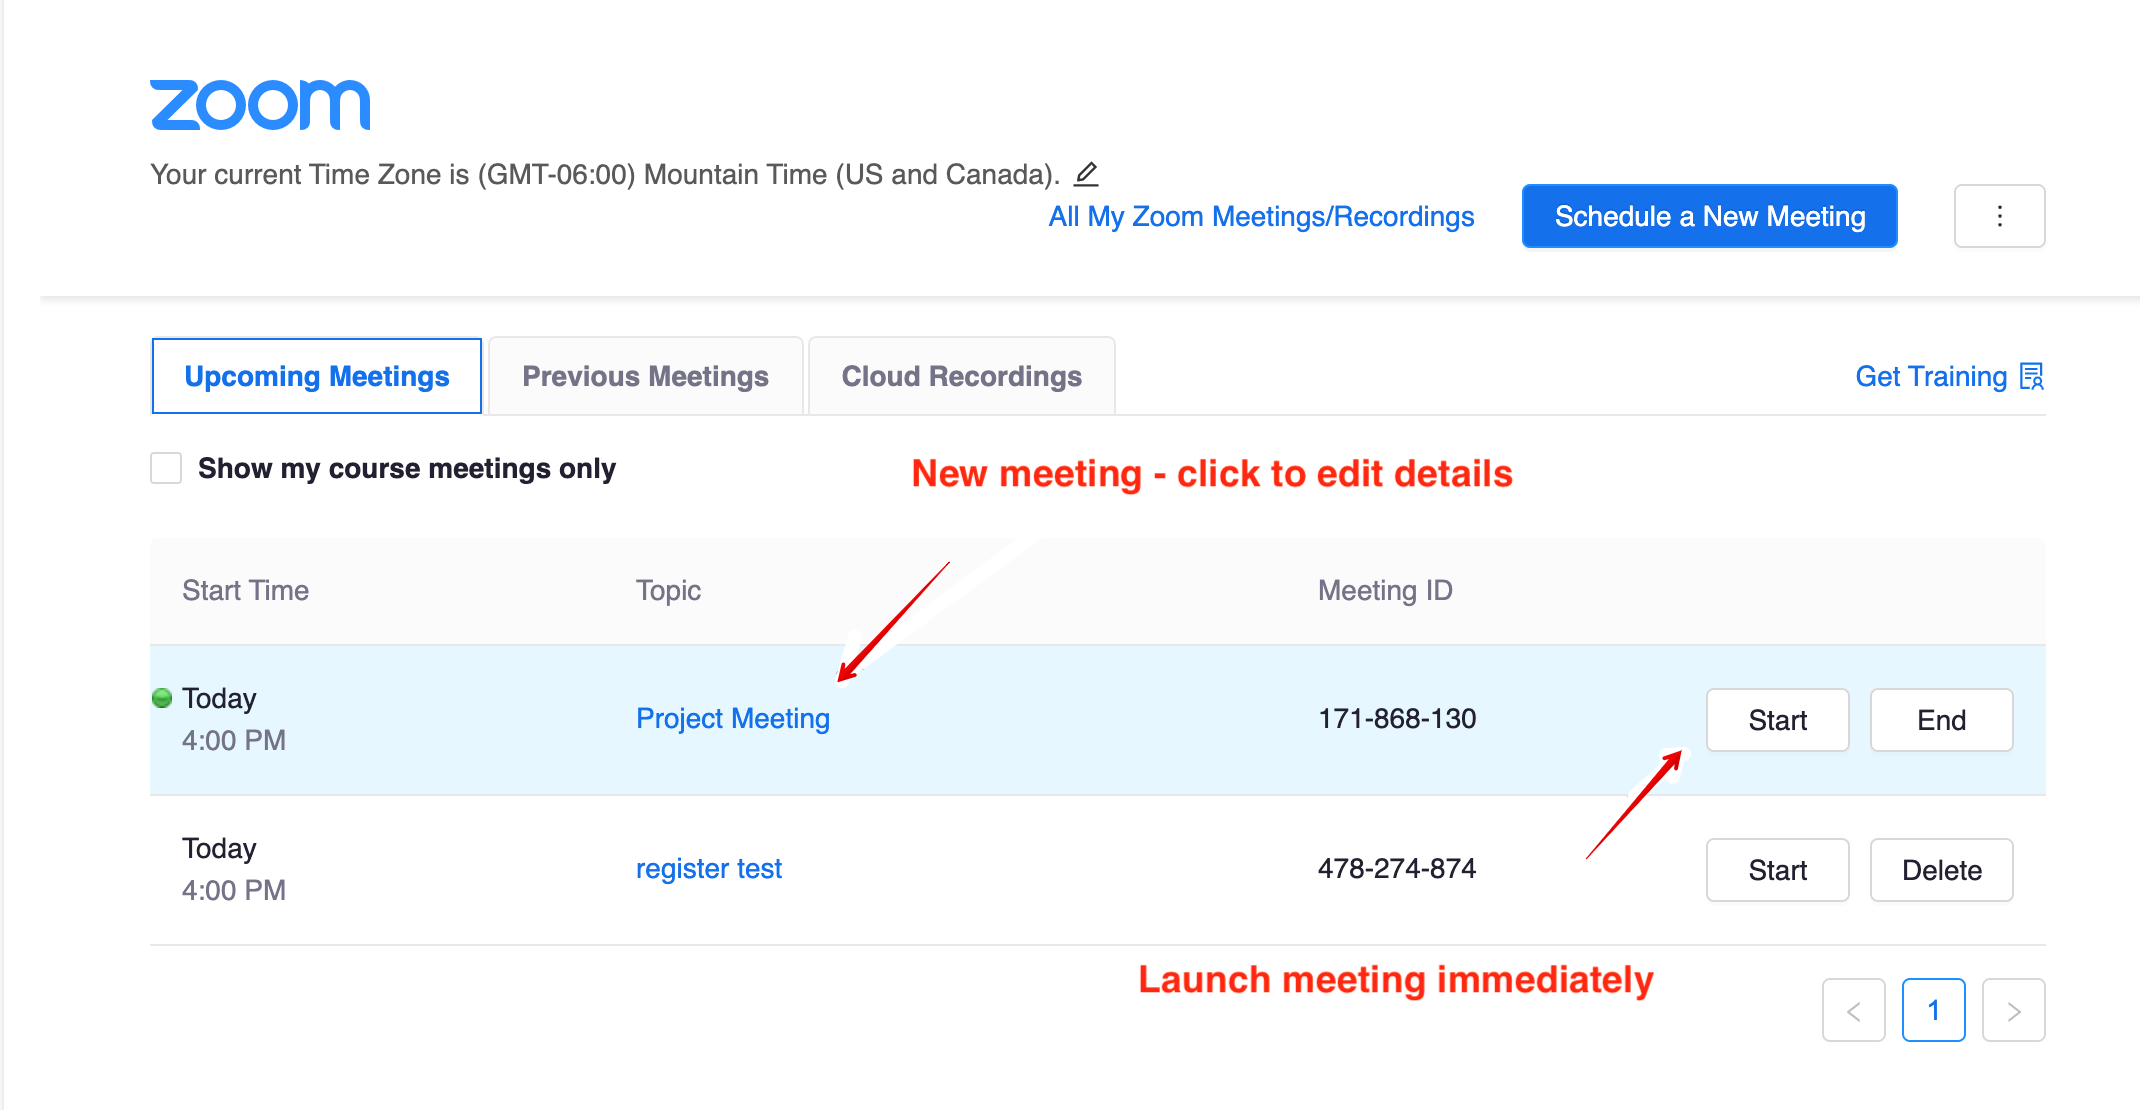
After your account is created, you are free to further customize your profile, including name, etc. If you already have a Zoom account where you have customized your profile, Bear Tracks will not affect your custom preferences. Creating Zoom meetings in Canvas:Now clicking on the Zoom link in the Canvas course sidebar, you should see the Zoom Course recordings interface. This will show any Upcoming meetings you’ve already created, along with tabs for Previous meetings, and any Cloud recordings:
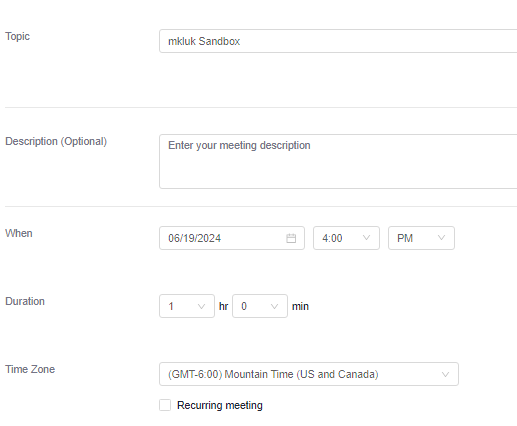
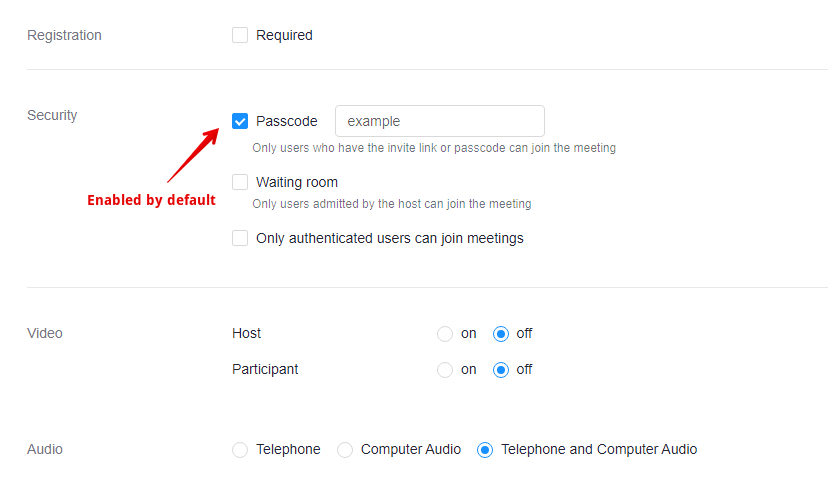
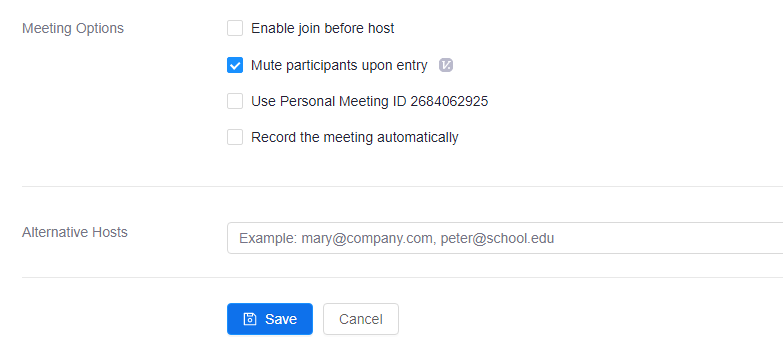
When creating a new meeting, you can specify the following:
Once created, you will see your meeting listed under ‘Upcoming meetings’:
Accessing the meeting settings will provide you with a link to share with external participants. Students in your class can click the link to join.
| |
|
|

