|
Recording Zoom meetings
Last modified on 30 October 2023 04:27 PM
|
|
|
Zoom meetings can be recorded for students to review after the meeting if they could not attend in person. This functionality can also be used to pre-record lectures to flip lectures and deliver them asynchronously. Before recording synchronous classes, instructors should review the CISO documentation on online meeting recording security and privacy. Contents:
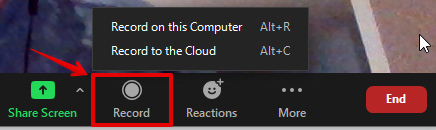
There are two ways of starting a recording of a Zoom meeting, by making the meeting record automatically when scheduling the meeting, or by starting the recording during the meeting.
Cloud recordings are saved to the Zoom servers. After you finish recording, you will get an email when the recording is ready to be viewed. For meetings created through the eClass Zoom integration, cloud recordings can be published in the course so that students in your course can immediately view the recording. Please note: we have a finite cloud recording space as a part of our Zoom license so these recordings will not persist indefinitely. Zoom cloud recordings can be downloaded if long term access is required.
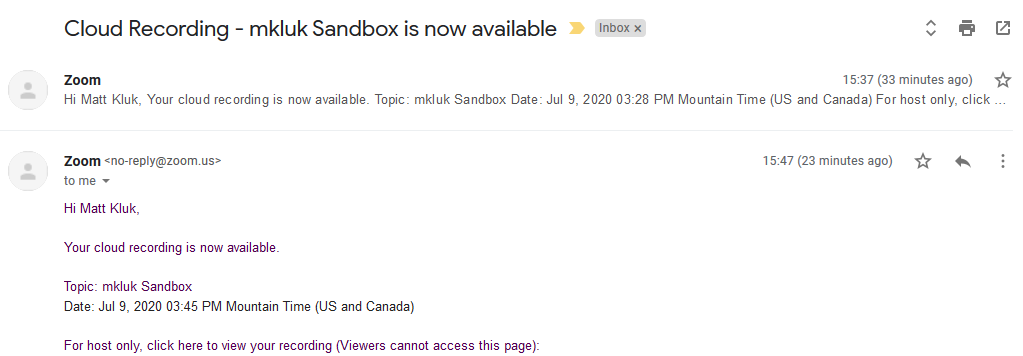
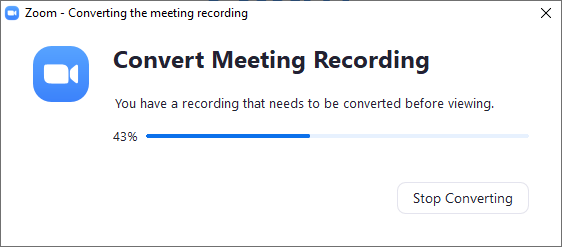
After you end a cloud recording session in your meeting, it will have to convert to a video. This might take some time, especially if the video is long. However, you don't have to wait for it to convert on your computer. Once it is ready, Zoom will send you an email that the recording is ready.
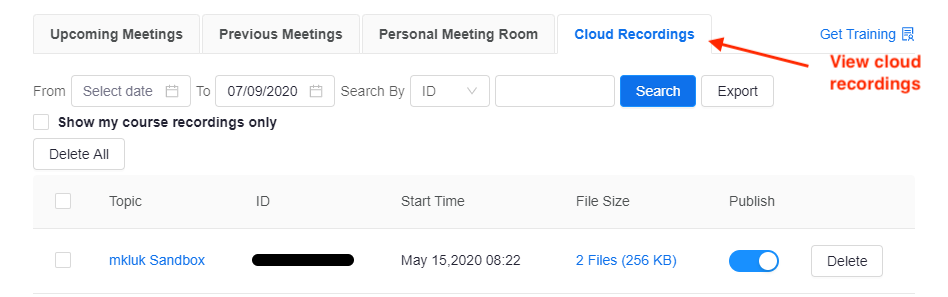
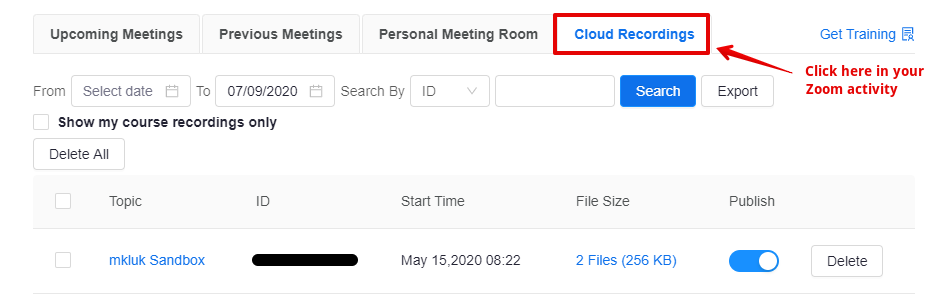
You will also be able to see the cloud recording in your eClass course. Go to your Zoom activity in eClass, and then click on the Cloud Recordings tab to see a list of your cloud recordings for that course.
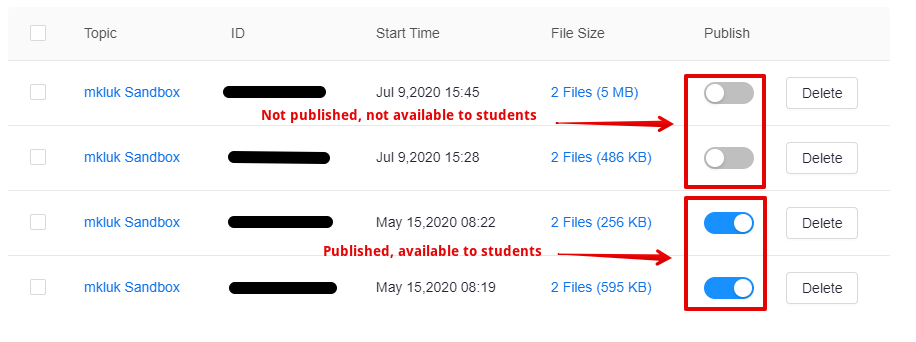
While cloud recordings immediately go to your course's Zoom activity, they are not immediately made available to students. You will have to publish the cloud recordings. To go this, go into your Zoom activity in eClass. Click on the Cloud Recordings tab. Click on the switch under the Publish column to make them available to students. When published, the switch will be blue and pointed to the right, not grey and pointed to the left.
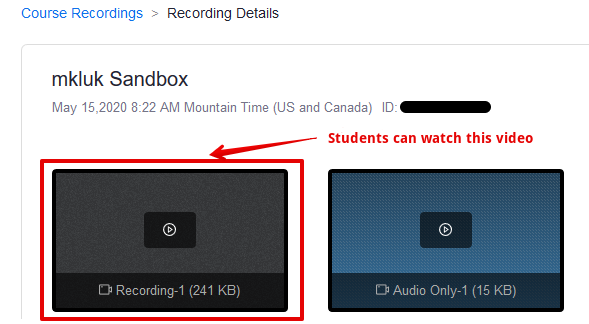
Once published, students will be able to access the published cloud recordings. Students will click on the Zoom activity in eClass, click on the Cloud Recordings tab, and then they can click on the recording that they want to view.
The students can then watch the video of the cloud recording on the Zoom activity in eClass. It is also possible for students to download a copy of the video.
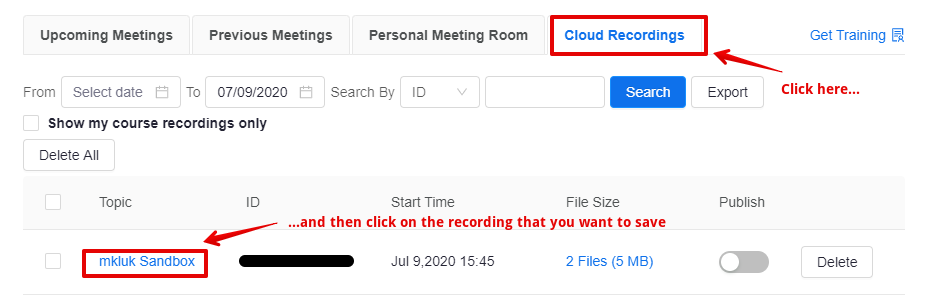
Saving an offline copy of a cloud recording While being able to record to the cloud and publish recordings is convenient, these videos are still only available online, and these videos will be not be available indefinitely. If you require permanent access, you can download your cloud recordings to your computer, so that you have an offline copy. Go the Zoom activity in eClass, click on the Cloud recording tab, and then click on the recording that you want to save.
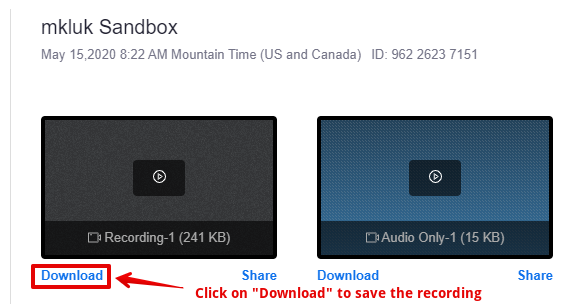
Then, click on Download below the video, and then you will have a .mp4 file of the recording saved to your computer, which you can use offline.
Note: Sometimes people get an error saying that they cannot download the meeting because they are not logged in as the host, even if they are the host. If this happens to you, try signing in to your Zoom account on the Zoom website using the instructions in this article: Signing In to Zoom Outside eClass
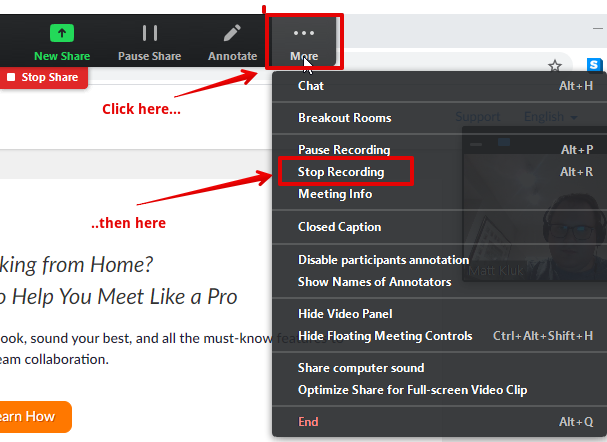
Local recordings are saved directly to your computer after the meeting is finished. While the recordings will take up space on your computer, and you will need to use a little bit of time after the meeting for the meeting to convert to a video, this is a reliable option for making sure that you have permanent access to the recording. Once the local recording is on your computer, you can use it however you like, including posting it on video sharing websites, or even your Google Drive and sharing it as required. Note: Changes to "recording settings" in Zoom.com are ONLY applied to cloud recordings. Any recordings saved to your local computer will not include the chat in the video and will not reflect any changes you have made in zoom.com recording settings.
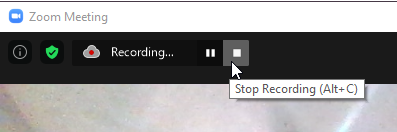
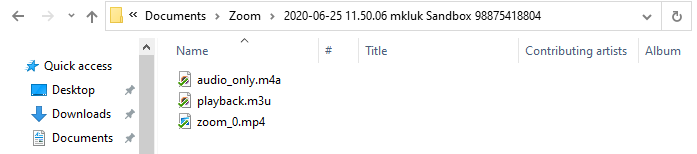
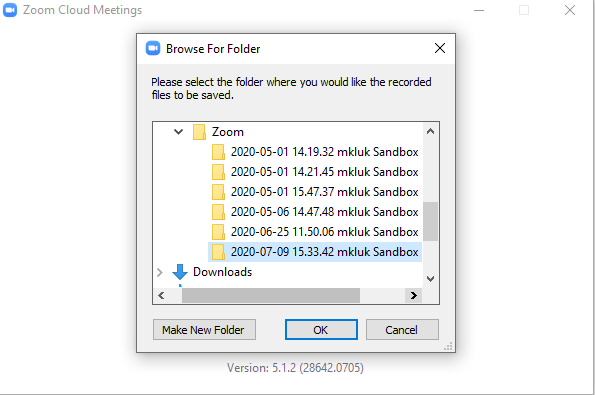
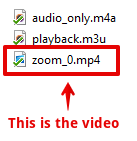
If you are recording locally to your computer, you will need to convert and save the meeting to your computer.
Once you have the local recording (or if you have downloaded a cloud recording), you can upload it to your course using YuJa, which would allow you to keep the video in future courses if you import content from the course you uploaded it on to a future course. You could also post it to video hosting services, such as Google Drive.
| |
|
|