|
Adding Content to Courses Using the U of A Canvas Template
Last modified on 08 May 2026 03:41 PM
|
|
|
The concepts listed here apply equally to adding content to blank courses and can also be viewed in the recording of the August 2024 Canvas Learning Opportunity session Authoring Content. Instructors wanting in-person guidance can sign up for one of the learning opportunities scheduled for August 2025. (Note if your course contains the custom template but you would like to start fresh with a blank course, it is possible to delete the content or request a blank co-curricular course.) Contents:
Selecting the course Home PageThe U of A's custom template contains a polished, visual front page that instructors can use as a course landing page with links to other course areas. The home page is easily edited using the Canvas Rich Content Editor (RCE) and instructors can take advantage of custom graphics created for the U of A. It is also possible for instructors to use other pages or the Canvas modules view as their course home page but the graphical home page is recommended. Customizing the Homepage
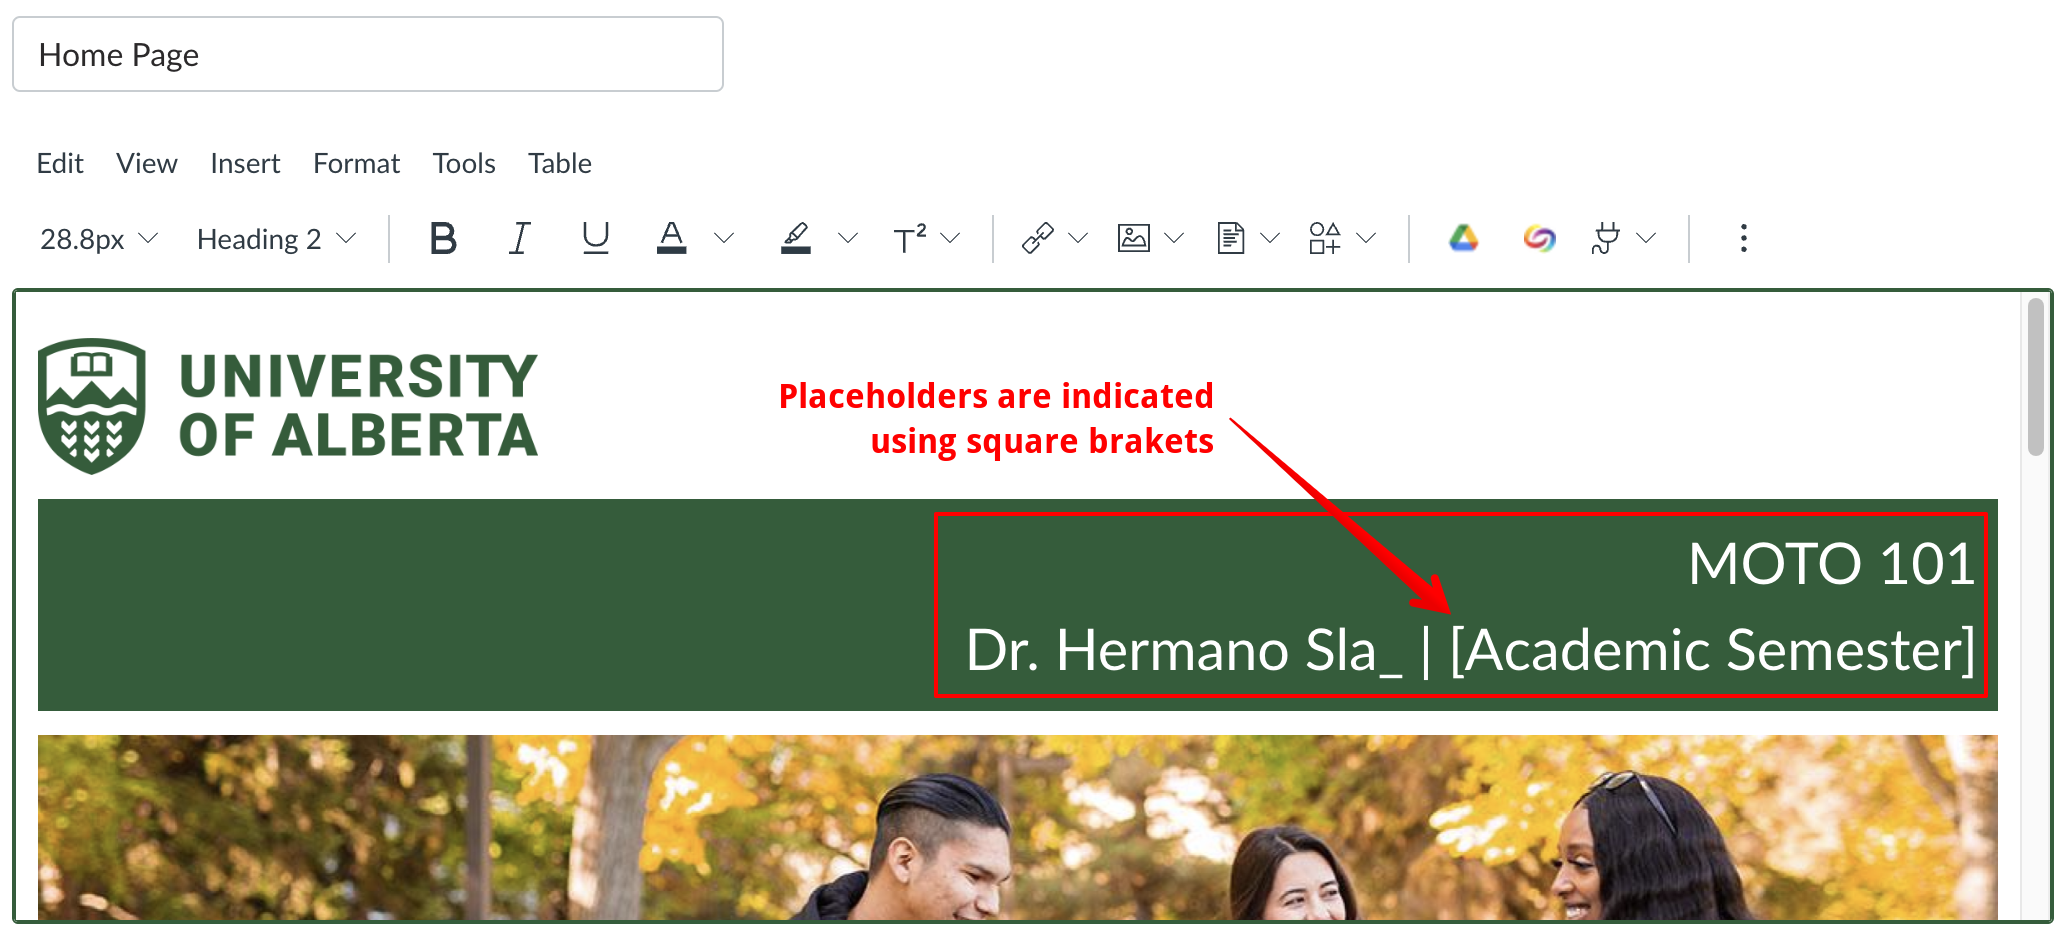
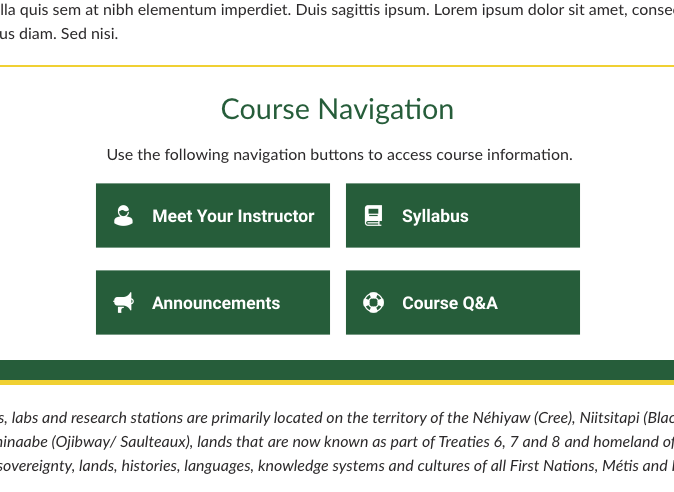
Note: Clicking Home or Pages will return you to the Homepage by default. Customizing the Home Page Graphics and Navigation elementsThe homepage template contains a graphical banner and a 'Course Navigation' section containing four buttons near the bottom that take you to different pages in your course (instructors can follow these links to edit those specific pages in the course.) Instructors can customize the banner graphic and/or these buttons themselves and could also add additional buttons that link to other modules in your course. Instructions for making changes to the banner images and course card images are provided in the article Using Custom U of A Graphics in Canvas Pages. Instructions for customizing the buttons are contained within the template itself, in the 'Instructor Module' of the course on the page Template: Icons, Banners, & Buttons Customization Options (see screenshot below.) New in August 2025, instructors and designers looking to rebuild the navigation buttons can now access higher resolution versions of the icon files in google drive.
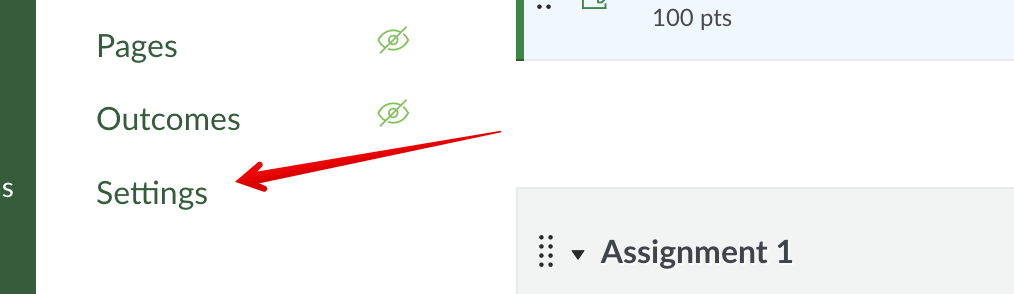
If you have added custom buttons or are linking to new pages or modules (for example, if you are working on a course migrated through the K16 process), you will need to connect the button to the correct location in your course. To do this, click on Edit at the top right of your course Home page. Click on the navigation button, then click the Remove link button:
Then click on the button image again so that it takes on a blue border, and click the link icon in the toolbar and select Course link:
In the overlay that opens on the right edge of the screen, search or browse for, then select the page or location in your course to link to:
Then close the overlay and save your changes. Customizing Other Template Pages
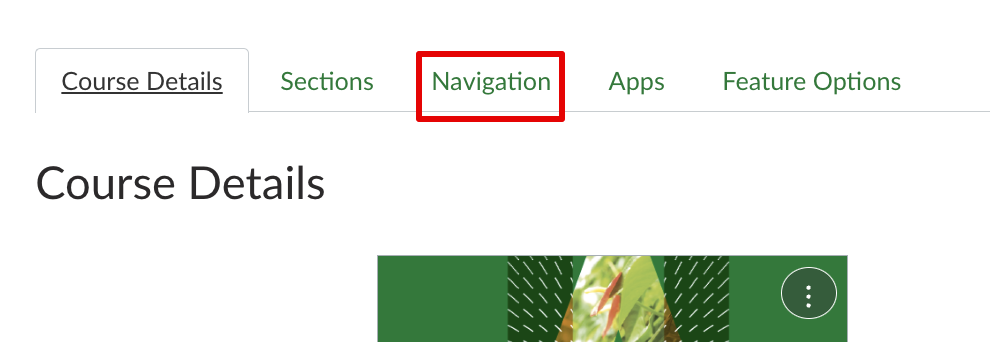
Customizing the Basic Course Left NavigationEvery Canvas course contains a left navigation menu where instructors and students can access the different components of the course and external tools enabled at the course level. These navigation options can be customized per course in the settings, but the U of A template comes with the recommended options enabled. The navigation options that are enabled by default include People, Modules, Announcements, and Grades. Students and instructors can also access the central external tools Zoom and YuJa through those links. Canvas also provisions some external tools here that only instructors can access: Canvas Studio, New Analytics, Item Banks, and Settings. Since there is some inconsistency in how these links are displayed to students, it is always recommended to confirm the correct links are displayed using the student view. The options in this list can be changed to meet different course needs - for example if a course will not hold any synchronous meetings over Zoom could be removed or the Library Reading List external tool could be added. To change the left nav items, click Settings at the bottom of the left nav column, then click on the Navigation tab:
Then drag items to move them into the disabled area or select Disable under the 3 dots menu on the right to remove them from student view:
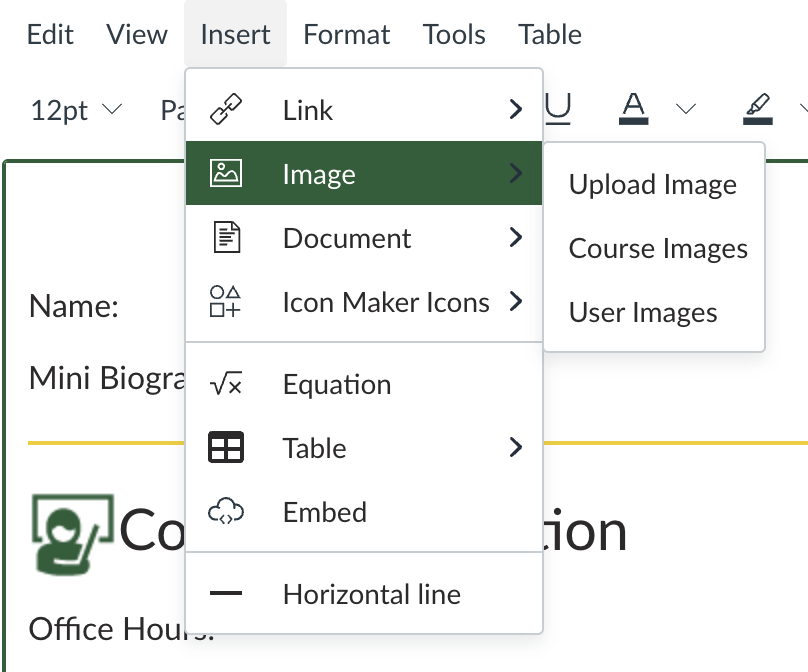
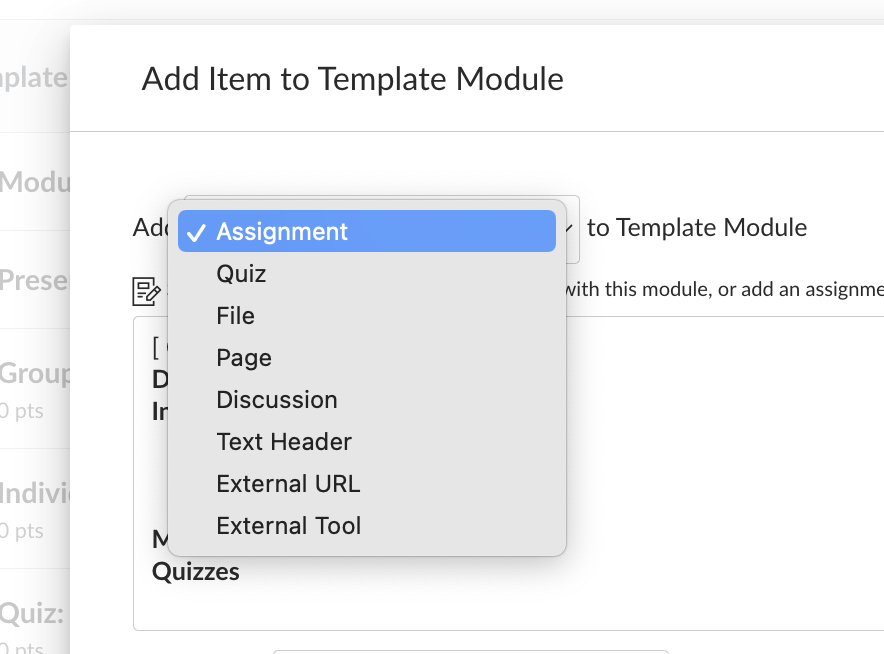
Note: many external tools are also removed from instructor view so if you are missing tools check under the navigation tab. Full information about customizing the course navigation menu can be found here. Customizing other (template) modulesFrom this point on, you can begin customizing the other modules provided by the template in your course. Click on Modules on the left-nav to view the structure of the template course. To add new content to a module, click the + icon near the top right, then select or upload the content to add:
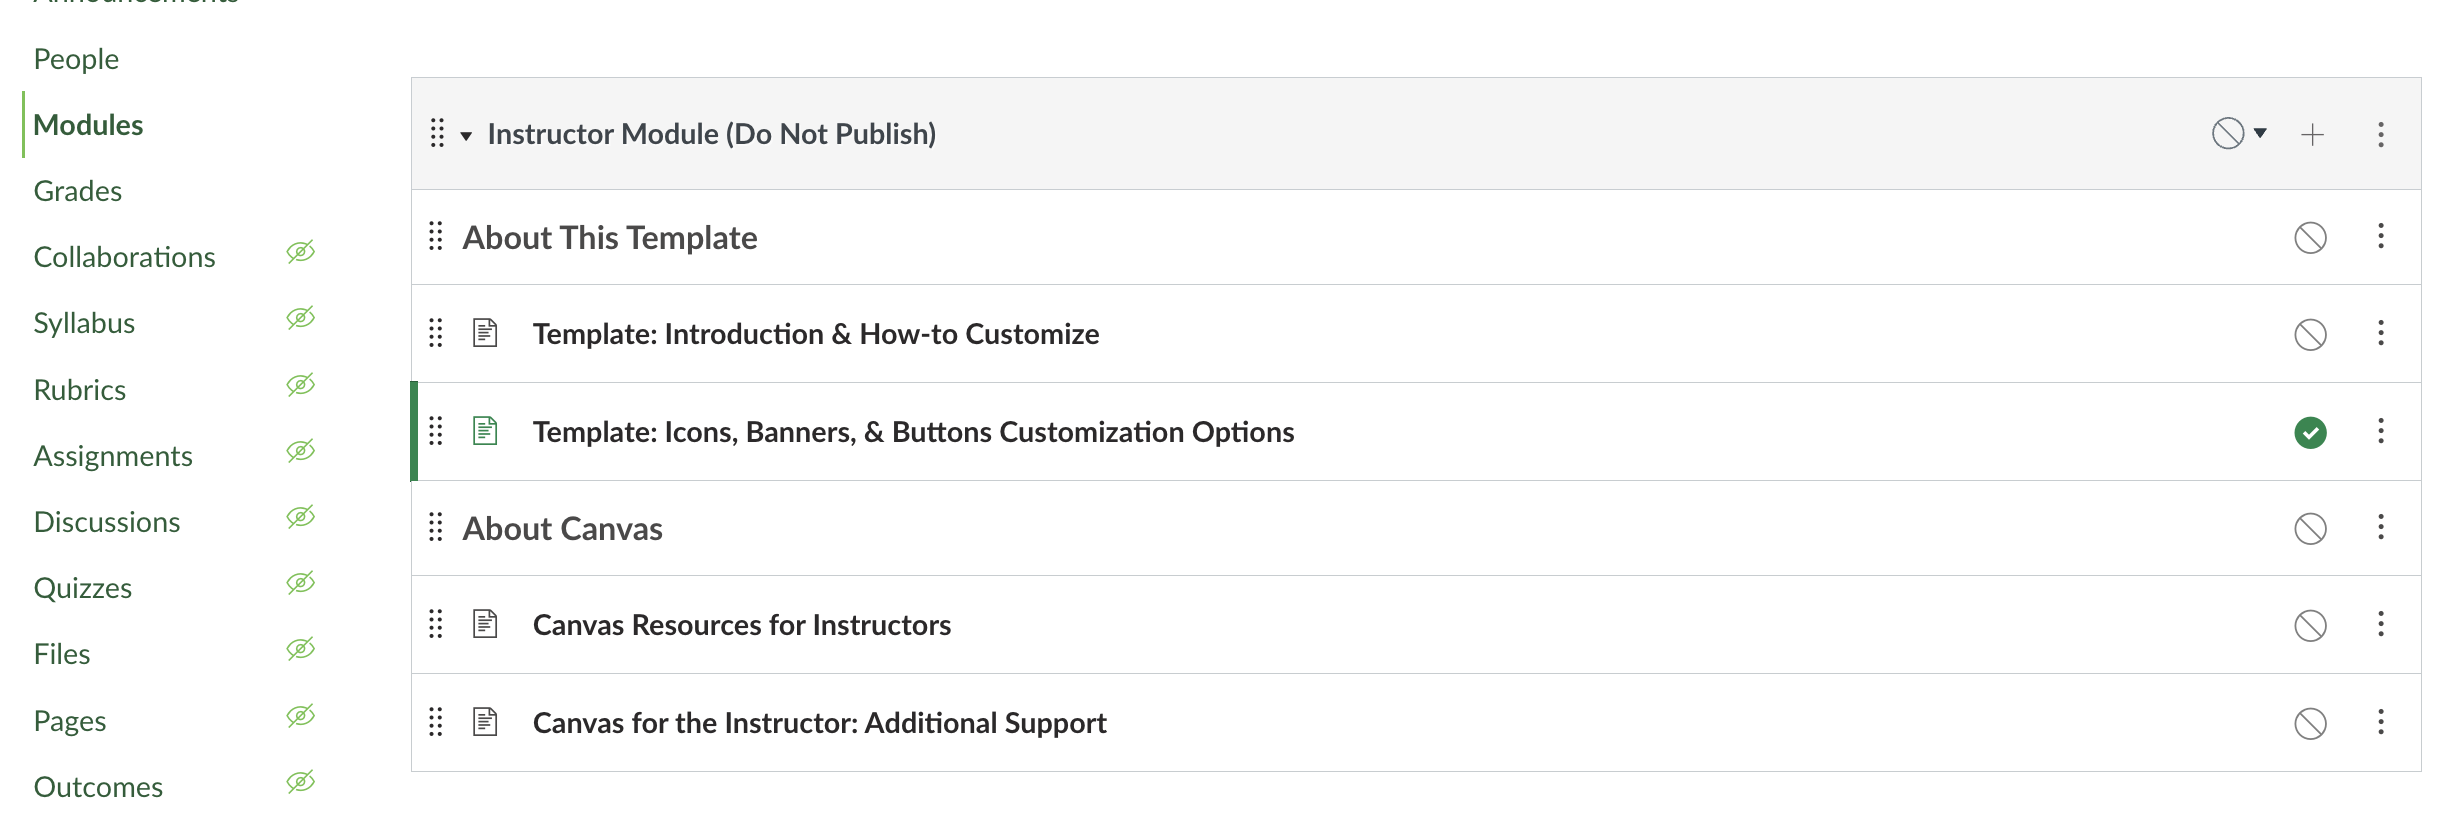
The first module at the top of your course is an instructor-facing module that should not be published to students. It contains a guide to the template, instructions for making customizations to the home page, banner images, and navigation buttons, and links to Canvas guides on course construction:
As you navigate downward in the modules structure, you will see 'Welcome to the Course: Your Journey Begins Here!' that you should already be familiar with from above. The last three sections available in the template are:
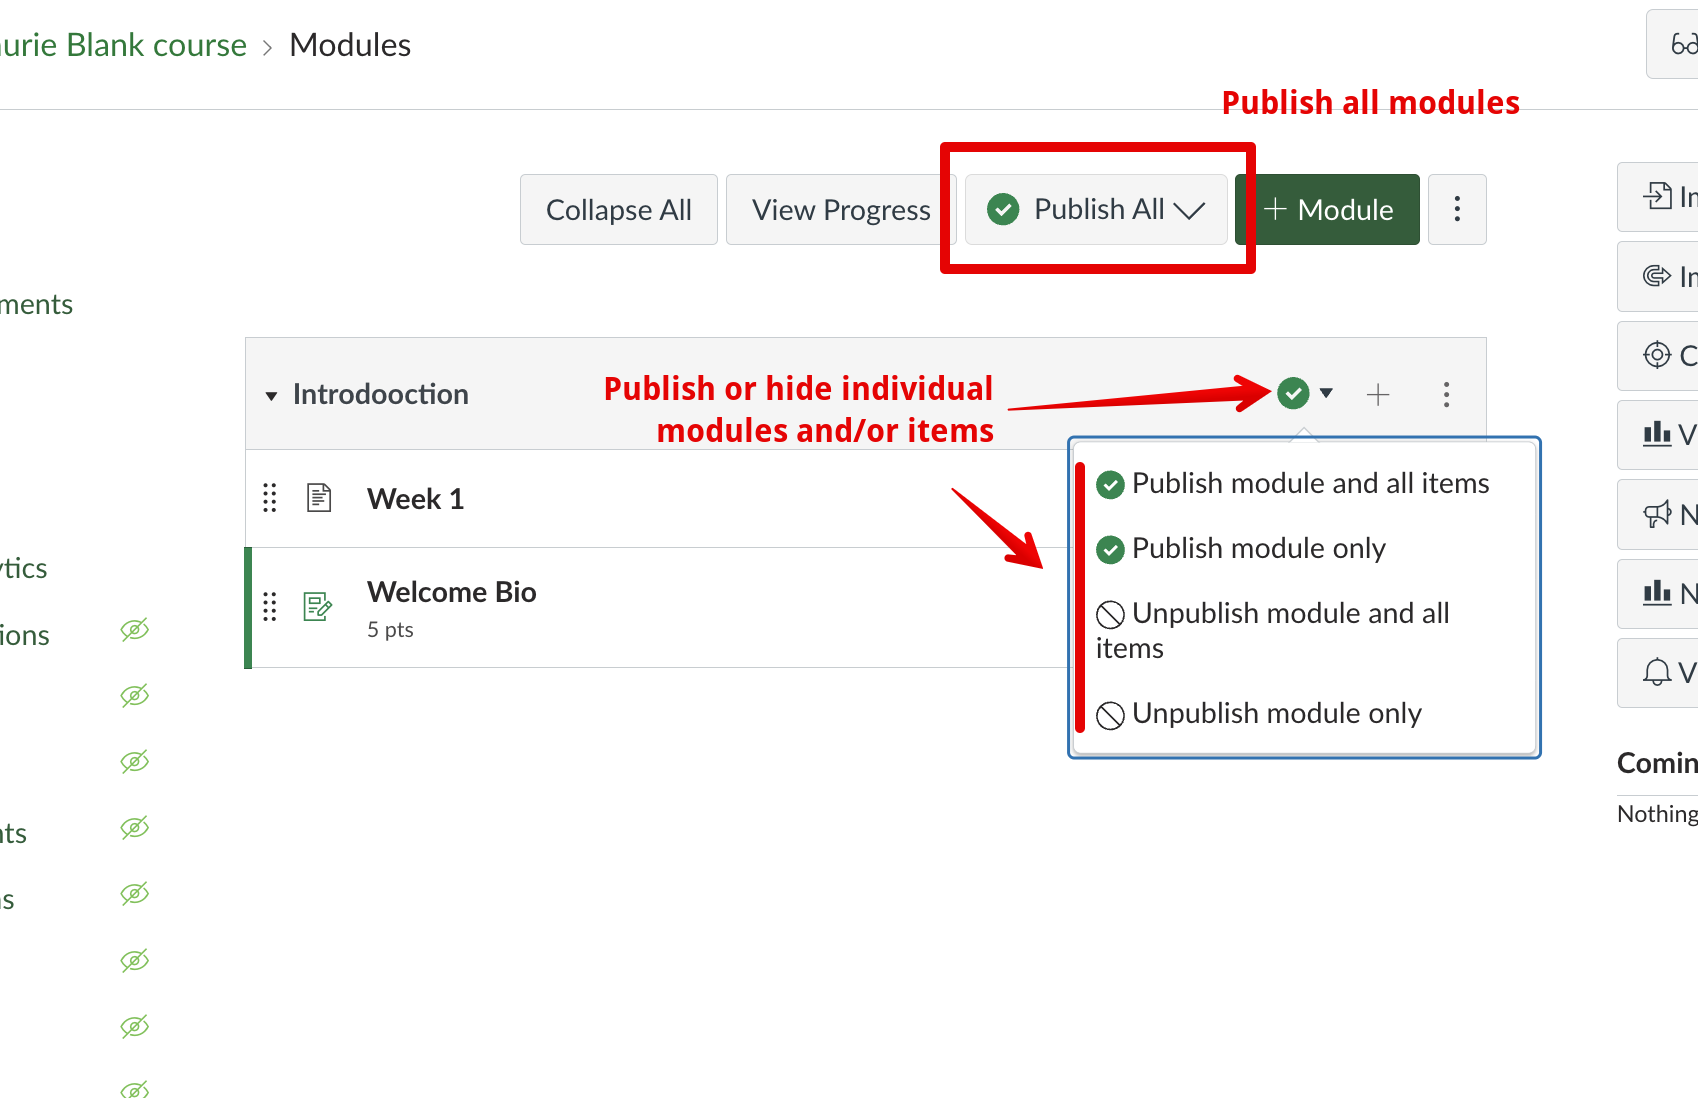
Hiding and Showing ModulesOnce built out, modules can be hidden or shown to students by toggling the Publish/Unpublish icons near the top right of each module where you have the option to publish the module itself and/or all of the items it contains. The dropdown also has links to unpublish content to hide it from students:
There is also a link at the top of the Modules page that allows instructors to publish all the modules in the course with 1 click. For more detailed information on publishing/unblushing activities in Canvas click here. Please note: there is no need to publish ENTIRE courses. This step is done by default when courses are created through the request system - student access to courses is controlled through the dates set during course creation and which are visible in the course settings at Participation > Course > Dates. Reviewing Content for AccessibilityAfter adding content to Canvas courses, instructor's should always thoroughly review what they've added by switching to the student view. Instructors should also run the Canvas course link checker to validate that there are no problems in their course and can also review the course accessibility checklist (a resource provided by Canvas and reviewed by CTL, OCE, and IST staff for the U of A.) | |
|
|
Knowledgebase: Canvas